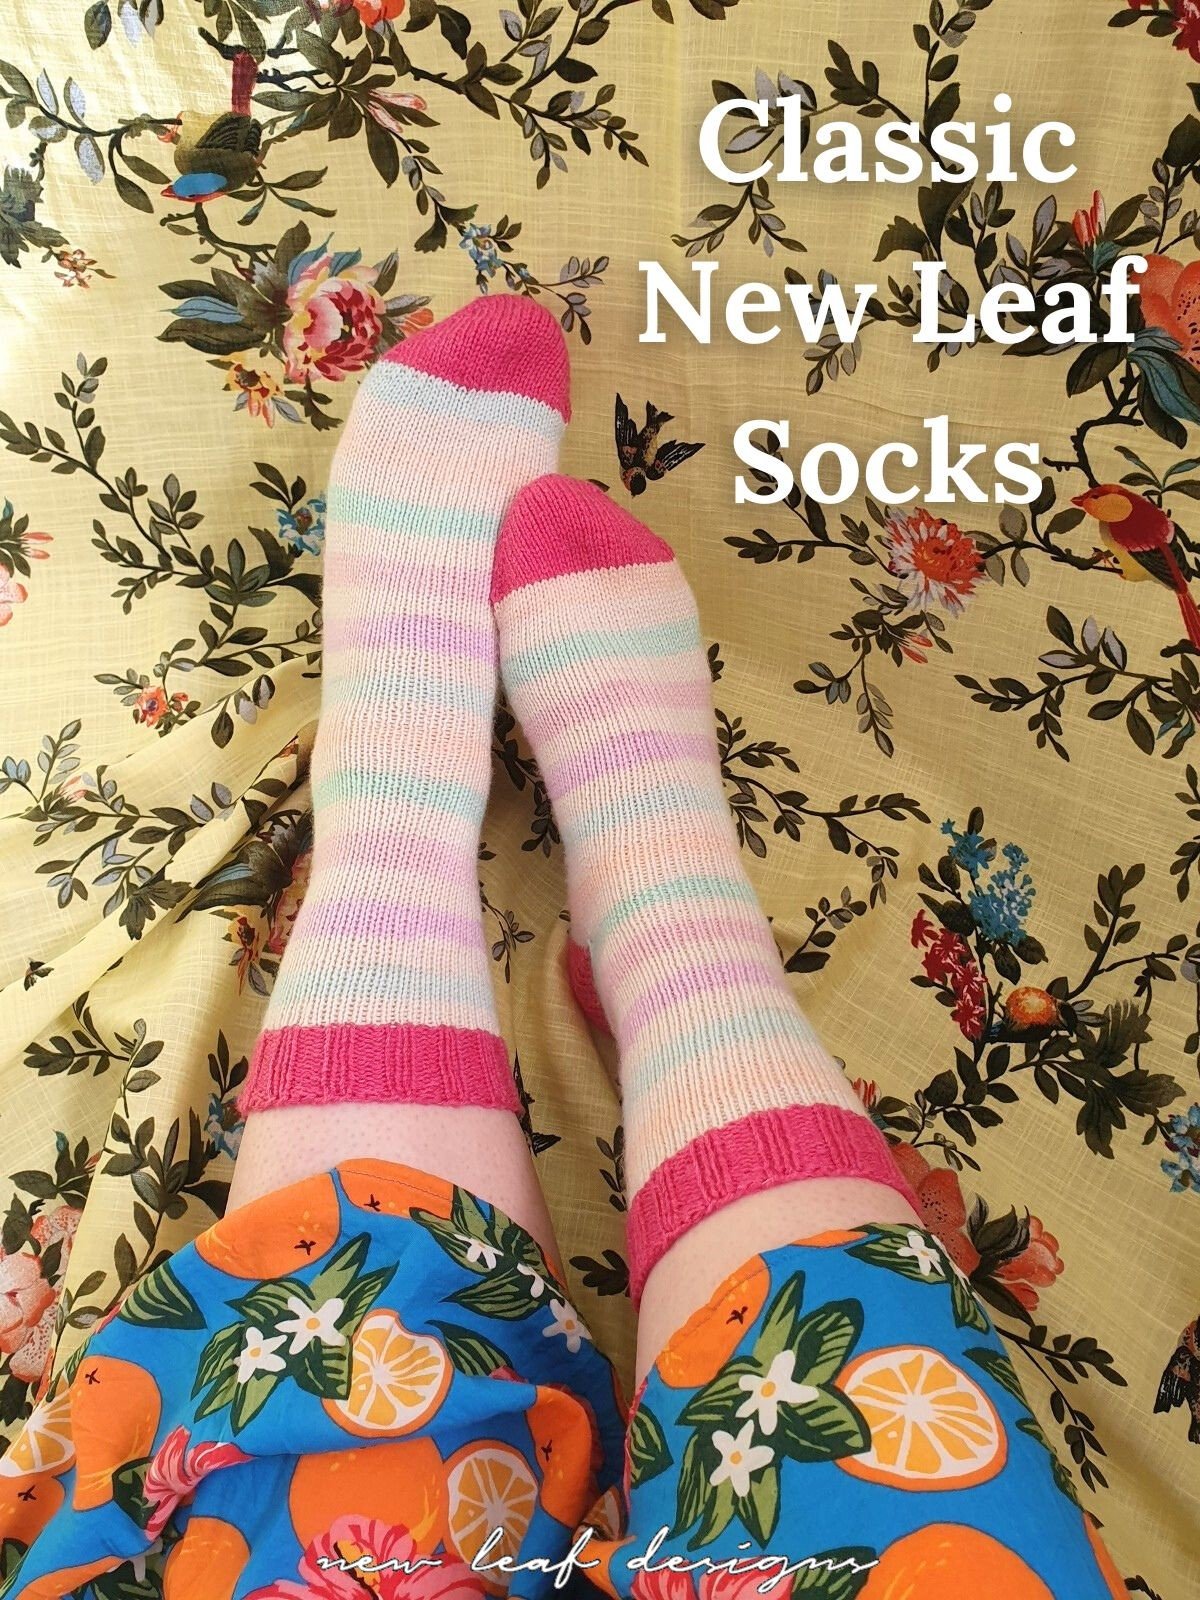
Classic New Leaf Socks Pattern
The Classic New Leaf Socks pattern is my favourite sock recipe that I have perfected over 10+ years of being a knitwear designer. It is the perfect beginner sock pattern especially with the step by step tutorial video. In this blogpost you will find the free version of the knitting pattern. If you prefer to have a printable PDF without advertisements and like to support my work as a designer, the paid version is available from my webshops.
Het Classic New Leaf Socks breipatroon is mijn favoriete sokken recept dat ik in mijn 10+ jaar als ontwerper steeds heb verbeterd. Dit patroon is perfect voor beginners, al helemaal met de bijbehorende instructievideo. Op deze pagina vind je de gratis versie van het breipatroon. Als je liever een printervriendelijke PDF hebt zonder advertenties en bovendien mij als ontwerper wilt steunen, kun je ook de PDF kopen in mijn webshops.
How to read this pattern | Patroon lezen
This sock pattern is available in both English and Dutch. You will see English text, with the Dutch text below. Please turn off any automatic translators to avoid confusion. Below, you will first see some general information about the materials, sizes and construction. Then you will see the pattern in English including the video. Below that you will see the Dutch pattern with video. If you need to buy some materials, I’ve included affiliate links in the Materials section. Thanks so much for shopping via affiliate links, you support me by shopping and it doesn’t cost you anything extra!
Dit sokkenpatroon is in het Engels en in het Nederlands. De Engelse tekst zie je altijd eerst, met daaronder dezelfde tekst in het Nederlands. Let op dat je geen automatische vertaler aan hebt staan. Hieronder vind je de algemene informatie over de materialen, maten en constructie. Daaronder staat eerst het volledige Engelse patroon met video, en daaronder het volledige Nederlandse patroon met video. In de Materialen heb ik ook links toegevoegd naar garenwinkels, als je via mijn link koopt krijg ik daar een kleine beloning voor en het kost je niks extra’s. Bedankt!

Materials | Materialen
Yarn A: Scheepjes Metropolis (50g/200m; 75% Merino extra fine, 25% Nylon) x 1 ball
Yarn B: Scheepjes Downtown (50g/200m; 75% Merino extra fine, 25% Nylon) x 1 ball for sizes 1-2, x 2 balls for sizes 3-6
Recommended needle size:
2.25mm (US1) double pointed needles or 80cm long circular needles
Other materials: scissors, darning needle, optional stitch marker
Garen A: Scheepjes Metropolis (50g/200m; 75% Merino extra fine, 25% Nylon) x 1 bol
Garen B: Scheepjes Downtown (50g/200m; 75% Merino extra fine, 25% Nylon) x 1 bol voor maten 1-2, x 2 bollen voor maten 3-6
Aanbevolen maat naalden:
2,25mm dubbelpuntige naalden of rondbreinaalden van 80cm lengte
Overige materialen: schaar, stopnaald, (optioneel) steekmarkeerder


Sizes and Measurements | Maten en Afmetingen
| EU shoe sizes | US shoe sizes | UK shoe sizes | Amount of sts circumference | Length Toe + Foot* | |
| 1 | 35-36 | 5-6 | 2.5-3.5 | 56 | 18 cm (7.1in) |
| 2 | 37-38 | 6.5-7.5 | 4-5 | 60 | 19 cm (7.5in) |
| 3 | 39-41 | 8-9.5 | 6-7 | 60 | 20 cm (7.9in) |
| 4 | 42-43 | 10-11 | 7.5-8 | 64 | 21 cm (8.3in) |
| 5 | 44-45 | 12-12.5 | 9-10 | 64 | 22 cm (8.7in) |
| 6 | 46-47 | 13-14 | 10.5-12 | 68 | 23 cm (9.1in) |
Instructions for different sizes will be given in the pattern as 1 (2; 3) 4 (5; 6).
Instructies voor verschillende maten worden als volgt getoond in het patroon: 1 (2; 3) 4 (5; 6).
Gauge | Stekenverhouding
15 sts x 21 rows = 5cm square, in stockinette stitch.
If getting fewer sts per 5cm (sts are too wide/long), use smaller needles.
If getting more sts per 5cm (sts are too narrow/short), use bigger needles.
Instead of swatching, for socks I recommend trying the sock on as you go. That will give you a better idea what to change (if necessary), and is more or less the same effort as knitting a swatch in the round.
15 stn x 21 rijen = 5cm x 5cm in tricotsteek.
Als je minder steken hebt per 5cm (stn zijn te breed/lang), neem dan dunnere naalden.
Als je meer steken hebt per 5cm (stn zijn te smal/kort), neem dan dikkere naalden.
In plaats van een proeflapje te breien raad ik aan om de sok zo nu en dan te passen. Dat geeft je een beter idee wat eventueel aangepast moet worden en is min of meer dezelfde hoeveelheid breien als een proeflapje in het rond.
Construction | Constructie
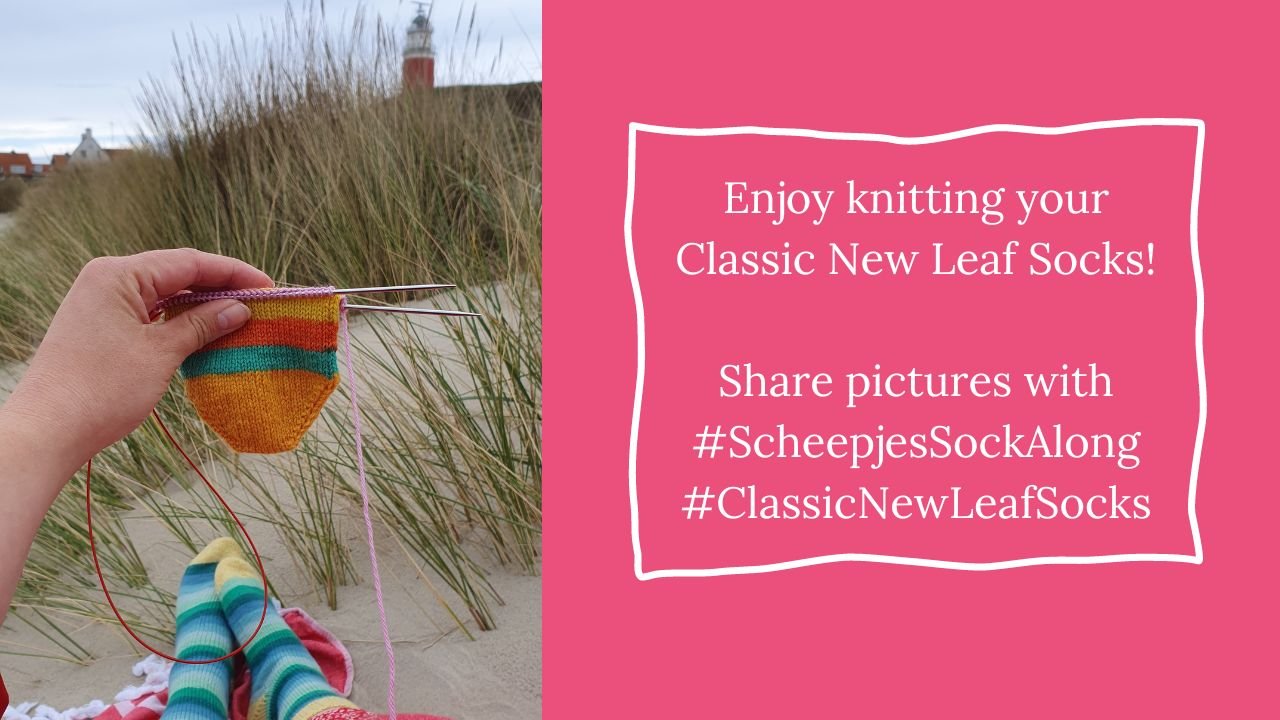
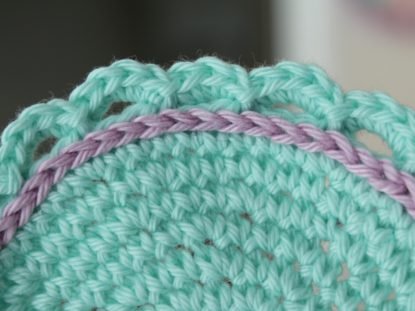
All techniques are included in the tutorial video. These socks are knit from the toe up. We start with Judy’s Magic Cast On and a small number of stitches, then increase for the toe until the correct number of stitches has been reached. Foot is knit in the round up until the heel placement (see Measurements table). Heel is a German Shortrow heel and is knit over half of the total stitch count. Leg is knit in the round until desired length, followed by ribbed cuff and stretchy bind off.
Alle technieken worden getoond in de instructievideo. Deze sokken brei je van de teen omhoog. Begin met Judy’s Magic Cast On voor de opzet, meerder steken totdat correcte stekenaantal is bereikt. Brei de voet in het rond tot aan de plaatsing voor de hiel (zie maattabel). De hiel is een Duitse verkorte toeren hiel en wordt over de helft van het aantal steken gebreid. Het been brei je in het rond tot gewenste lengte, gevolgd door een boord. We kanten af met een rekbare methode.
Abbreviations | Afkortingen

Pattern – ENGLISH
Note: In this pattern, Needle 1 refers to the first half of your stitches, and Needle 2 refers to the second half of your stitches.
On circular needles, you will have half of your stitches on each needletip. On double pointed needles, Needle 1 also refers to the first half of your sts, whether they are divided between two needles or together on one needle. Needle 2 refers to the second half of your sts, whether they are divided between two needles or together on one needle.
Toe
FOR CIRCULAR NEEDLE:
Take your Yarn A and cast on 10 (10; 10) 12 (12; 12) sts on each needle using ‘Judy’s Magic Cast On’.
FOR DOUBLE POINTED NEEDLES:
Take your Yarn A and cast on 5 (5; 5) 6 (6; 6) sts on each of the first two needles using ‘Judy’s Magic Cast On’. Then, if you have a total of 5 DPNs, take the next two needles and cast on the same amount of sts on those needles. If you have a total of 4 DPNs, you will take 1 extra needle, and continue to cast on so that you have 10 (10; 10) 12 (12; 12) sts on one needle, and 5 (5; 5) 6 ( 6; 6) sts on each of the two other needles.
THEN:
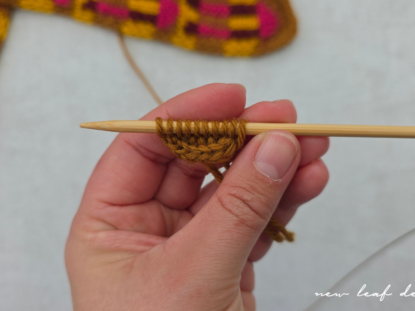
Please note that for the first round, some stitches may be twisted depending on how you cast on. Knit into the back loop of the sts to straighten them.
Toe Round 1 K to end. [20 (20; 20) 24 (24; 24) sts]
Toe Round 2 (inc) *Kfb, k until 2 sts remain on Needle 1, kfb, k1, rep from * for Needle 2.
Rep Round 1 and 2 until there are 56 (60; 60) 64 (64; 68) sts in total on all your needles. End with another Round 1.
Foot
Switch to Yarn B, cut Yarn A.
NOTE: For these striped socks, it looks best when joining Yarn B directly after a colour change. Take the end of your Scheepjes Downtown yarn and wind it off until you get to the next colour. That’s where you want to start knitting with it.
Knit stockinette in the round until your sock measures 18 (19, 20) 21 (22, 23)cm/ 7.1 (7.5; 7.9) 8.3 (8.7; 9.1)inches from cast on. This is where we start the heel.
Tip: It looks nicest if you place your heel in between two stripes, or in the middle of a stripe.
Next Round
Knit across Needle 1.
FOR DPNs ONLY: Transfer sts for Needle 2 so they’re on 1 DPN, and the Needle 1 sts are divided between two DPNs, if you did not have this already. I find this to be easiest.
Knit across Needle 2 with Yarn A. Do not cut Yarn B.
Turn work to knit in rows.
Heel
Row 1 (WS) Wyif, sl1p and lift the yarn from the front upwards over the right-hand needle to the back of your work, tugging firmly (forms a so-called “double stitch”), wyif, p all sts until end of Needle 2, turn.
Row 2 (RS) Wyif, sl1p and lift yarn to back as before, k all sts until you reach the next “double stitch”, turn.
Row 3 Wyif, sl1p and lift yarn to back as before, wyif, p all sts until you reach the next “double stitch”, turn.
Rep Rows 2 and 3 until you have 14(14;14)12(12;12) stitches left in between the double stitches, ending with a RS row. Do not turn on your last RS row but continue as follows:
Row 1 cont. (RS) Knit the first double stitch as if it were one st, turn.
Row 2 (WS) Sl1p tugging firmly, p until next double stitch, p as if it were one st, turn.
Row 3 Sl1p tugging firmly, k until next double stitch, k as if it were one st, turn.
Rep Rows 2 and 3 until all double stitches have been worked, the last double stitch to be worked SHOULD be on a WS row, so that when you turn after this last row you are back on the RS.
If everything is correct, you are now at the righthand side of the heel, where Yarn B is. Cut Yarn A and pick up Yarn B.
Closing the gap on the sides of the heel
There is a slight gap between Needle 1 and 2. If we would continue to knit normally, we would have a small hole here. By picking up sts at this gap, we can avoid forming a hole.
I recommend watching the video for more guidance. Most importantly, you want to pick up stitches where they will not create any other holes. Pick up 1 or 2 sts and knit these. Knit across Needle 2 and do the same on the other side of the heel.
These sts that you’ve picked up can be decreased in following rounds. Or, if you tend to need some more room around your leg, you can choose to keep them for the rest of the sock. Make sure to note that you pick up the same amount of sts on your other sock.
Leg
Continue knitting in stockinette until your socks are of desired length. Keep in mind that the ribbing will add some more length.
Cuff
Switch to Yarn A, cut Yarn B.
Round 1: K all sts.
Round 2: *K2, p2; rep from * until end of round.
Repeat Round 2 until you have a cuff that is long enough. A standard cuff is between 15-20 rounds long.
Casting off
Bind off using Lori’s Twisty Bind off – my new favourite method for binding off ribbing. This method was invented by Lorraine LeGrand in 2013. I recommend watching the video for this part as well.
NOTE: For this bind off method you will need to twist your righthand needle (if you are knitting right handed). It may be easier to use a separate needle for this.
For each purl st: BEFORE going into the stitch: rotate your needle counter-clockwise (towards you) once, and then purl your next st as usual.
For each knit st: BEFORE going into the stitch: rotate your needle clockwise (away from you) once, then knit your next st.
As soon as you have 2 sts on your righthand needle, lift the rightmost one over the leftmost one.
Finishing
Weave in all ends. Wash your socks and lay them flat to dry. Block them if you want (insert a cardboard cut-out if you don’t have sock blockers) for a super smooth finish.
Patroon – NEDERLANDS
Let op: In dit patroon verwijst Naald 1 naar de eerste helft van je steken, en Naald 2 naar de tweede helft van je steken.
Met rondbreinaalden heb je een helft van de stn op elke naaldpunt.
Met dubbelpuntige naalden verwijzen Naald 1 en Naald 2 ook naar de eerste en tweede helft van je steken, of je die nu op dezelfde naald hebt staan of over meerdere naaldjes verdeeld hebt.
Teen
VOOR RONDBREINAALDEN:
Neem Garen A en zet 10 (10; 10) 12 (12; 12) stn op voor elke naald met ‘Judy’s Magic Cast On’.
VOOR DUBBELPUNTIGE NAALDEN:
Neem Garen A en zet 5 (5; 5) 6 (6; 6) stn op voor elk van je eerste twee naalden. Als je in totaal 5 dubbelpuntige naalden (DPNs) gebruikt, neem je dan nog eens twee naalden en zet je daarop ook hetzelfde aantal stn. Als je in totaal 4 DPNs gebruikt neem je 1 extra naald, en ga je verder met opzeten zodat je 10 (10; 10) 12 (12; 12) stn op één naald hebt, en
5 (5; 5) 6 ( 6; 6) stn op elk van de andere twee naalden.
DAN:
Het is mogelijk dat in de eerste toer enkele stn verdraaid zijn, afhankelijk van hoe je hebt opgezet. Brei door de achterste lus om deze week recht te zetten.
Teen Toer 1 Brei alle stn r. [20 (20; 20) 24 (24; 24) stn]
Teen Toer 2 (meerd) *Rva, brei r tot laatste 2 stn van Naald 1, rva, 1r, herh vanaf * voor Naald 2.
Herh Toer 1 en 2 tot je in totaal 56 (60; 60) 64 (64; 68) stn op je naalden hebt. Eindig met een Toer 1.
Voet
Ga verder met Garen B, knip Garen A af.
LET OP: Voor gestreepte sokken ziet het er het mooist uit als je het garen aanhecht net na een kleurwisseling. Neem je Scheepjes Downtown garen en haal zoveel garen als nodig eraf om bij de eerstvolgende kleurwissel te komen. Hecht dan het garen aan.
Brei tricotsteek in het rond tot je sok 18 (19, 20) 21 (22, 23)cm meet vanaf de opzet. Hier beginnen we de hiel.
Tip: Bij gestreepte sokken plaats je de hiel het beste in het midden van een streep of tussen twee strepen in.
Volgende Toer
Brei Naald 1 recht.
ALLEEN VOOR DPNs: Zet de stn voor Naald 2 op één naald als je dat nog niet had, en de stn voor Naald 1 op twee naalden. Dit vind ik het gemakkelijkst.
Neem Garen A en brei Naald 2 r. Knip Garen B niet af.
Keer je werk om in rijen verder te gaan.
Hiel
Rij 1 (AK) Gv, 1av.afh en haal je garen óver je rechternaald heen naar de achterkant van je werk en trek strak (vormt een “dubbele steek”), gv, brei alle stn av tot eind Naald 2, keer.
Rij 2 (GK) Gv, 1av.afh en haal garen over je werk naar achteren zoals eerder, brei alle stn r tot je bij de volgende “dubbele steek” bent, keer.
Rij 3 Gv, 1av.afh en haal je garen over je werk naar achteren zoals eerder, gv, brei alle stn av tot je bij de volgende “dubbele steek” bent, keer.
Rep Rijen 2 en 3 tot je 14(14;14) 12(12;12) stn over hebt tussen de dubbele steken. Als het goed is eindig je met een GK rij. Keer nog niet maar ga verder:
Rij 1 vervolg (GK) Brei de eerste dubbele s alsof het 1 s is, keer.
Rij 2 (AK) 1av.afh en trek strak, brei av tot volgende dubbele s, brei av alsof het 1 s is, keer.
Rij 3 1av.afh en trek strak, brei r tot volgende dubbele s, brei r alsof het 1 s is, keer.
Herh Rijen 2 en 3 tot je alle dubbele steken hebt gebreid. De laatste dubbele s brei je op een AK rij, hierna keer je naar de GK.
Als het goed is ben je nu aan de rechterkant van de hiel, waar Garen B nog hangt. Ga verder met Garen B en knip Garen A af.
Gaatjes aan weerszijden hiel dichten
Als je direct verder in het rond zou breien zou er een klein gat ontstaan tussen Naald 1 en Naald 2. Door stn op te pakken kunnen we dit gat verkleinen.
Ik raad aan om de bijbehorende video te kijken hiervoor. Het belangrijkst bij het oppakken van steken is dat je geen gaten creëert. Pak 1 of 2 stn op en brei deze r. Brei Naald 2 r en doe hetzelfde aan de andere kant.
Deze extra stn kun je weer minderen in de volgende toeren. Als je graag meer ruimte in de sok hebt rondom het been kun je ze ook op de naald houden. Zorg ervoor dat je bij de tweede sok hetzelfde aantal steken opneemt.
Been
Brei verder in tricotsteek totdat je sokken van de gewenste lengte zijn. Denk eraan dat de boord nog meer lengte toevoegt.
Boord
Wissel naar Garen A, knip Garen B af.
Toer 1: Brei alle stn r.
Toer 2: *2r, 2av; herh vanaf * tot het einde van de toer.
Herhaal Toer 2 tot de boord lang genoeg is. Een standaard boord is tussen de 15-20 toeren lang.
Afkanten
Voor het afkanten raad ik ‘Lori’s Twisty Bind Off’ aan, dit is mijn absolute favoriet voor sokken. Deze methode komt van Lorraine LeGrand, uit 2013. Dit laat ik ook zien in de tutorial video.
LET OP: voor deze afkantmethode moet je de rechternaald kunnen ronddraaien (als je rechtshandig breit). Het kan handig zijn om een aparte naald te gebruiken.
Voor elke averechte s: VOORDAT je in de s gaat: draai je rechternaald 1x tegen de klok in (naar je toe), brei dan de s av. Houd tijdens het draaien je garen in de linkerhand zodat deze niet in de knoop komt.
Voor elke rechte s: VOORDAT je in de s gaat: draai je rechternaald 1x kloksgewijs (van je weg), brei dan de s r.
Zodra je 2 stn op de rechternaald hebt, haal je de rechter s over de linker s.
Afwerking
Werk alle draadjes weg. Was je sokken en leg ze plat te drogen. Span ze eventueel op voor een mooie afwerking. Een kartonnen vorm is ook prima als je geen sokkenblockers hebt.


3 Comments
Wat als je de sok in één kleur breit?
Als je het gaatje van de hiel wil wegwerken zit de werkdraad op naald 1, en kan je dus niet de draad van de sok terugnemen.
Hoe los je dit dan op?
Fantastic video tutorial! Never thought I’d be able to knit socks, but following your video tutorial, all is going well so far.
Question on the heel: I have completed the heel section in the same colour yarn (I haven’t switched colours); however, the yarn tail is now on the wrong needle when I have to start closing the heel. How do I go about this, please?
im super upset i tried to download one of your lovely PDF, i dont mind paying but now ive signed up to a yoga subscription that will from tomorrow charge me £39.99 and i cant figure out how to cancel it.