
Coming soon : the Striped and Stranded hat tutorial!
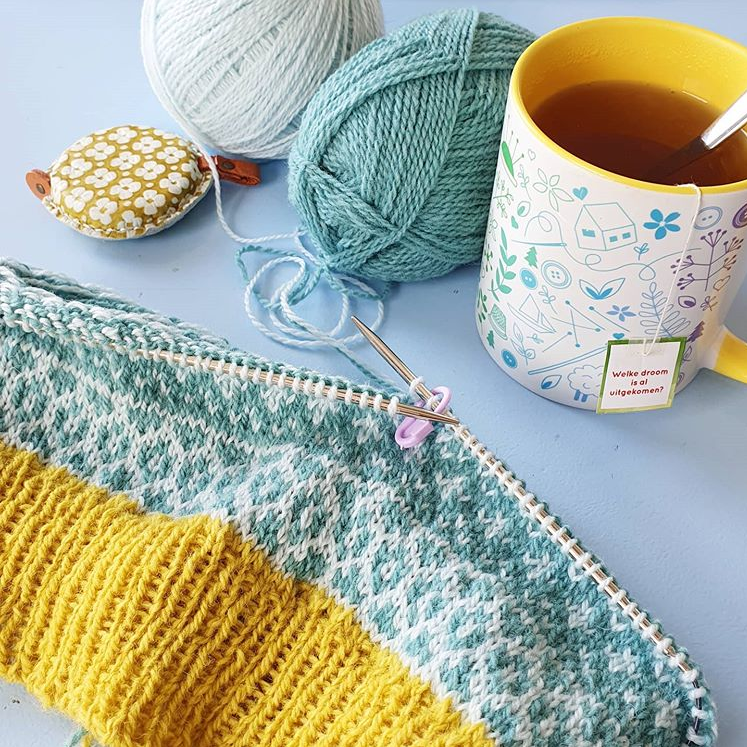
Another knitting tutorial video is making its way to my Patreon page this week: the Striped and Stranded Hat. This design has been in the works for quite a long time, and I’m excited to share this pattern with you guys! The Striped and Stranded Hat is a colourwork hat with a striping effect. You will use at least two colours, and by swapping the background and contrast colours around you will be creating stripes along the hat.
This tutorial video will be available on my Patreon page. There are several different subscription tiers for my Patreon page, this tutorial will be available for Elstar tier patrons. The Elstar tier subscription is $10 a month, and you will also gain access to the tutorial videos already available on my Patreon page! A whole library of knitting tips and tricks. You can cancel or edit your subscription at any time, so you’re not stuck to a 6-month membership or anything like that.
Techniques covered in the video
Over the past weeks I have recorded a tutorial video that will take you through the entire hat. In this tutorial, I am showing you the following techniques:
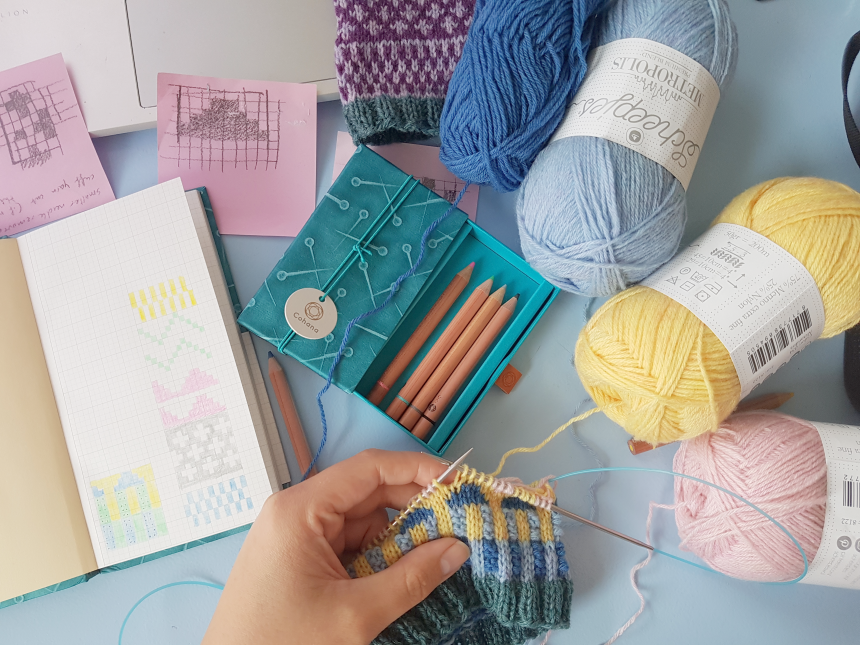
- choosing colours for your hat
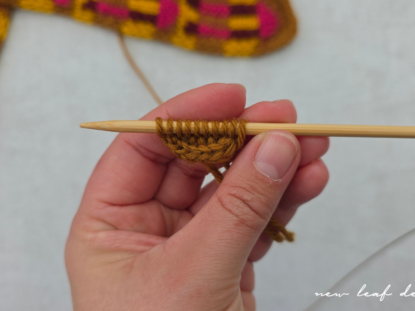
- alternate cable cast on – the perfect cast on for 1×1 ribbing!
- how to increase using the kfb (knit front back) stitch
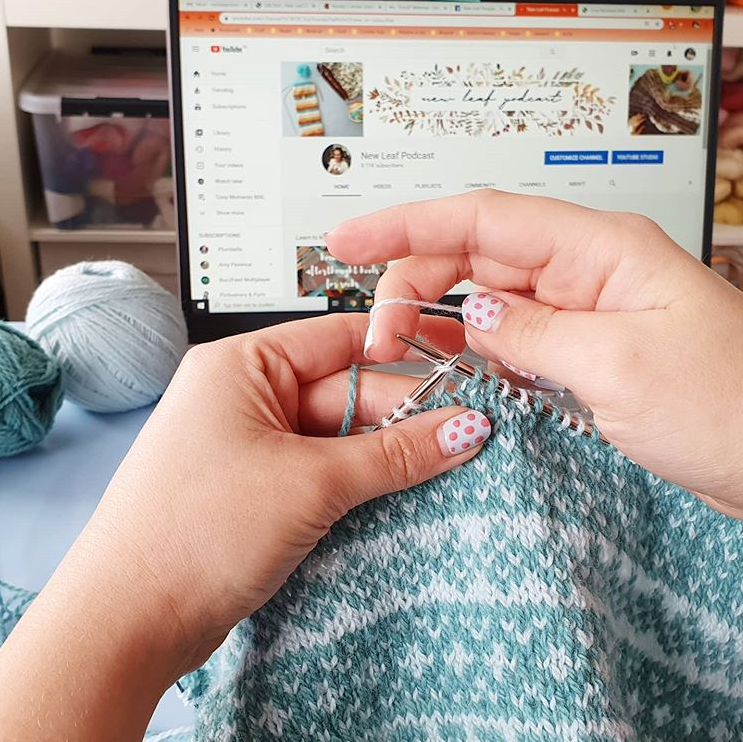
- how to knit colourwork – THREE different ways of holding your yarns
- how to decrease
- finishing tips and tricks
- how to block hats
The tutorial video is over 1 HOUR long, so lots of knitting wisdom for you!
Which yarn do I need?
For this hat, you will need at least 2 colours of sportweight yarn, preferably 100% wool. Sportweight means that the yarn should be 300 meters per 100 grams, or 150 meters per 50 grams. You will only need 2x 50 gram balls for one hat.
Gauge information:
27 sts and 31 rows of colourwork knit in the round on 3.5mm needles measures 10x10cm square (4×4”)
Which sizes are included?
The hat is available in two adult sizes: 55cm and 60cm in circumference. The hat itself will be 51cm and 56cm in circumference because they need a bit of negative ease to fit well.
Colourwork knitting
Don’t know how to knit colourwork? No problem! If you subscribe to my Patreon page for the tutorial, you will automatically gain access to the videos of my Colourwork Confidence Masterclass. There are 6 chapters in total of the Colourwork Confidence Masterclass, each guiding you through a different technique for colourwork knitting. Subscribe to the highest tier in my Patreon page to unlock all chapters.
Will I be able to purchase the pattern separately?
The Striped and Stranded hat pattern will be available for purchase in my Ravelry store, but my Elstar tier patrons will of course receive the pattern for FREE with the videos. The tutorial video and pattern will be published this Thursday, March 12th on my Patreon page. The separate hat pattern will be published in my Ravelry store later this month.
This tutorial video is for you if…
- you want to learn how to knit hats
- you want to learn how to knit colourwork
- you like the added value of a step-by-step tutorial video and not just a written pattern
This tutorial video is NOT for you if…
- you have never knit before. You will need to know how to knit and purl, all other stitches, and techniques will be shown in the video.
Will you be knitting along?
Hop on over to my Patreon page, and have a look at all of the other benefits you will receive with an Elstar tier subscription, alongside the Striped and Stranded Hat tutorial. Oh, and by the way, the tier names (Jonagold, Golden Delicious, and Elstar) are all apple varieties that my grandpa had on his farm. I hope to see you there!


No Comment