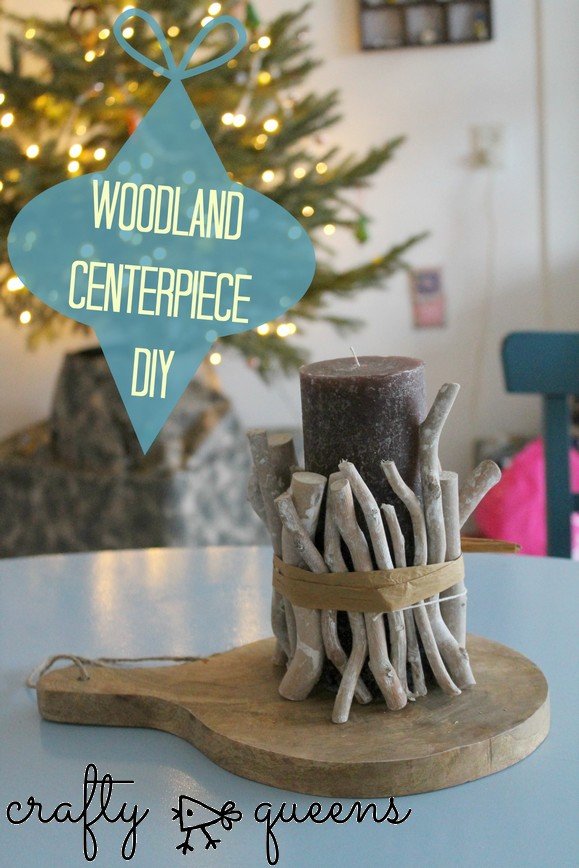
Als je net zo’n lastminute crafter bent als ik ben je hier aan het goede adres! Vandaag laat ik je zien hoe je een leuke decoratie maakt voor op de tafel met Oud & Nieuw. Het is heel simpel, snel, en de materialen heb je waarschijnlijk al thuis liggen. Laten we aan de slag gaan!
Calling all last-minute crafters! Need a fancy-but-not-too-fancy centerpiece for your New Year’s Dinner tonight? Look no further! You can easily make this candle centerpiece with some materials you probably have lying around the house. Let’s get crafting!
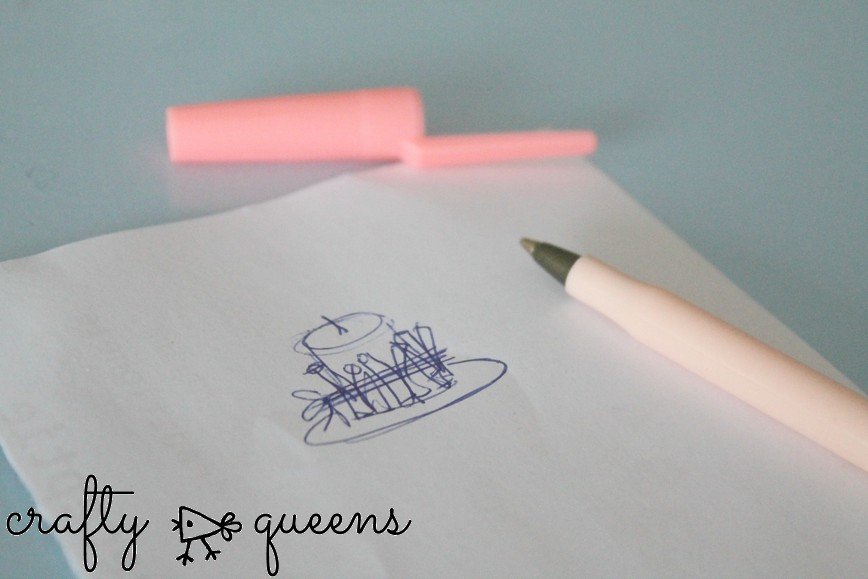
Vanavond ben ik voor de allereerste keer gastvrouw van het Oud & Nieuw diner, spannend! Ik wilde iets moois maken voor op de tafel, maar niet zo ontzettend chique, liever iets casuals. Om dat te bereiken gebruik ik graag natuurlijke materialen.
Tonight, I’m hosting my very first New Year’s Eve dinner party, and I wanted to create something festive and fancy to be the centerpiece on the table. I don’t want to make the guests feel underdressed or uncomfortable though, so I wanted it to have a casual look as well.
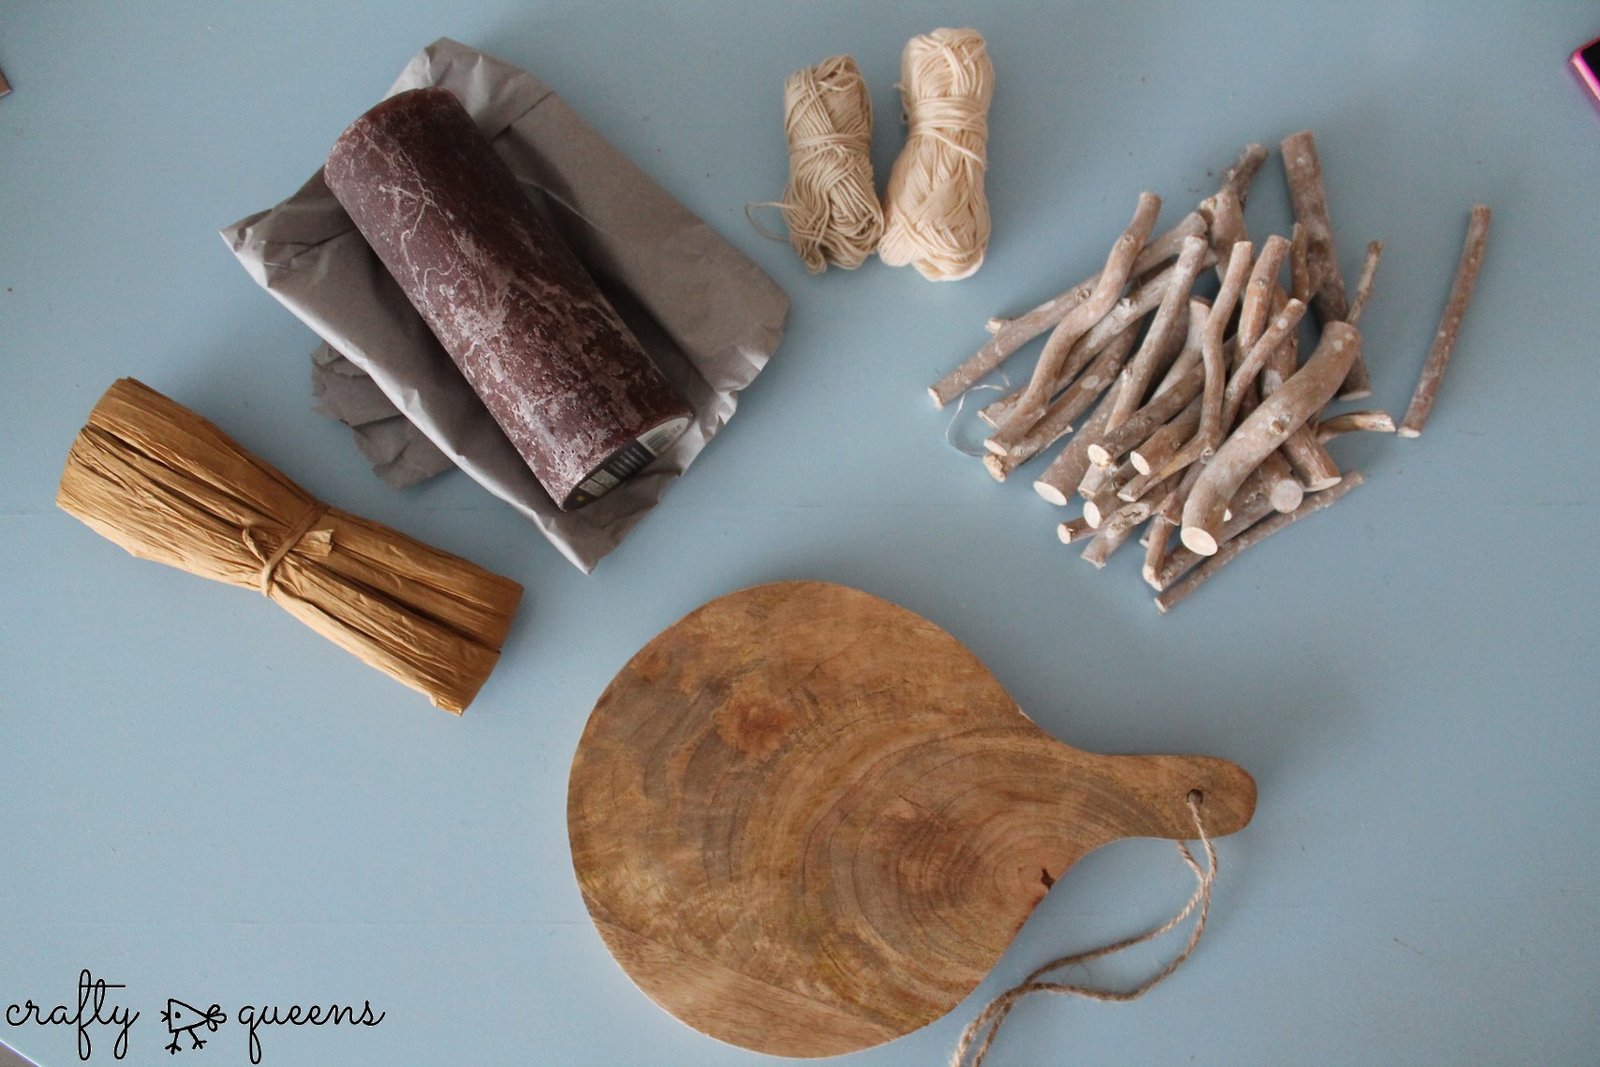
Je hebt nodig:
– een kaars, liefst hoog en breed
– wat twijgjes/stokjes – ik kocht een zakje deco-stokjes bij de Action
– touw (katoen, raffia, bijna alles is goed)
– iets om het op te zetten, zoals een mooi bord of een serveerplank
You’ll need:
– a candle, preferably quite wide and high
– some twigs
– string (cotton, raffia, tissue paper, anything works)
– something to place the centerpiece on, like a serving platter or a nice plate
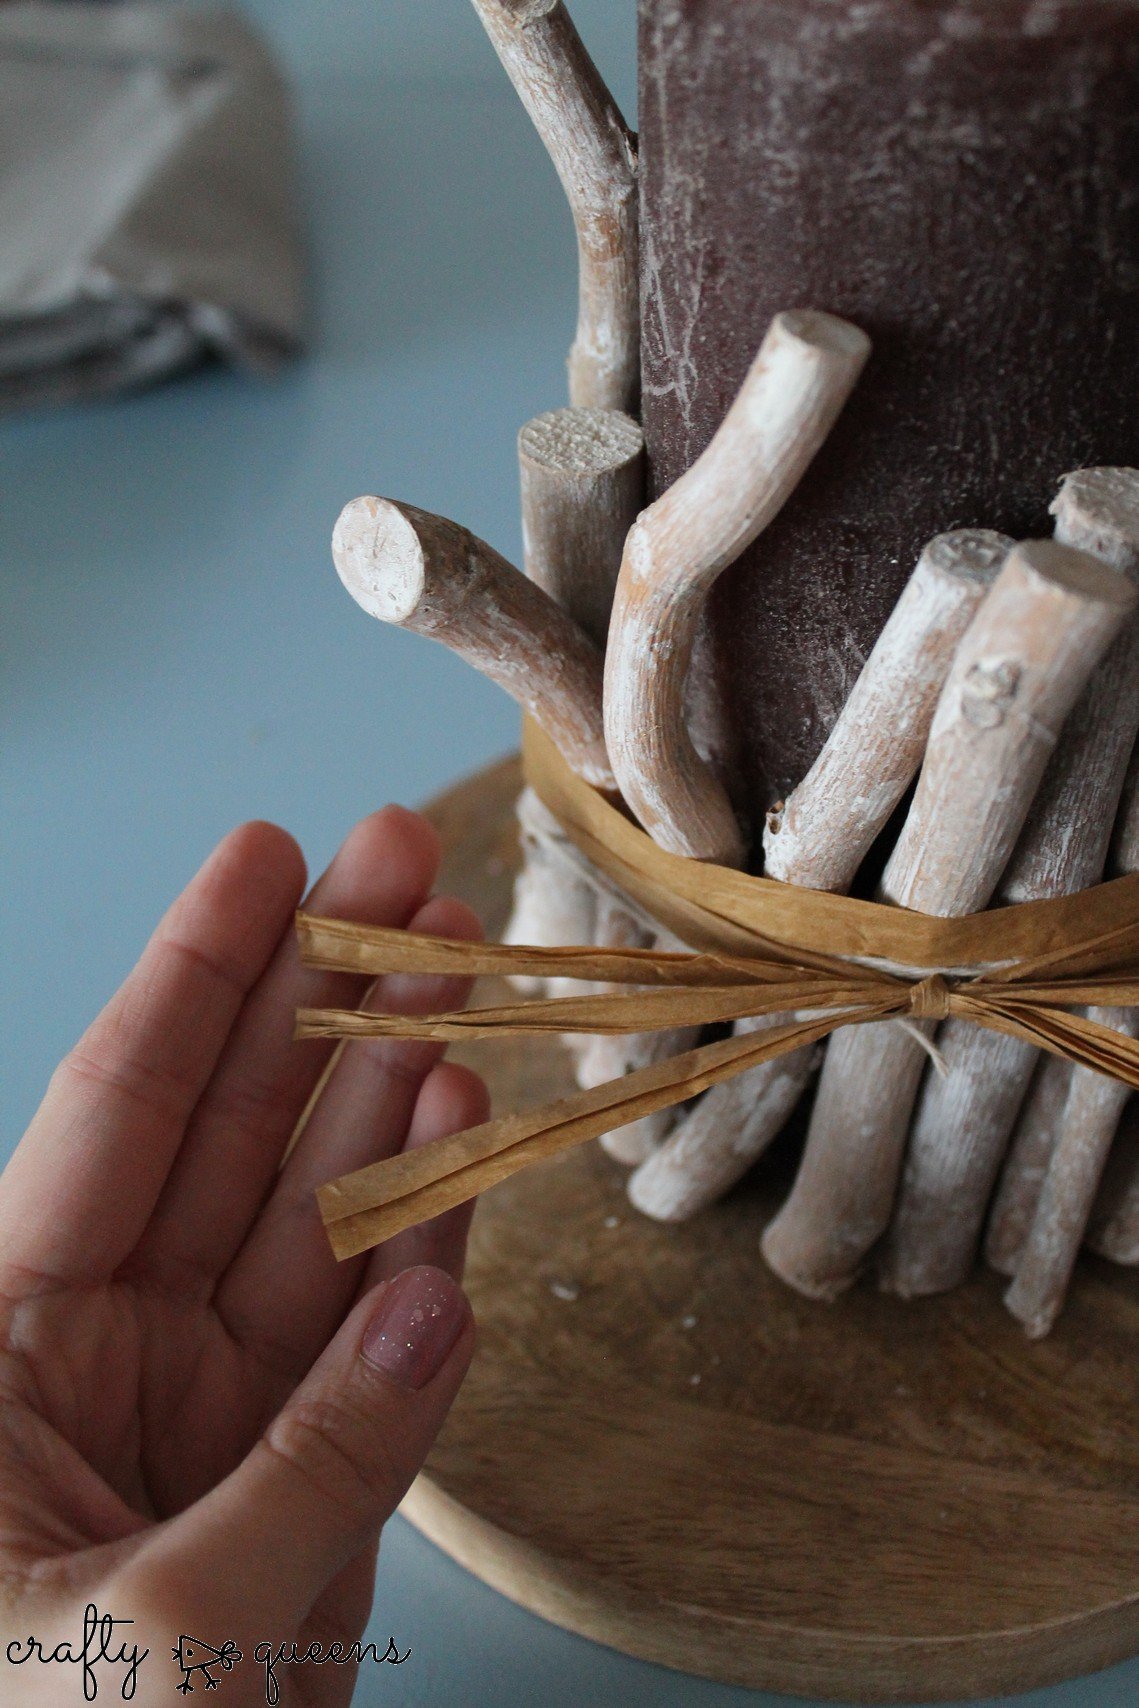
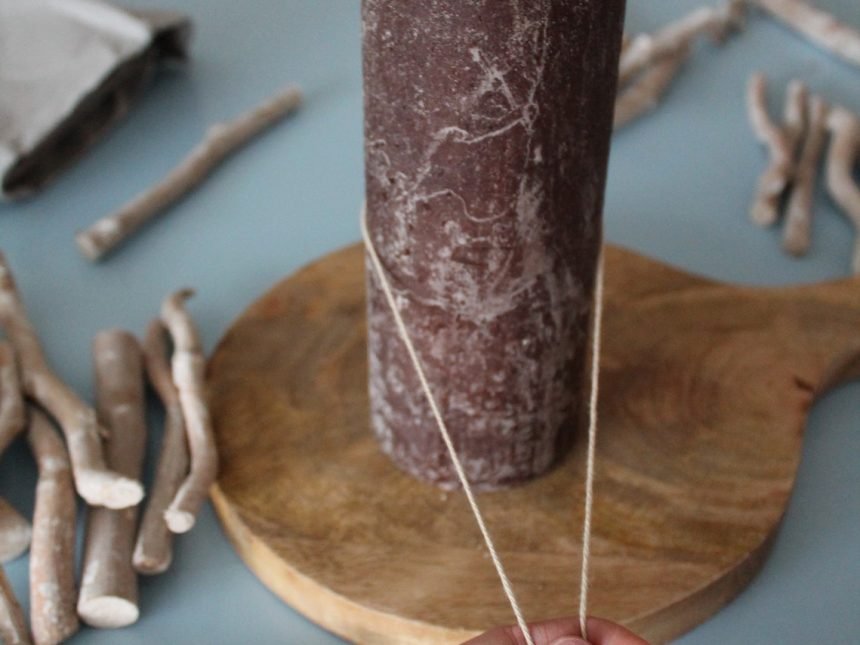
Knip een stuk touw af en houdt dit strak om de kaars heen. Plaats stokjes tussen het touw en de kaars. Als je klaar bent met de ene kant draai je de kaars, en kun je met de andere kant verder. Als je dit lastig vindt kun je even vragen of iemand helpt met het vasthouden van de stokjes, deze vallen er makkelijk tussenuit.
Cut off some string and place it around the candle. Hold it quite tightly, and place the twigs in between de string and candle. If you’re ready on one side, turn the candle and continue on the other side. It’s not very easy to keep the twigs in place, so you can ask someone for help with this part.
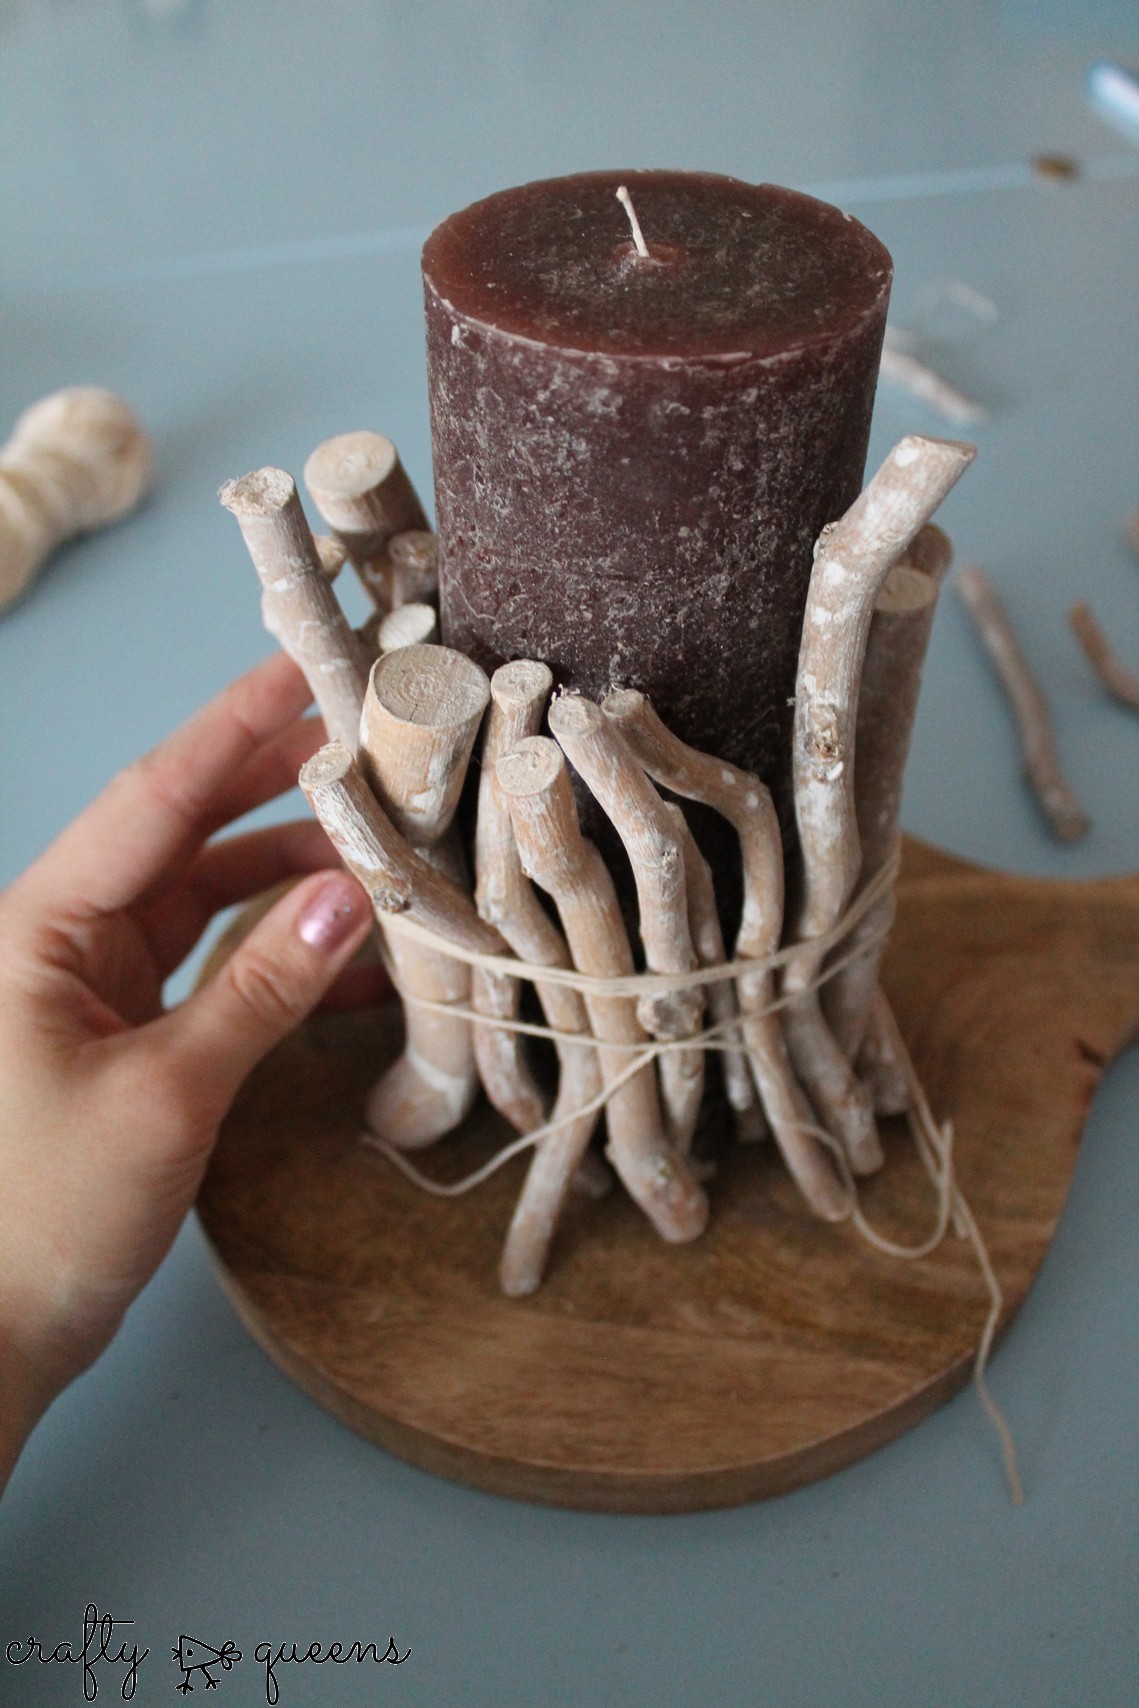
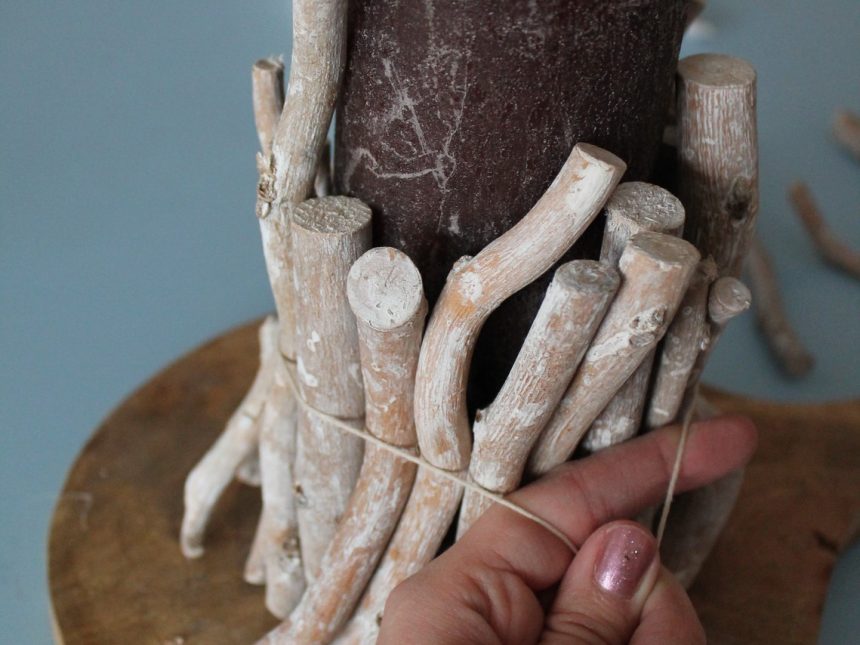
Knoop daarna het touw vast om de kaars. Neem nog meer touw en ga er nog een paar keer omheen, zodat alles goed vast zit.
Tie the string around the candle. Take some more string and go around the candle a few more times, so everything is secure.
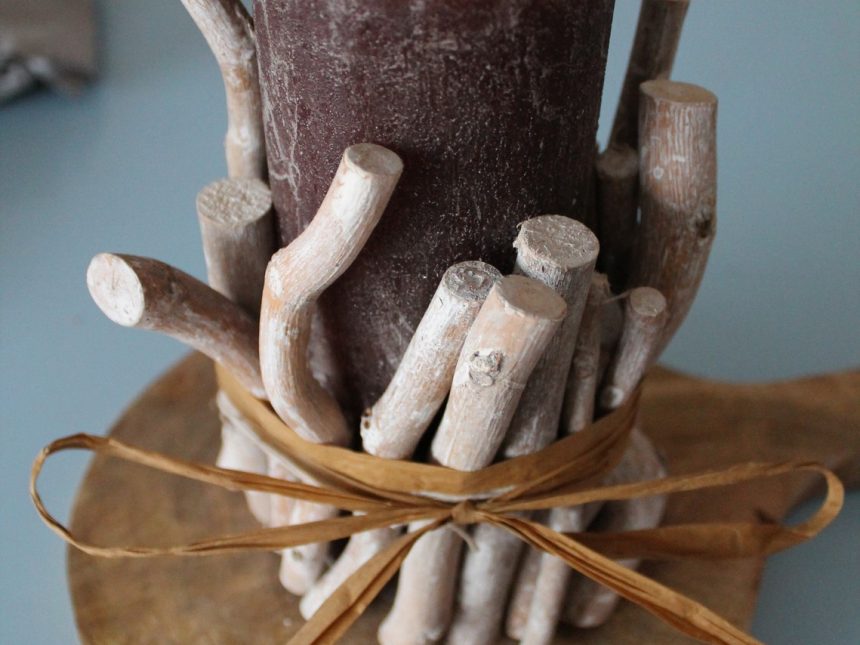
Dan neem je wat raffia of ander decoratief touw en leg je een strik om de kaars.
Then, take some raffia and tie a bow around the candle.
Als je wilt kun je de lusjes van de strik doorknippen, zo ziet het er minder lieflijk uit.
If you want, you can cut the loops of the bow, so it looks less girly.
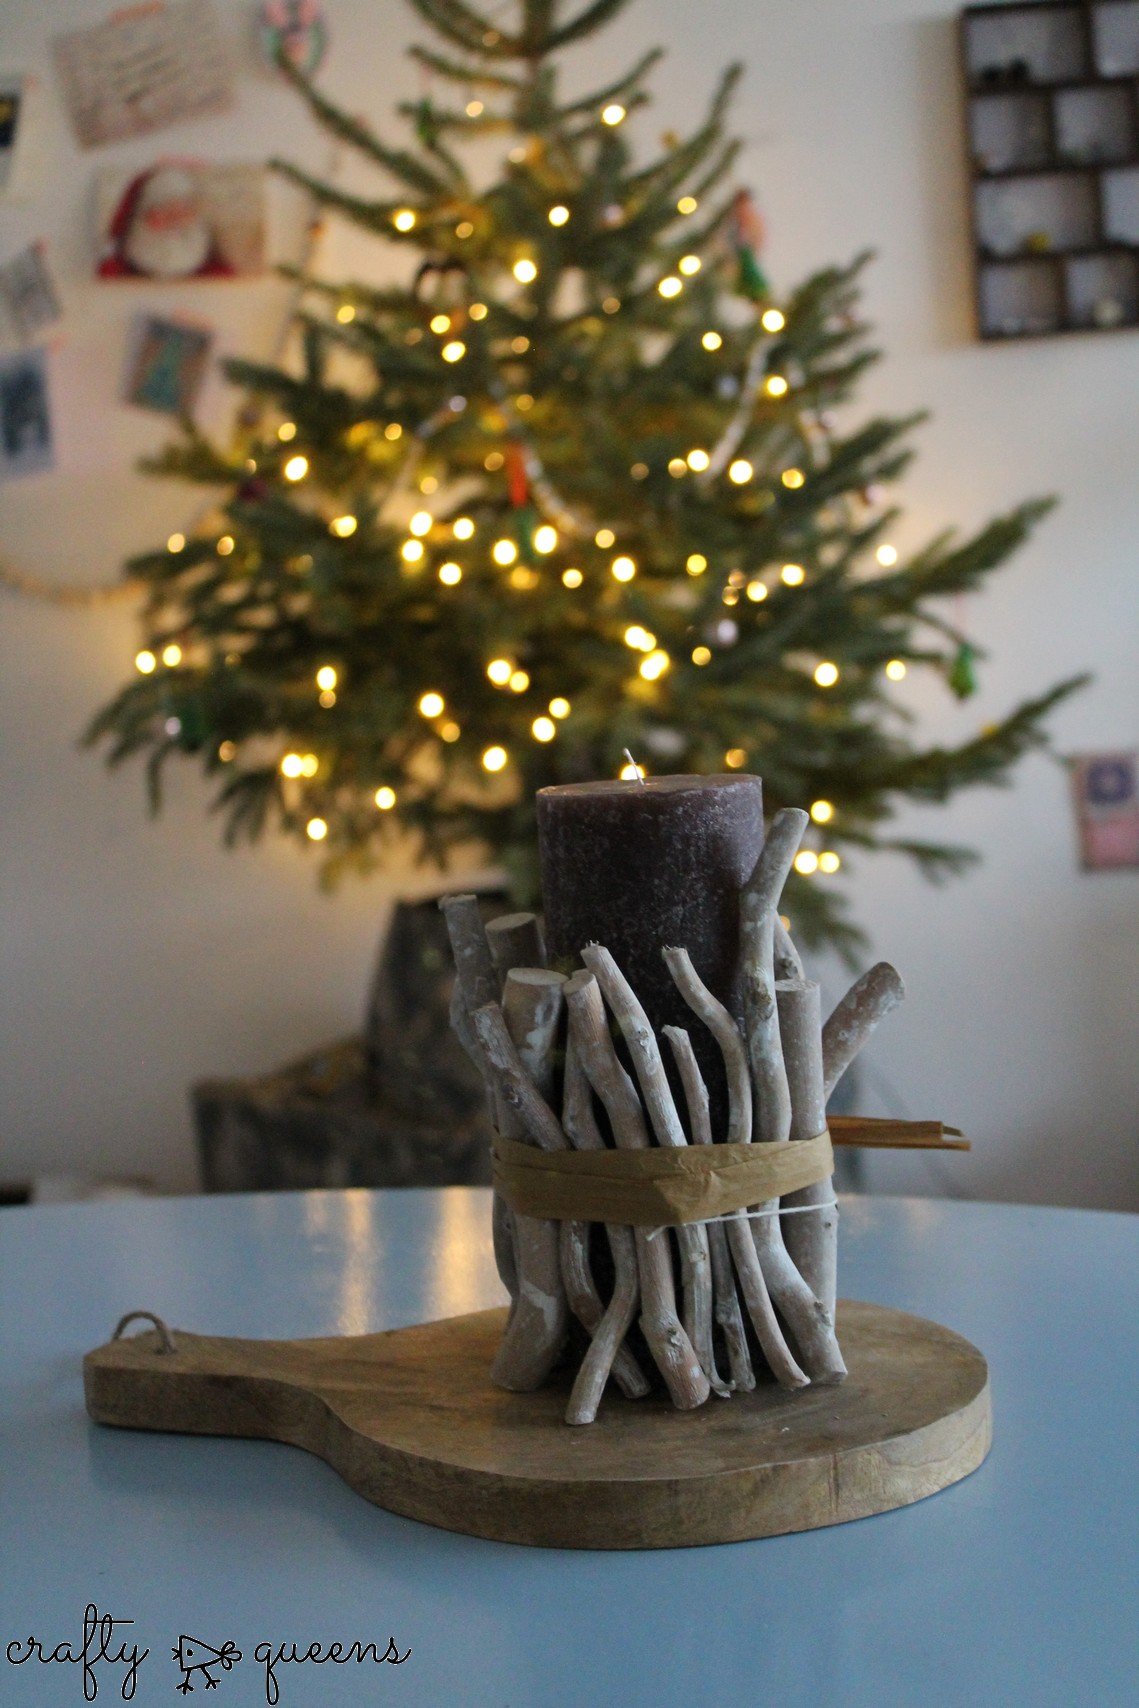
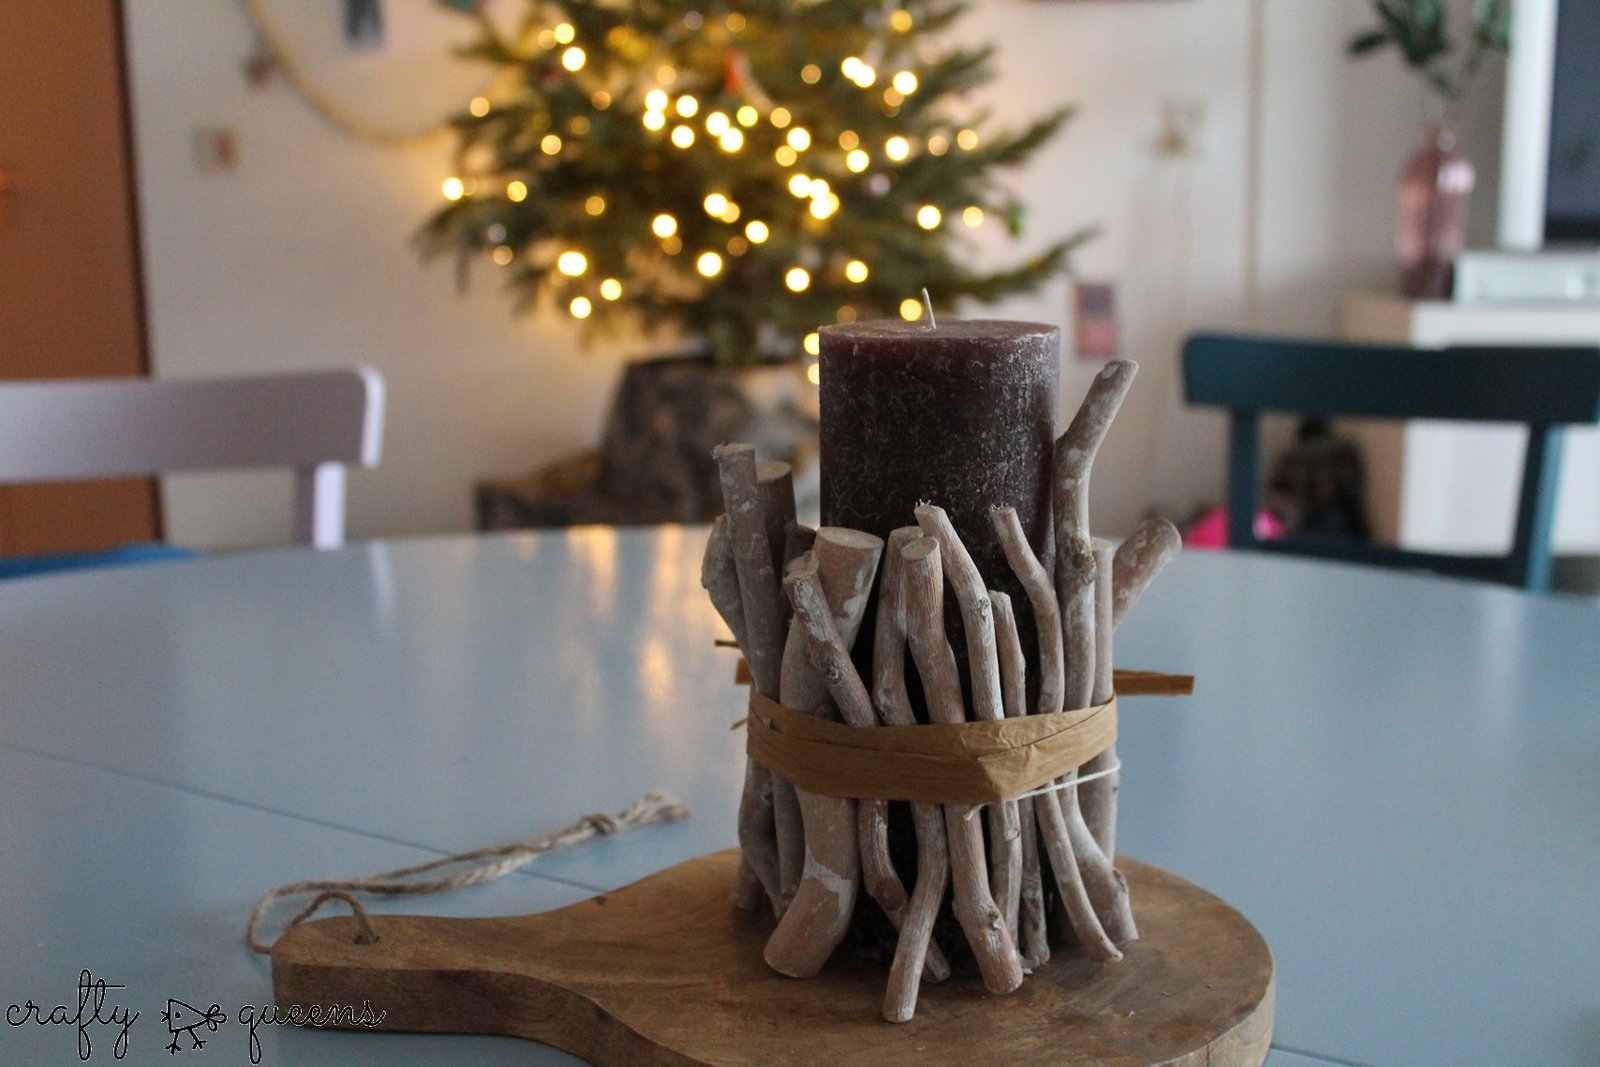
Klaar! Zo simpel is het 🙂 Voor een wat meer feestelijk gevoel kun je nog wat glitters erop strooien. Natuurlijk is deze decoratie ook makkelijk aan te passen voor andere gelegenheden. Veel knutselplezier en alvast een heel fijn 2016 toegewenst!!
Done! It’s really that simple 🙂 To make it more festive, sprinkle some glitter on it. Of course this centerpiece is easily customizeable to fit any event. For now, happy crafting and all the best for 2016!!


2 Comments
Wat een superleuk idee!
Dankjewel Christine!