

Year of Home
This year is my ‘Year of Home’, where I try to add handmade touches all around the house to make it feel more like – you guessed it – home! We moved into a temporary space a couple months ago, and I’m dying to customize it even though we can’t paint the walls or hang any shelves or anything.

If you’ve been following me for a while, you will know I had a beautiful floral wallpaper in my craft studio before that I absolutely loved! So having just white walls in my creative space feels a bit off.
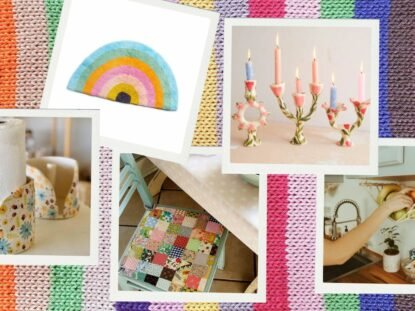
So this year, I’m going to make as many things as I can to spruce up my home! I’m working on many different projects at the same time and they all feel really exciting, but in this post I’m going to talk about air dry clay crafts. If you want to follow along with the other projects, have a look at my Patreon page.
Air Dry Clay
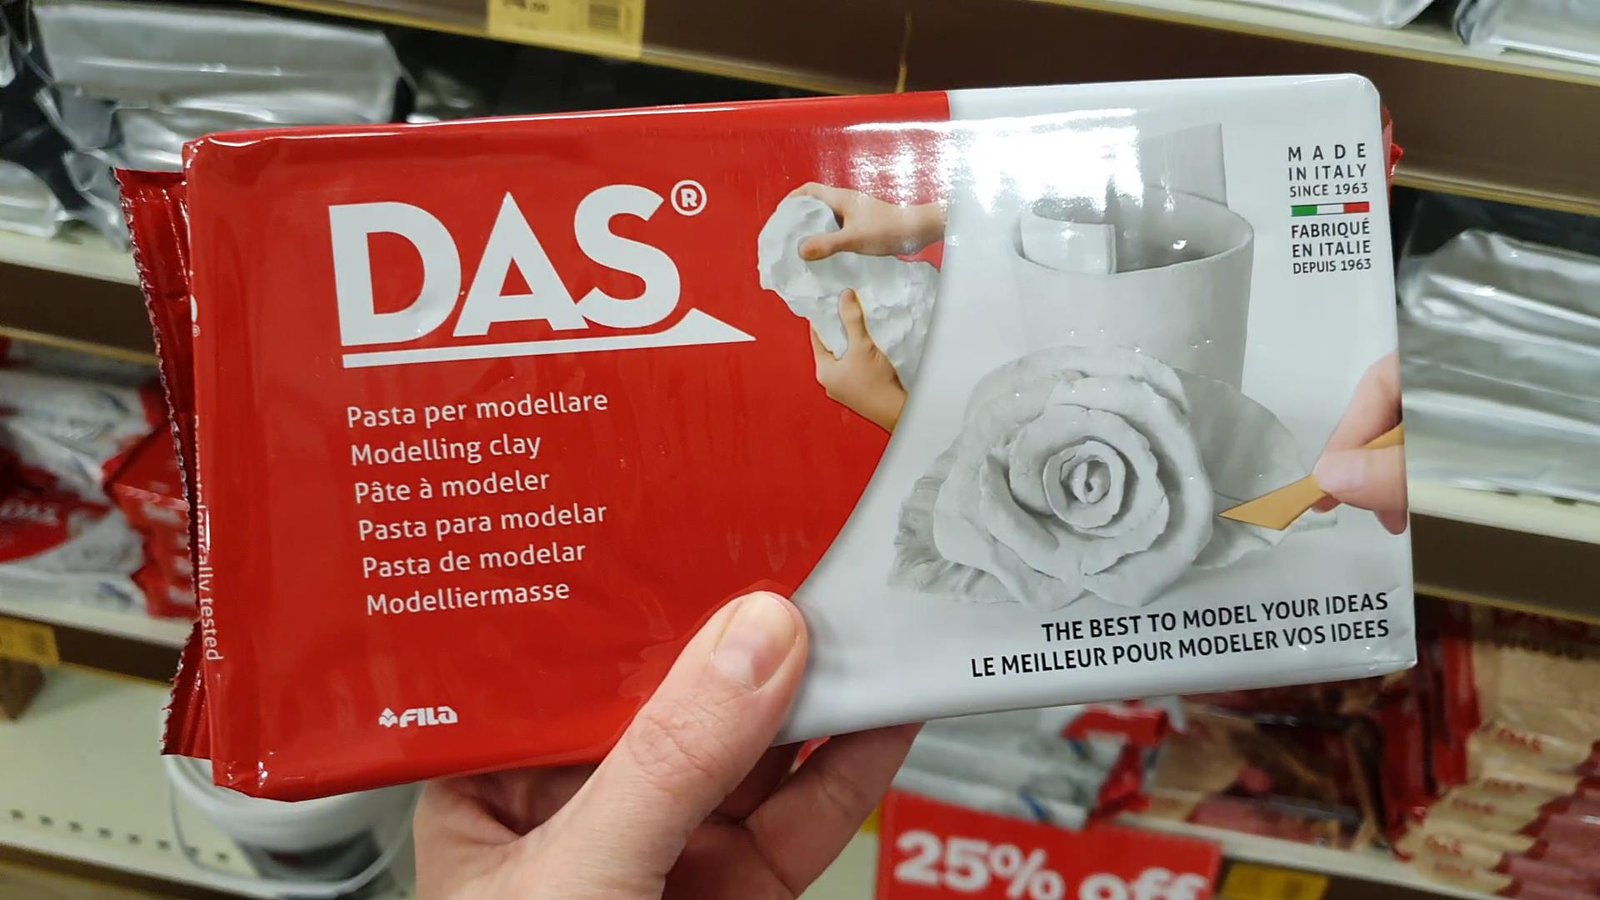
Okay, back to Air dry clay! After seeing tons of advertisements for some overpriced clay DIY kit, I decided to get a pack of clay at my local craft store to try it out. And you might be wondering, what are the pro’s and cons of air dry clay?
Pros
- Beginner friendly
- No firing in an oven or kiln required
- Relatively cheap (around £4 or €7 per kilo)
- Can be painted with regular acrylic paint
Cons
- Is not food safe
- Not waterproof unless you use a sealant
- Takes a long time to dry
- Unsure how durable it is

Do you need other materials?
Do you need any other materials besides the clay? The short answer is yes, but it doesn’t mean you have to go out and buy a lot of new tools. For most of these things, chances are that you will already have them.
For starters, you need a surface to roll the clay on. Maybe you have a large wooden board you can put on your table, or perhaps a plasticy tablecloth that is easy to wipe down. I used a cutting mat that I have for sewing projects – which is also great for jigsaw puzzling as you can move it out of the way easily when you want to use the table for something else.
Next, you want to have some kind of cutting and sculpting tools. Regular knives, spoons and forks can be great tools to cut, shape and customize your clay project. Don’t have a rolling pin? Perhaps you do have an empty wine bottle or something similar so you can roll out your clay.
You’ll also need a bowl with some water, and a sponge. With a wet sponge you can wipe your clay project to make the surface smoother. You also use water to stick two pieces of clay together. First, scratch the surface with a knife or fork, wet it with the sponge or simply with your fingers, and attach the other part onto it.
For letting it dry, you want to put your clay project on a small flat surface you can move (perhaps an old chopping board). For my project, there was some dust sticking to it after I painted it which was a shame. Next time I would cover it with a plastic bag, which does lengthen the drying time but keeps it safe from dust. Are some parts looking unstable, and are you afraid it might collapse? Use paper or dry sponges to support the shape.
So what can you actually make from this? Air dry clay is not food-safe, and the finished item should not be exposed to a lot of water. As someone who always associates clay with either kitchen ceramics or garden decorations, I was having a hard time deciding what to make. If I can’t make a cute teacup or a birdbath, what can I make?
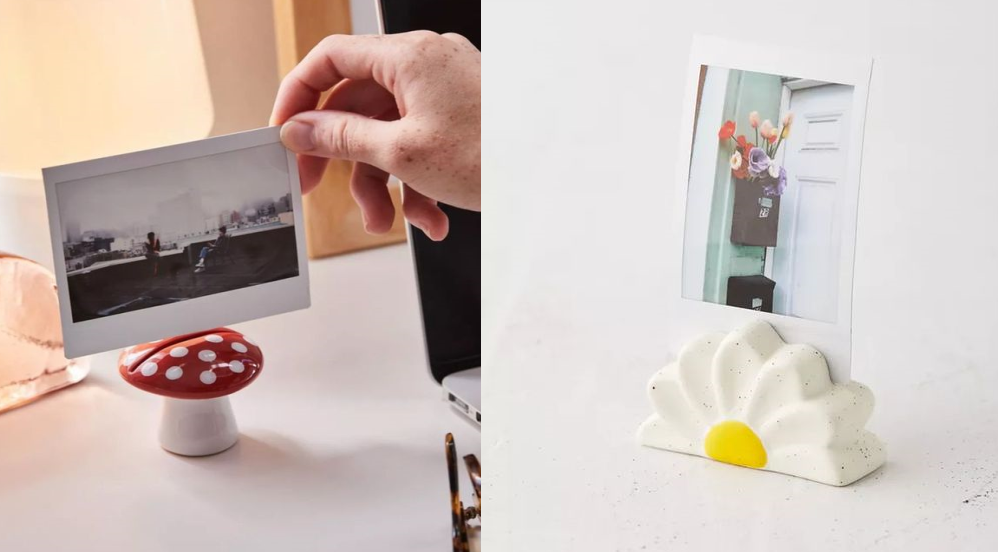
Of course there is still a lot of stuff you can make. Basically anything decorative will make a great project with air dry clay, and it’s really beginner friendly to get into this craft as well. Think cute trinket trays, jewellery holders, hanging ornaments, phone stands… I’m sure you can think of something to make! Want some more inspiration? I have a Pinterest board for the Year of Home with tons of ideas, check it out here.

What will you make with Air dry clay? I made this cute hanging sunflower ornament to go on my wall. I poked holes in the clay while it was still soft, so I could connect the different parts with wire and beads. It turned out so cute! Want to see the finished piece? Find the video here on Patreon:


No Comment