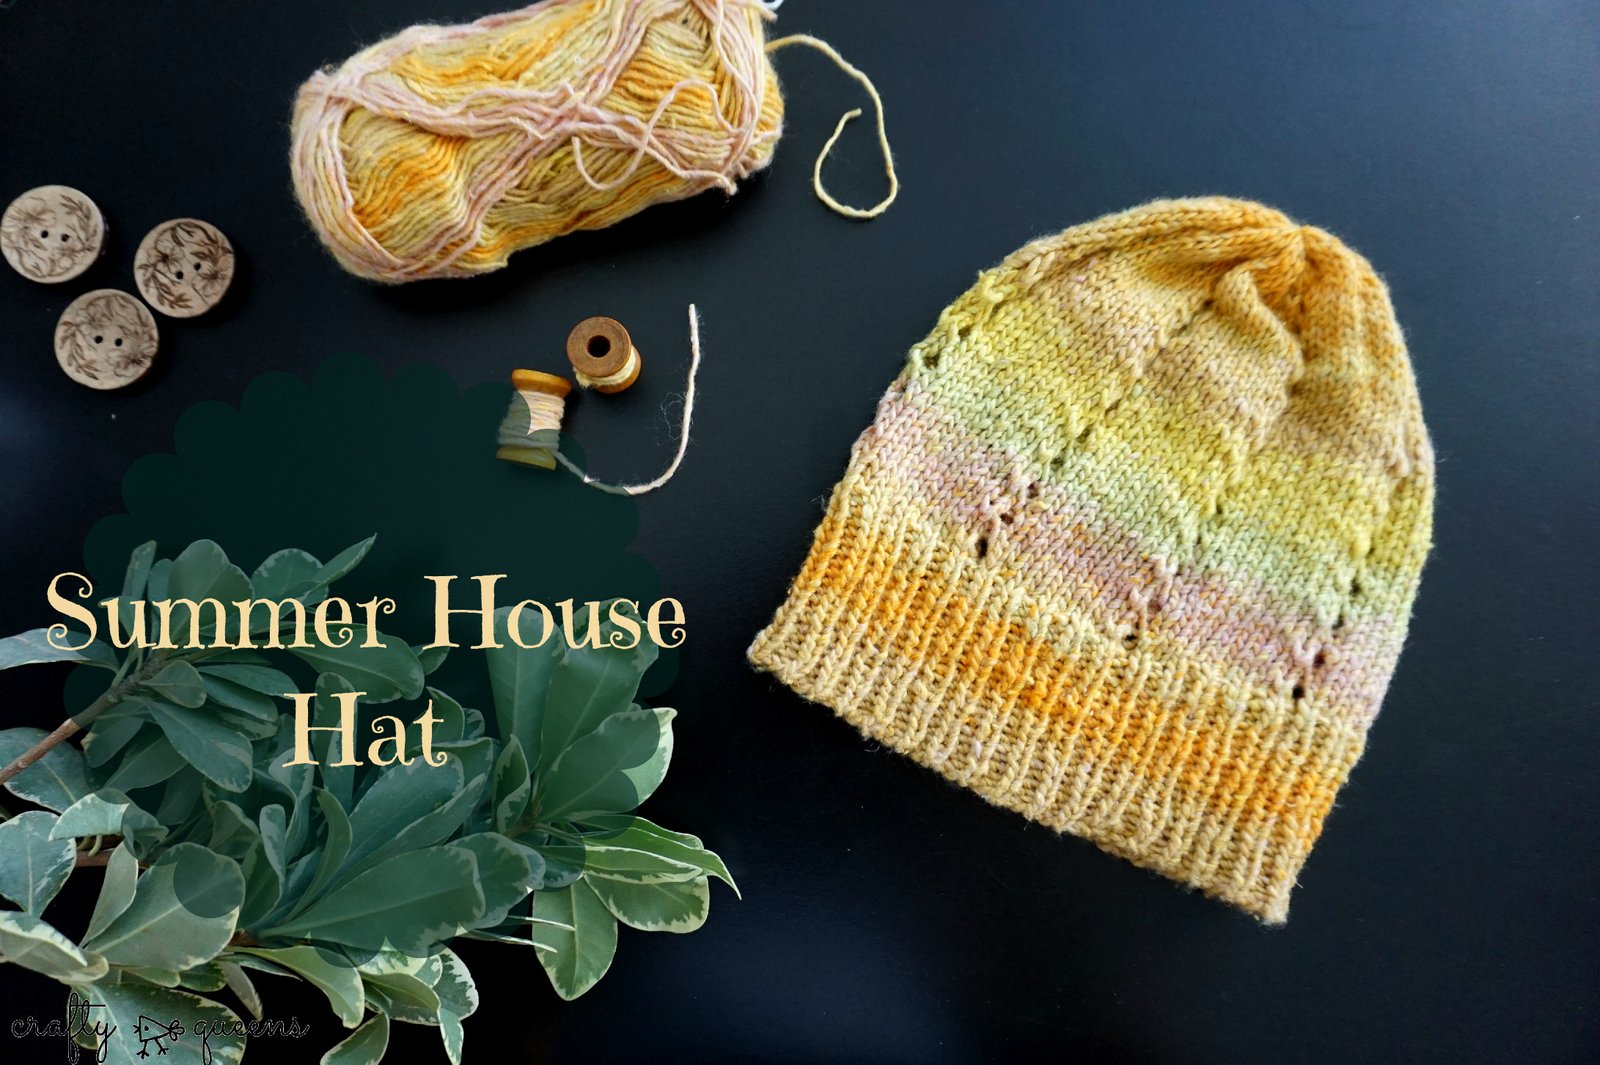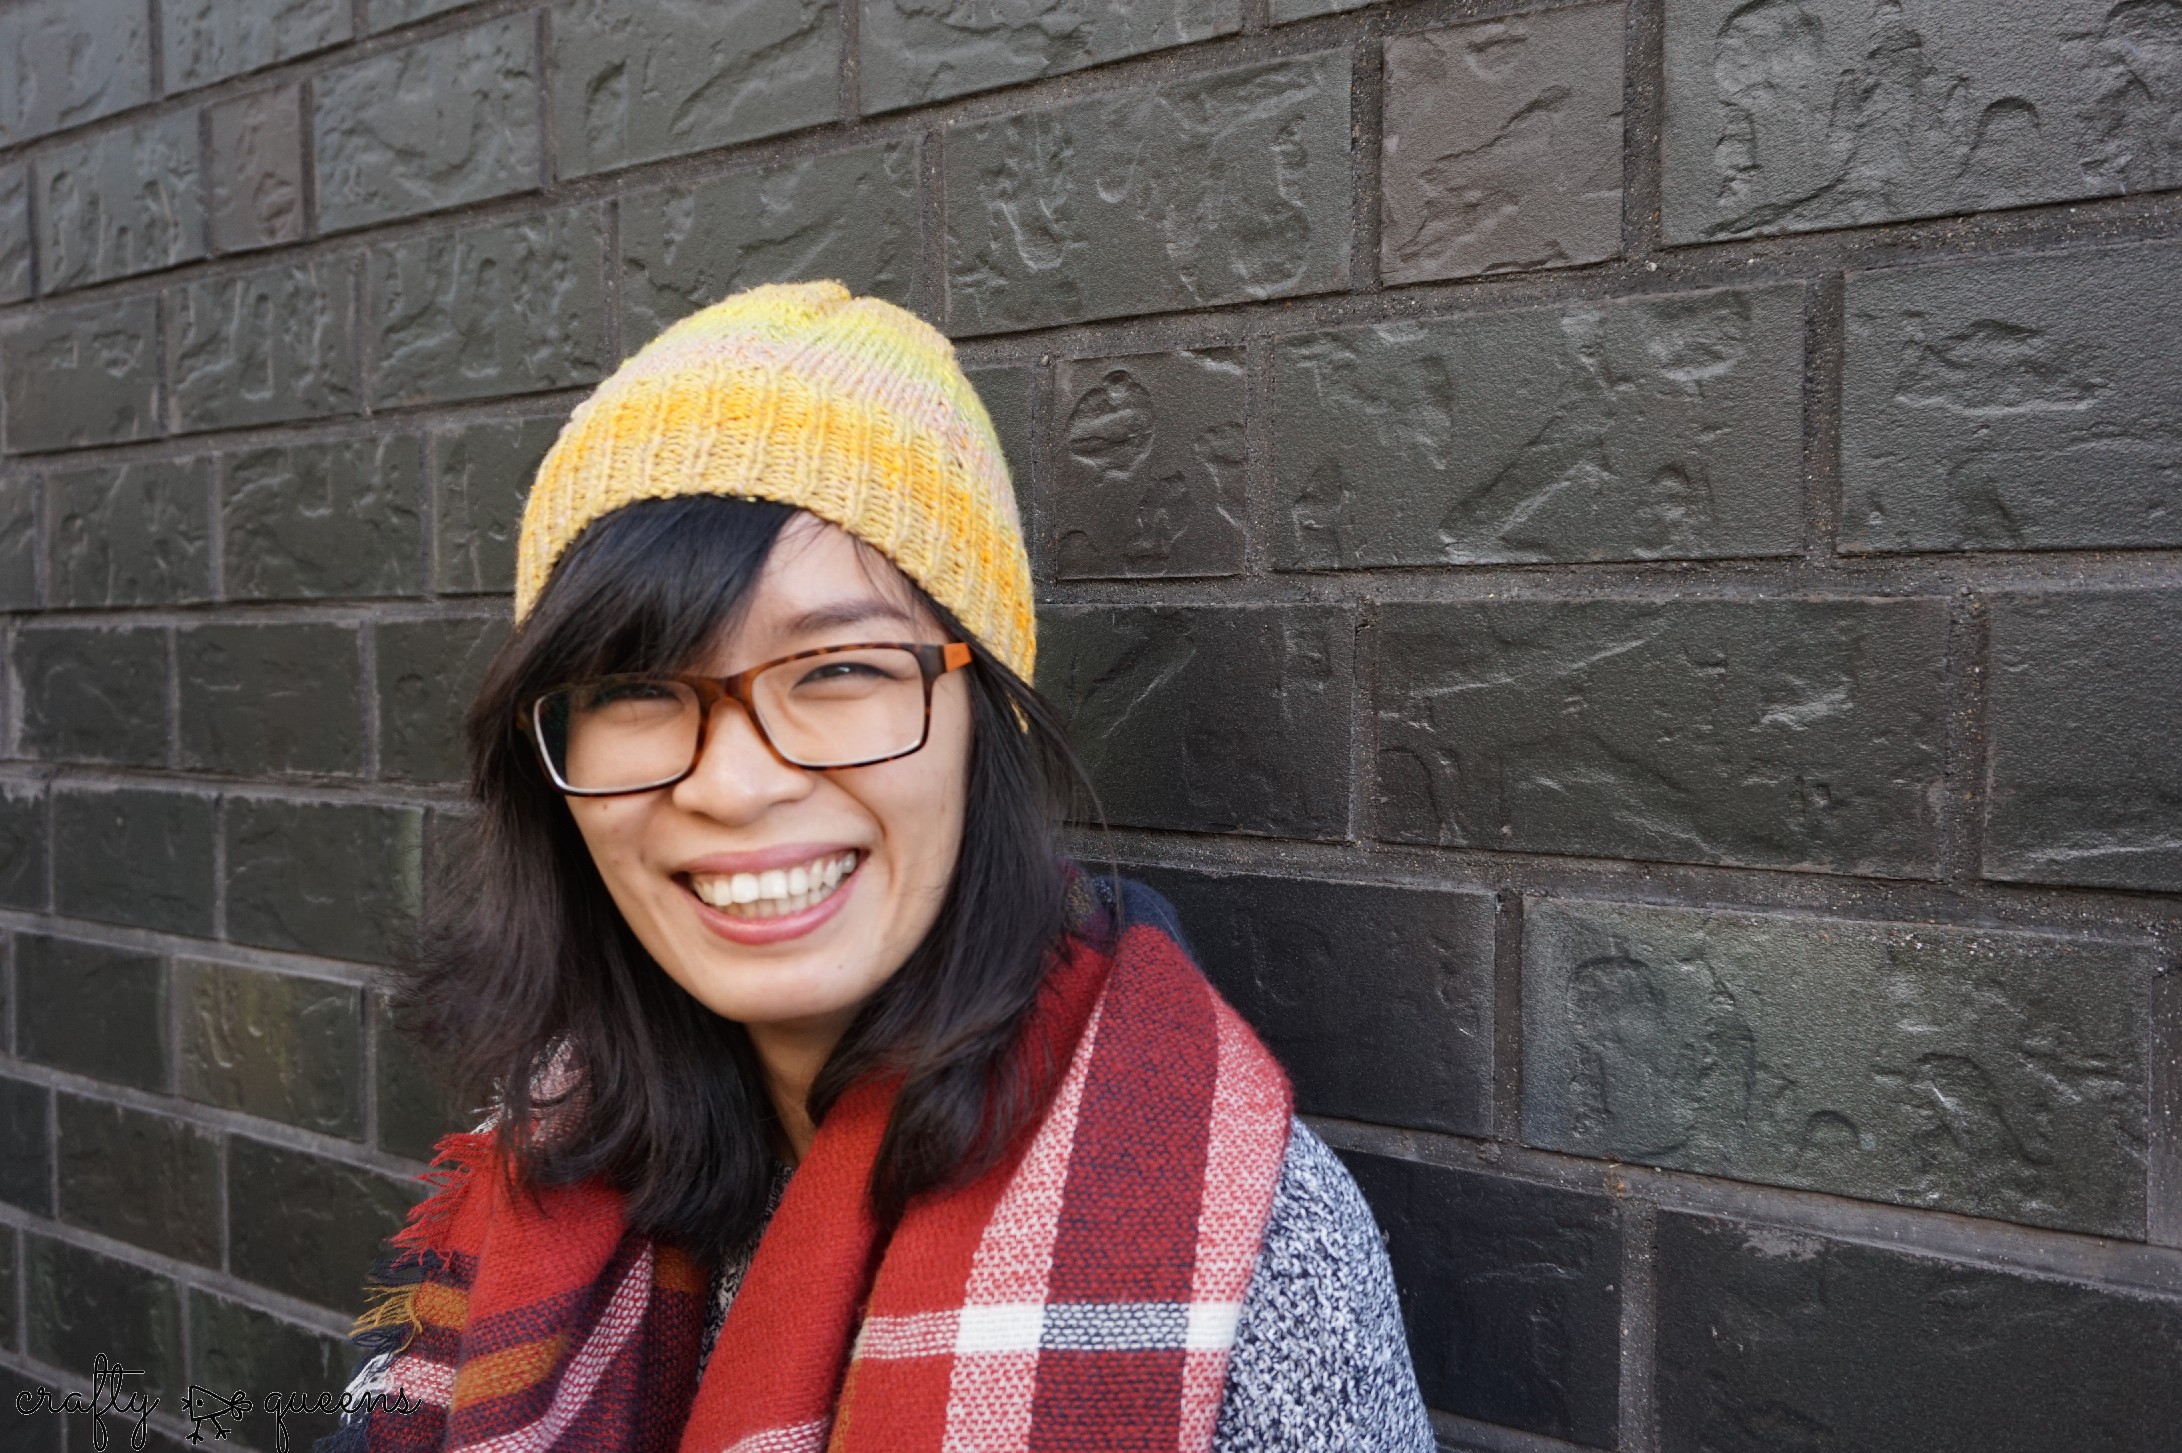
Ik ben zo blij dat ik mijn nieuwste gratis patroon met jullie kan delen! Zoals jullie misschien gelezen hebben in mijn vorige berichten over deze muts, is dat ik mutsen breien best wel lastig vond voorheen. Ik had er nog nooit een gemaakt die echt goed om mijn hoofd paste. Ze waren wel mooi, maar zodra ik op de fiets klom waaiden ze van mijn hoofd! Gelukkig was mijn ervaring met deze gebreide muts heel wat beter. Ik maakte dan ook echt een proeflapje, heb mijn hoofd gemeten en daarop aangepast het aantal steken opgezet.
De muts is precies geworden zoals ik had gehoopt, en hij is ook heel leuk (én snel) om te maken! Ik had voor beide mutsen die ik maakte maar een halve week nodig, en dan breide ik alleen in de avonden. Perfect dus als je deze als kerstcadeau wilt maken.
I’m so happy I can share my latest free knitting pattern with you! As you might have read in my previous posts, I’ve had some trouble with knitting hats in the past. I never made one which actually fit! Sure, they looked great, but when I rode my bicycle they would just fly off my head. Luckily I had a much better experience knitting this hat. I did make a swatch, measured my head and cast on the appropriate number of stitches.
The hat turned out exactly like I had wanted it to, plus it’s really quick and easy to make, perfect for a last minute gift!

Proeflapje // Swatch
Deze muts heeft 18 steken x 30 rijen per 10 x 10 cm
This hat measures 18 stitches x 30 rows for every 10 x 10 cm
Maat // Size
Deze muts past zowel mijzelf als een heel aantal vrouwen in mijn omgeving. De omtrek van mijn hoofd is 52cm, dit heb ik gemeten langs de lijn waar je muts komt te zitten. Als je meer steken moet opzetten adviseer ik om voor de afzakmuts te gaan (blauwe variant). Je zet bijvoorbeeld 75 steken op ipv 70. De afzak-variant heeft 90 steken in de eerste toer na het boord. In plaats van 20 steken te meerderen zoals het patroon beschrijft, meerder er 15 steken die je verdeelt over de toer. Zorg wel dat je uitkomt op 90 steken of een ander veelvoud van 10 steken zodat je het steekpatroon kan volgen.
This hat fits myself as well as most women I asked to try it on. The circumference of my head is 52 cm / 20,5 inches, measured along the line where the brim of the hat is supposed to be. If you have to cast on more stitches, I advise to follow instructions for the slouchy hat. For example, you cast on 75 stitches instead of 70. The slouchy version increases to 90 stitches in the first row after the brim. Just calculate your increases and make sure you end up on 90 stitches or a multiple of 10 sts to be able to follow the stitch pattern.
Wat heb je nodig?
Scheepjes Secret Garden – 2 bollen (bij de ene kwam ik uit met 1 bol, bij de andere moest ik net de tweede aanbreken, neem dus voor de zekerheid twee! Kun je altijd nog handwarmers maken die erbij passen)
Rondbreinaalden maat 3,5mm (voor het boord) en 4mm (voor de rest). Ik gebruikte 80cm lange naalden hiervoor.
Schaar
Stopnaald
You’ll need:
Scheepjes Secret Garden – 2 balls (for one of the hats I needed just one ball, for the other I needed a bit more, just take 2 balls to be safe, you could always knit some matching handwarmers!)
Circular knitting needles size 3,5mm – US size 4 (ribbing) and size 4mm – US size 6 (for the rest) I used 80cm long needles
Scissors
Darning needle
TIP: Als je een beginner bent, gebruik dan dubbelpuntige naalden (DPN) in plaats van rondbreinaalden, daarbij hoef je namelijk niet de magic loop techniek te gebruiken.
TIP: If you’re a beginner, use double pointed needles (DPN) instead of circulars, as you won’t have to use the magic loop technique.
Gebruikte Afkortingen
r – recht
av – averecht
omsl – omslag
2r.sambr – 2 steken recht samenbreien
Used Abbreviations
k – knit
p – purl
yo – yarn over
k2tog – knit 2 stitches together
Er zijn twee versies van deze muts. De gele variant die ik als eerste heb gemaakt zit strakker om het hoofd en heeft alleen een beetje extra ruimte bij de top van het hoofd, waar hij dan een beetje afzakt. De blauwe muts is ruimer om het hoofd en zakt wat meer af. Let op: dit afzakken heeft niets te maken met de maat van de muts, beiden hebben hetzelfde boord en dus dezelfde maat.
There are two versions of this hat. I made the yellow one first, this one is a little bit tighter around the head. It has a slight hipster-slouch on top of the head, but overal fits very nicely. The blue one has more slouch overall. The amount of slouch does not affect the size of the hat, both versions have the same pattern and stitch count for the ribbing, so they are the same size, just not the same shape.

Boord // Brim
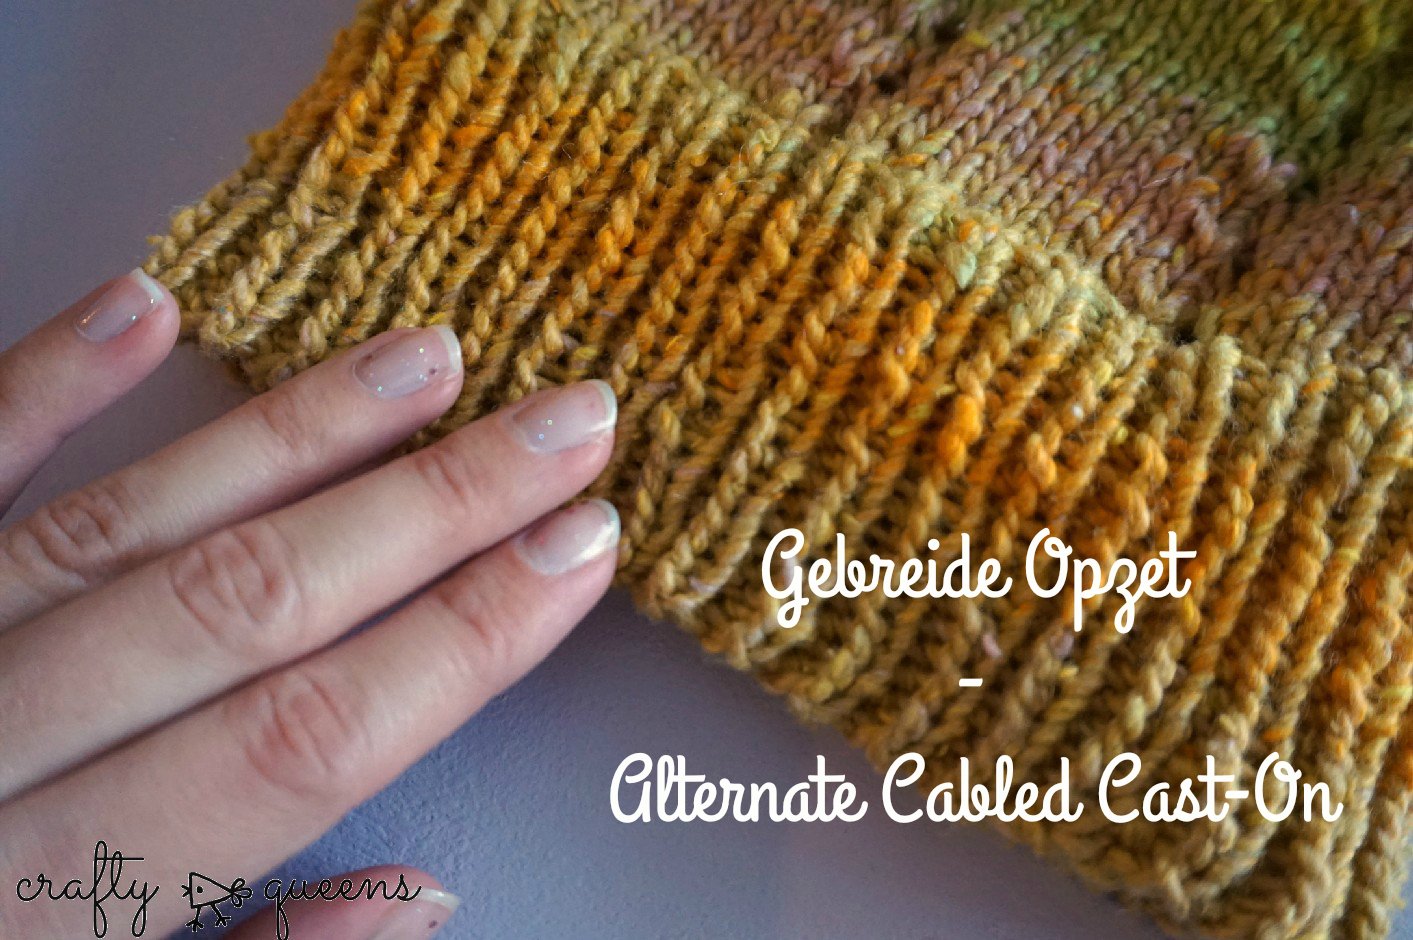
Zet 70 steken op met de Gebreide Opzet methode, om een 1×1 ribpatroon te creeëren. Bekijk mijn instructievideo voor deze opzetmethode hier. Deze muts wordt gebreid in het rond, maar omdat de eerste steken na de opzet best wel strak zijn is het lastig deze meteen in het rond te breien. Brei daarom eerst 1 rij, dus keer je naald om en begin met *1 recht, 1 averecht* te breien. Breng daarna je naaldpunten naar elkaar toe om in het rond te gaan brengen, je moet hiervoor wel gebruik maken van de ‘magic loop’ techniek als je naalden net zo lang zijn als de mijne. Plaats een steekmarkeerder om het begin van de toer aan te duiden. Brei in boordpatroon *1 recht, 1 averecht* tot je een boord hebt van ongeveer 6cm, dit zullen ongeveer 18 toeren zijn.
Cast on 70 stitches using the Alternate Cable cast-on to create 1×1 ribbing, I have an instruction video on that technique here, remember to turn on subtitles by clicking ‘CC’. This hat will be knit in the round, but the first round is so tight I recommend knitting it flat for 1 row. So just turn your work, *k1, p1* across. Then join your needles for knitting in the round, you’ll need to use the magic loop technique if you have long circular needles. Insert stitch marker at the beginning of the round.
Continue in 1×1 ribbing (k1, p1) for 2,5 inches/6cm. This will be approx. 18 rounds.
!! Voor de afzakmuts, volg eerst dit meerderpatroon: *3r, M1R, 4r, M1R*, zo meerder je 20 steken in deze toer. Volg mijn instructievideo voor de M1R meerdertechniek.
!! For the slouchy version, increase 20 stitches in the first row after the ribbing, like so: *k3, M1R, k4, M1R*. Watch my short instruction video on the M1R increase technique here.
Steekpatroon // Stitch Pattern
Brei drie toeren tricotsteek (alle steken recht), begin dan het gaatjespatroon:
Toer 1: *3r, omsl, 2r.sambr, 5r*
Toeren 2-5: *r*
Herhaal dit patroon totdat je muts ongeveer 20cm lang is, inclusief boord. Ik had toen 9 herhalingen van het patroon gebreid, afhankelijk van je manier van breien (los of strak) is dit misschien meer of minder.
Knit three rows of plain stockinette, then begin the eyelet pattern:
Round 1. *k3, yo, k2tog, k5*
Rounds 2-5. k around
Repeat these rounds until your hat measures about 8 inches/20cm from the hem. I had done 9 repeats of the eyelet pattern up until this point. Depending on gauge, you might have more or less.
Top // Crown
Nu gaan we sterk minderen zodat je af kunt hechten. Als je toevallig net weer een rij met gaatjes moest doen, brei je de eerste toer zo:
Toer 1. *3r, omsl, 2r.sambr, 3r, 2r.sambr*
Zo niet brei je de eerste toer zo:
Toer 1.*8r, 2r.sambr*
Ga zo verder in beide gevallen:
Toer 2. *7r, 2r.sambr*
Toer 3. *6r, 2r.sambr*
Toer 4. *5r, 2r.sambr*
Toer 5. *4r, 2r.sambr*
Toer 6. *5r, 2r.sambr*
Haal de draad door alle steken en trek samen. Naai nu het bovenste gat helemaal dicht en werk het draadeinde weg, net als de overige draadeindjes.
Now we are going to decrease to form the crown of the hat. If you happen to end on a round 5, about to start an eyelet round again, knit your next round like so:
Round 1. *k3, yo, k2tog, k3, k2tog*
If not, knit your next round like so:
Round 1. *k8, k2tog*
In both cases, continue like this:
Round 2. *k7, k2tog*
Round 3. *k6, k2tog*
Round 4. *k5, k2tog*
Round 5. *k4, k2tog*
Round 6. *k3, k2tog*
Break the yarn, pull it through all stitches and pull tight. Close the gap any further if needed, and weave in all ends.

Zo nodig kun je je muts nog blocken door hem eerst te weken in lauw water, en daarna te spannen over een ballon. Blaas de ballon op terwijl je hem al in de muts hebt gestopt. Laat het opdrogen, en klaar! Zo komt je stekenpatroon nog beter uit.
Ik hoop dat je dit patroon leuk vindt! Als je er ook een maakt vind ik het leuk als je foto’s deelt op mijn Facebook pagina of op de Ravelry pagina van dit project. Heel veel breiplezier!
If needed, you can block your hat by first soaking it, then blowing up a balloon inside of the hat. Let it dry, and tadah! The stitch pattern will look even better.
I hope you like this free pattern! If you make one, I would love to see pictures of it on my Facebook page or on the Ravelry page of this pattern. Happy knitting!
**Dit patroon is mede mogelijk gemaakt door Scheepjes, door de sponsoring van hun garens kan ik patronen blijven schrijven voor jullie 🙂
This pattern was sponsored by Scheepjes, they help me to continue to write patterns for you 🙂 **


5 Comments
Mooie en leuke muts. Bedankt om het patroon met ons te delen.
Heel graag gedaan Lize 🙂 Bedankt voor je compliment!
Je mutsen zien er leuk uit.
Thanks for the pattern it turned out really-really great!
Thank you Diana, that is so good to hear!!