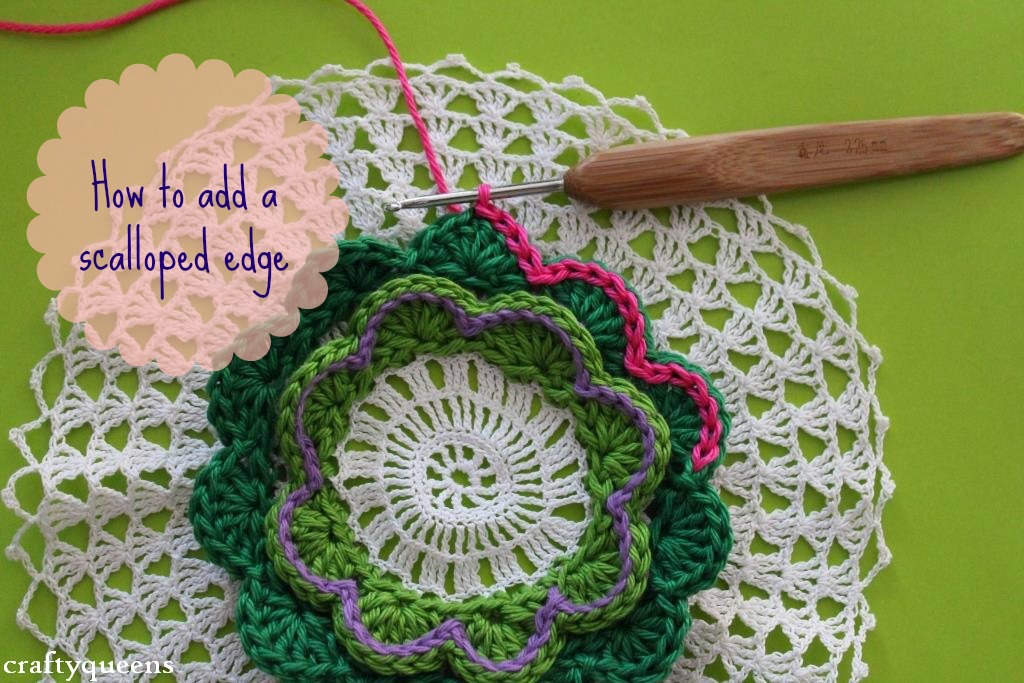
 Geschulpte randjes, schelpenrandjes, golvende randjes.. hoe je ze ook noemt, ze staan bijna overal leuk bij! En ze zijn zeker niet alleen toe te voegen aan de rand van een haak- of breiwerk. Bij deze doily heb ik in het midden een schelpenrandje toegevoegd, en dat vrolijkt de boel meteen op! Ook weten hoe je dit doet? Ik laat het je in deze blogpost zien!
Scalloped edges, you can add them to almost everything! Not only can they be attached to the edges of your crochet or knitting, you can add them anywhere you want. In the doily you see above, I added the scallops in the centre! Want to know how to do this? Continue reading and you’ll find out! Als eerste stap moet je een geschikte plek vinden om het randje aan te hechten. Als je bijvoorbeeld een lapje van vasten hebt gehaakt, kun je makkelijk tussen de steken door de schelpjes haken. Wat je nodig hebt is een rechte lijn (of cirkel als je in het rond werkt), met regelmatige gaten erin, die niet te groot zijn.
First, you’ll have to find a place to attach the scallops. If you’ve crocheted a square with single crochets (US), it’s easy to attach them in between rows. All you need is a straight line (or circle if you’re working in the round), with evenly spaced gaps.
 Voor de eerste steek haal je een lus op door het eerste gat, en haak je een losse. Herhaal daarna de volgende stappen van de foto’s hierboven:
Stap 1: Plaats je haaknaald door het volgende gat, en haal de draad erdoorheen
Stap 2: Je hebt nu een lus opgehaald.
Stap 3: Maak de vaste af: sla de draad weer om en haal deze door beide lussen heen.
To make the first stitch, pull up a loop through the first gap. Then, repeat the following steps (also see pictures above):
Step 1: Place your hook through the next gap and pull up a loop
Step 2: You now have 2 loops on your hook
Step 3: Finish the single crochet by doing a yarn over and pulling the yarn through both loops.
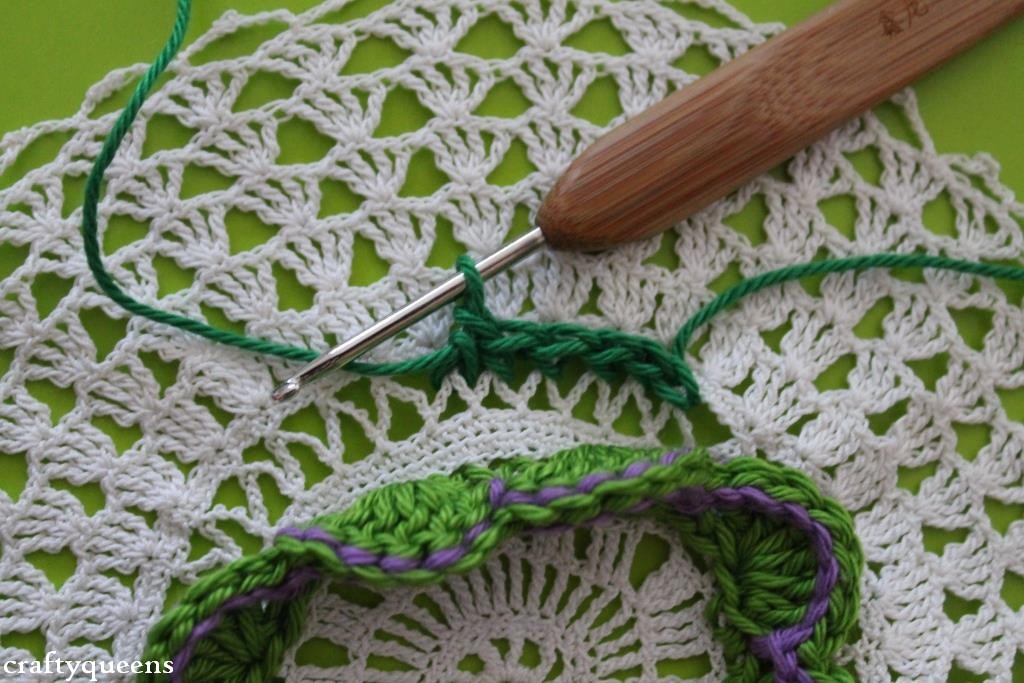
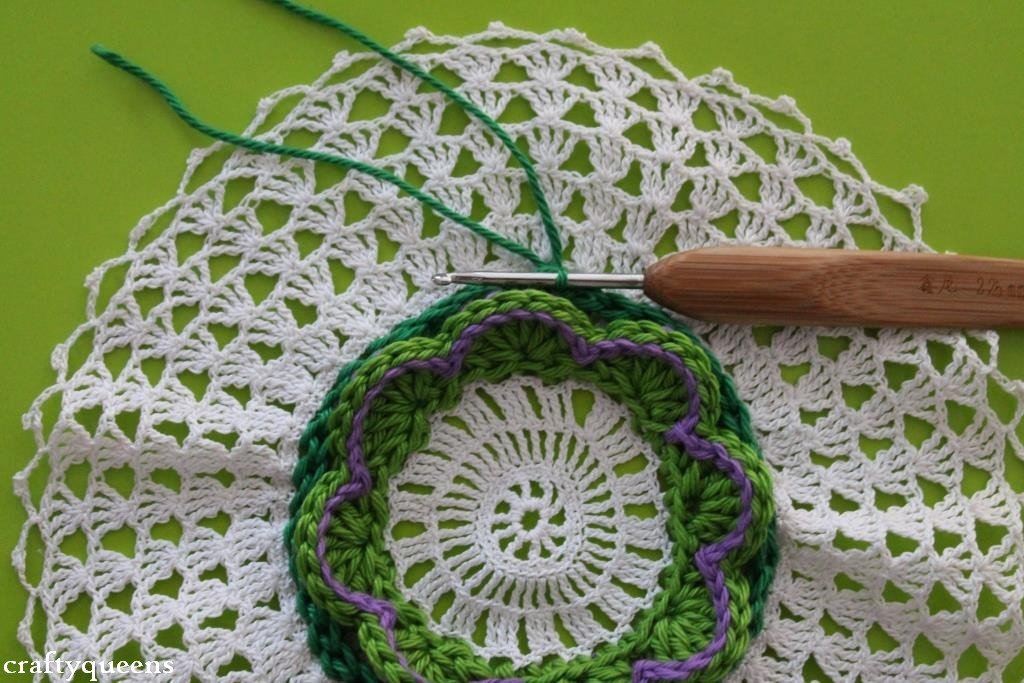 Ga zo door totdat je helemaal rond bent geweest. Als je in rijen werkt: ga zo door tot het eind van de rij.
Continue doing this until you’ve reached the end of your row or round. 
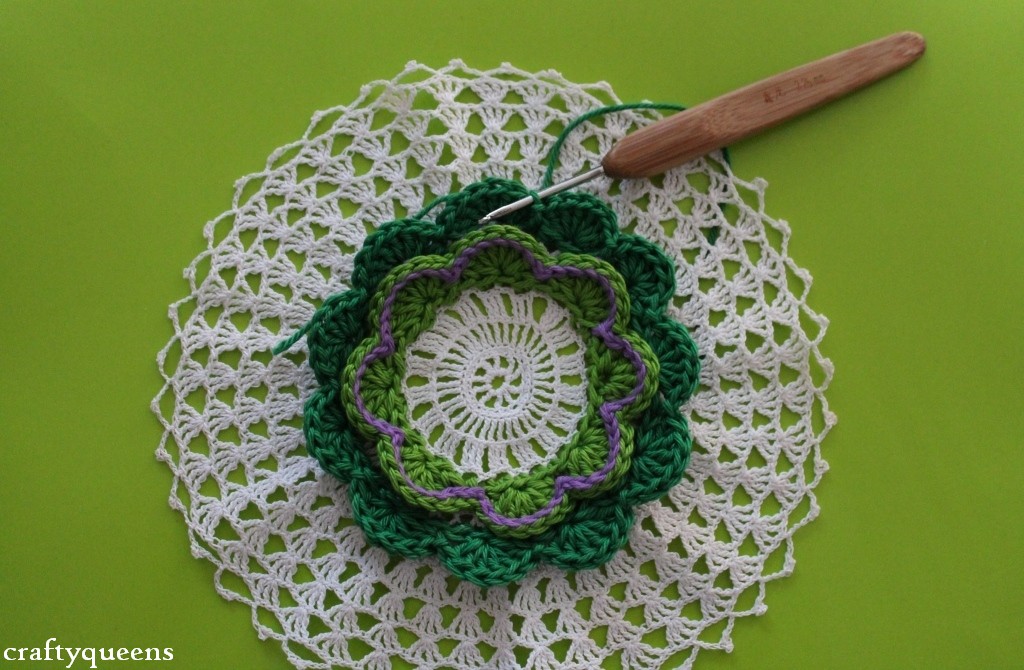 Tijd voor de schelpjes! Deze haak je in de vasten van de vorige toer. Ze gaan als volgt:
Sla 1 steek over, 6 stokjes in de volgende steek, sla 1 steek over, 1 halve vaste in de volgende steek.
Herhaal dit voor de hele toer/rij. Als je op het eind niet uitkomt, probeer dan om het laatste schelpje wat langer te maken door bijvoorbeeld 2 steken over te slaan, of juist korter door geen steek over te slaan. Als je voor het laatste kiest, probeer dan eens om halve stokjes te haken in plaats van stokjes, dat ziet vaak beter uit in zo’n geval.
Time to crochet the scallops! You crochet these in the stitches of the previous round, like this:
Skip 1 stitch, 6 double crochets in the next stitch, skip 1 stitch, slip stitch in the next stitch.
Repeat until the end of the row/round. If the last scallop doesn’t quite fit on your number of stitches, try to adjust it to the number of stitches that you have left. If you have more stitches than you need, try to stretch the scallop by skipping 2 stitches. If you have too few stitches, try to make it shorter by not skipping a stitch. You might want to crochet half-double-crochets when doing that.
 Om het helemaal af te maken kun je dan ook nog een randje halve vasten haken rondom de schelpjes. Haak 1 halve vaste in elke steek. Ik vind het altijd een leuk resultaat geven als je een contrasterende kleur gebruikt. Probeer het eens uit!
You can add a row of slip stitches for a final touch. Crochet 1 slip stitch in every stitch. I always like it best when doing this with a contrasting colour, you should try it!  Helemaal klaar! En, waar ga jij een geschulpt randje aan haken?
All done! So, what are you going to add scallops to next?





5 Comments
wat mooi gedaan! Zo leuk die kleurtjes bij het wit. gr. Hennie
Dankjewel Hennie! De kleuren fleuren het inderdaad helemaal op 🙂 xx
Carmen, thank you for this tutorial and it being also done in english. This would make a good tutorial on you tube.
Hello Carmen, I was going to ask you if there was a pattern for this doily you are embellishing with scallops. thank you Meme
Hi! I got the doily at a thrift store, so I’m afraid I don’t have the pattern for it, but there are lots of doily patterns on Ravelry for example!