
Rilakkuma (rilak= relax, kuma= beer) is een Japans beertje, en is net als Totoro en Domo een cartoon, die zijn eigen merkartikelen heeft in winkels. Hij is ontzettend lui en houdt van eten. Zijn beste vrienden zijn een beige beertje en een eendje met neusgaten. In China heb ik hem voor het eerst gezien en ik vond hem meteen zo schattig! Ik heb daar heel veel Rilakkuma spulletjes gekocht, zoals een cameratasje, boekenleggers, een tas en een foto-album, en toen ik wegging uit China kreeg ik zelfs een gigantische Rilakkuma knuffel!
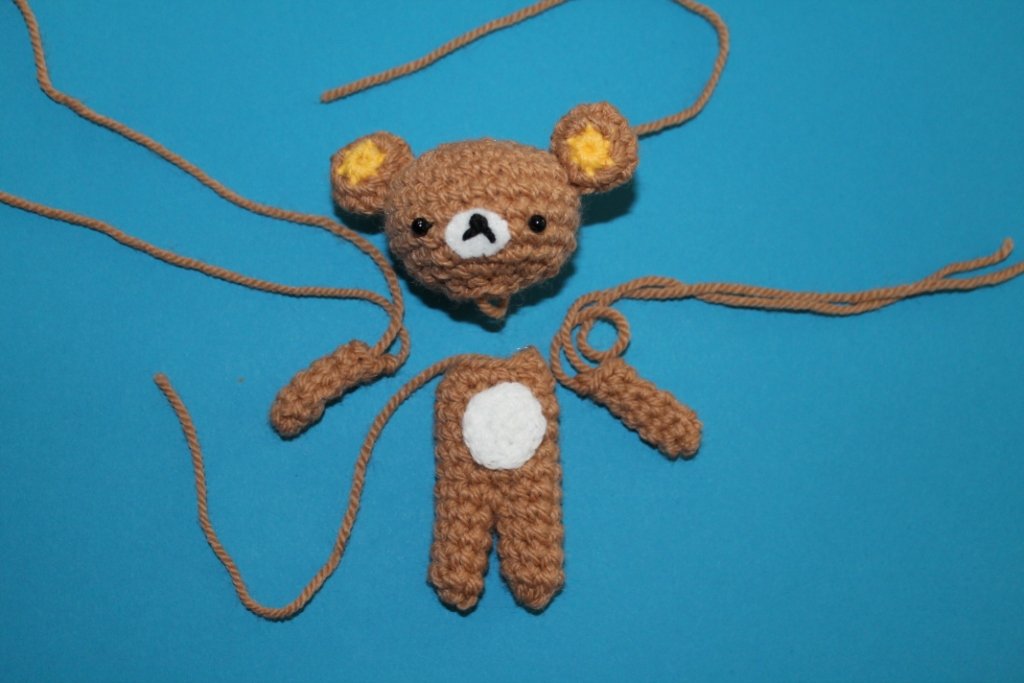
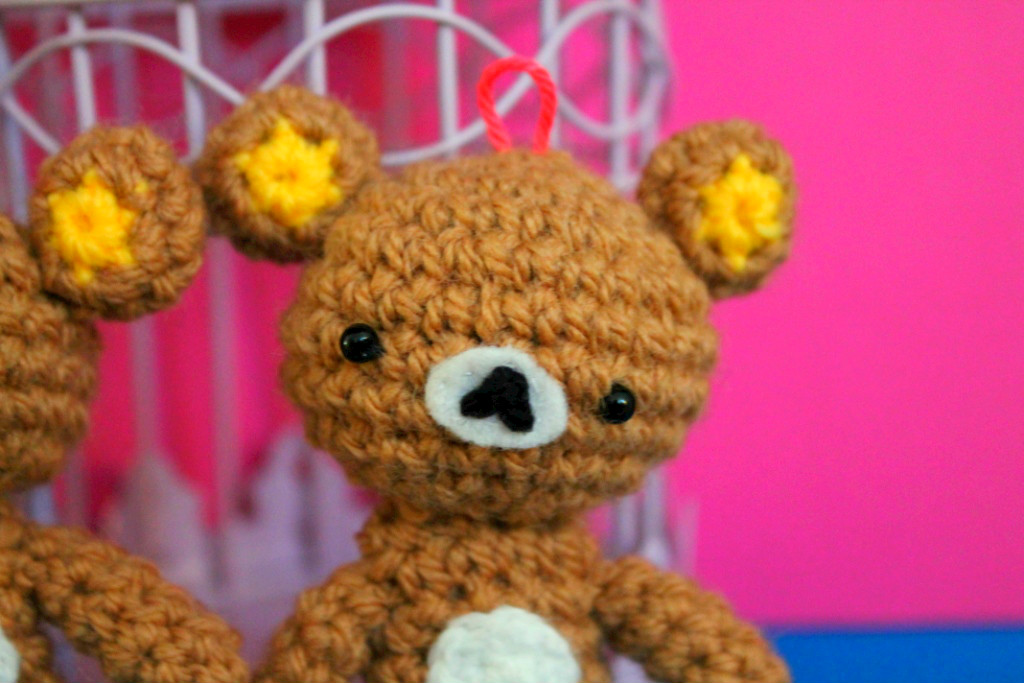
Ik zoek al heel lang naar een goed Rilakkuma patroon, maar helaas zonder succes. En toen bedacht ik: hoe moeilijk kan dat nou zijn? Het is gewoon een beertje toch? Zowat het enige wat een beertje tot Rilakkuma maakt, is de plaatsing van de oogjes en de neus, en dat de binnenkant van zijn oren geel zijn. Eigenlijk is het heel simpel! Nadat ik de oortjes en het hoofd had gemaakt, was de rest ook heel simpel. Op de foto hieronder staat mijn eerste poging.
Rilakkuma (rilak = relax, kuma = bear) is a Japanese bear cartoon, and I think it’s so cute! When I was in China I used to hoard everything with Rilakkuma on it. Bookmarks, stuffed toys, bags, small baskets, you name it! When I left China, my friends even got me a giant Rilakkuma teddybear! I’ve been looking for a good Rilakkuma crochet pattern for ages, it seems, but I never really found one. Then I thought, how hard can it be? It’s just a bear! The only thing that’s different is the expression on it’s face and the yellow bit in the ears. No biggie! So I improvised a pattern and this is what I came up with! ^^ Hope you guys all enjoy this pattern.
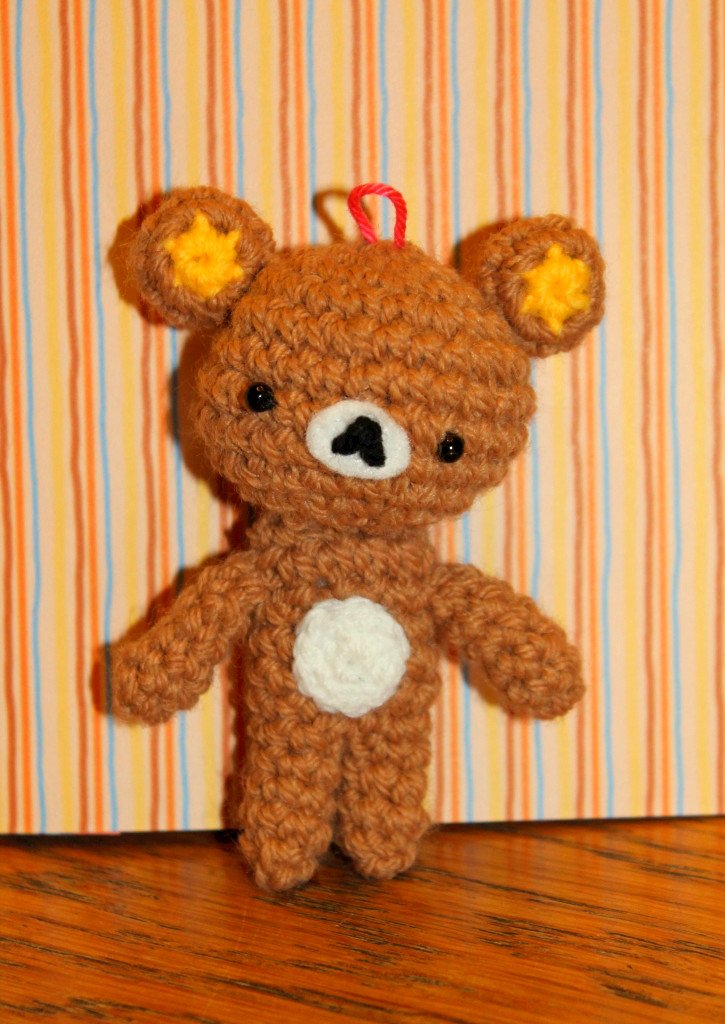
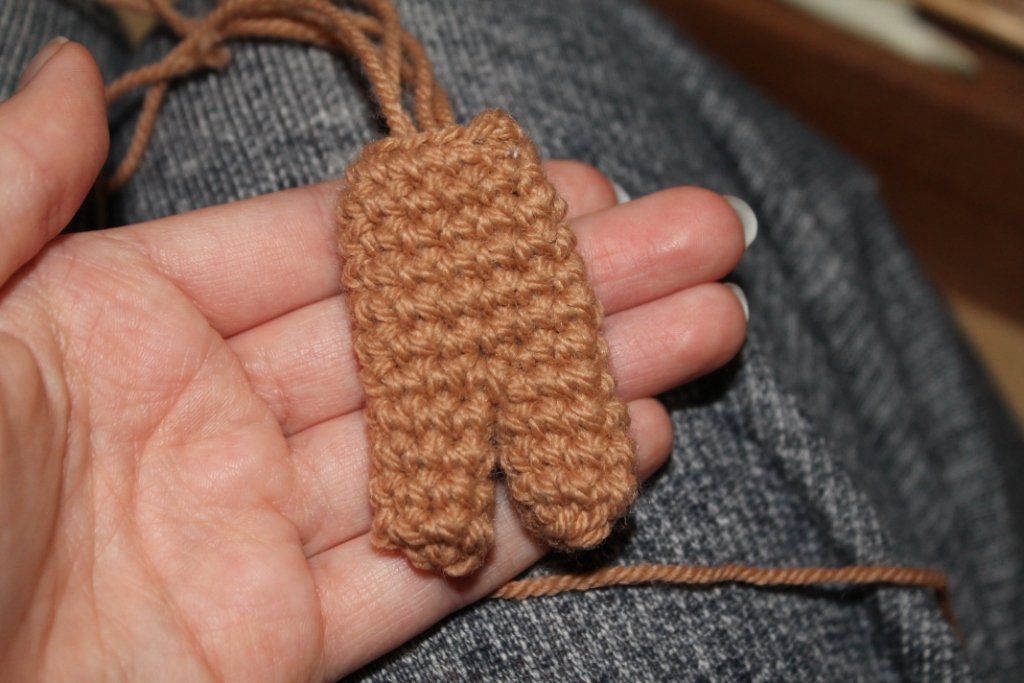
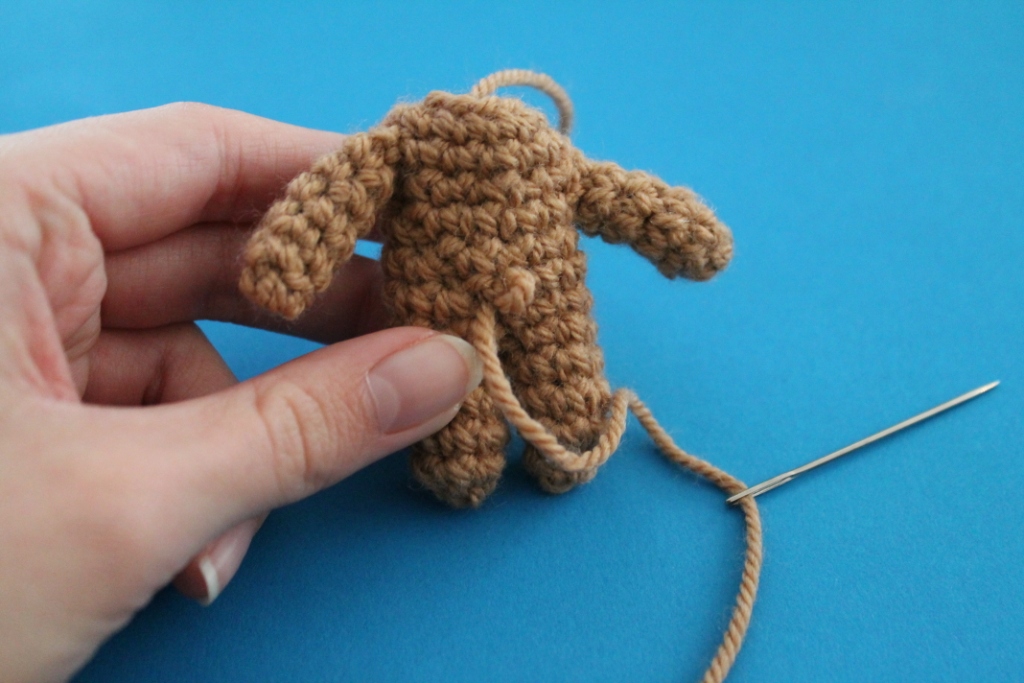
Best goed gelukt toch? Ik heb het lijfje en de beentjes in een stuk gehaakt, zodat het makkelijker is voor hem om te staan.
Hoe verleidelijk het ook is om met het hoofdje te beginnen, je begint eigenlijk altijd met de oren, omdat het veel makkelijker is om die erop te naaien als het hoofd nog niet dichtgenaaid is. Ik gebruikte een 2,25 mm haaknaald, en mijn Rilakkuma is ongeveer 10cm groot.
Oren: (x2, in gesloten rondes)
1. Met geel: 6v in ring, sluit met hv.
2. Met bruin: 2v in elke v.
3. *1v*
4. *2vsh*
Knip de gele draad af als je dat nog niet had gedaan. Vul het oortje op met alle draadeindes.
Knip ook de bruine draad af waarmee je nog aan het haken was, en haal die door de overgebleven lussen (dat zijn er ongeveer 6). Trek het samen en haal met een naald de draad door het oortje heen. Laat de draad er aan de zijkant weer uitkomen.
Hoofd (met bruin, in gesloten rondes)
1. 6v in ring
2. 2v in elke v
3. *1v, 2v*
4. *1v, 1v, 2v*
5. *1v, 1v, 1v, 2v*
6. *1v, 1v, 1v, 2vsh*
7. *1v*
8. *1v*
9. *1v, 1v, 2vsh*
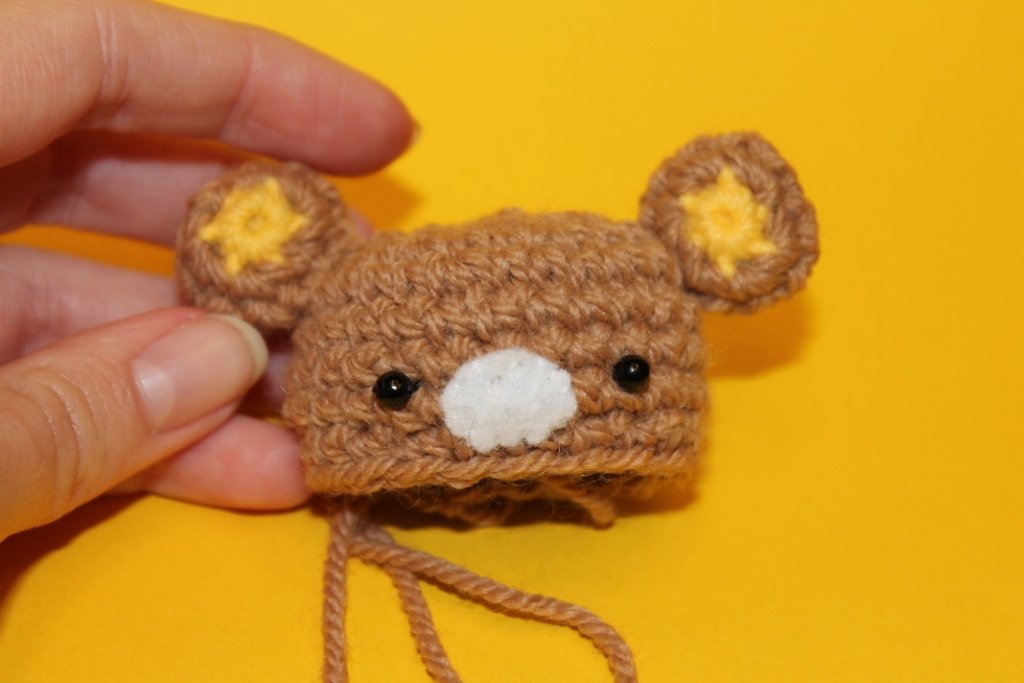
Naai de oren en de ogen vast, en borduur het neusje op een stukje wit vilt, zoals ik in de onderstaande foto’s heb gedaan. Vul het hoofd op.
10. *1v, 2vsh*
11. *2vsh*
Laat een lang draadeinde over.

I know how tempting it is to start with the head first, but it’s really much easier to crochet the ears first, as you’ll be able to attach them to the yet unfinished head. You’ll need brown, yellow and white yarn, some beads and some white felt. I used a 2,25mm crochet hook, and my Rilakkuma bear is approx. 3,5 inches tall.
Ears (make 2 in joined rounds)
1. With yellow: 6sc in magic ring, close with sl st.
2. With brown: 2sc in every sc.
3. sc around
4. sc2tog around
Break the yellow yarn, and stuff the ears with it. Break the brown yarn too and thread through all of the remaining (6 or so) loops. Pull tight and thread yarn through the ear. Let it come out at the side, so you can attach it to the head with that yarn later on.
Head (in joined rounds)
1. sc6 in magic ring.
2. 2sc in every sc
3. *1sc, 2sc*
4. *1sc, 1sc, 2sc*
5. *1sc, 1sc, 1sc, 2sc*
6. *1sc, 1sc, 1sc, sc2tog*
7,8. sc around
9. *1sc, 1sc, sc2tog*
Attach the ears, eyes and embroider the nose on a bit of white felt, like I did in the pictures below. Stuff the head.
10. *1sc, sc2tog*
11. *sc2tog*
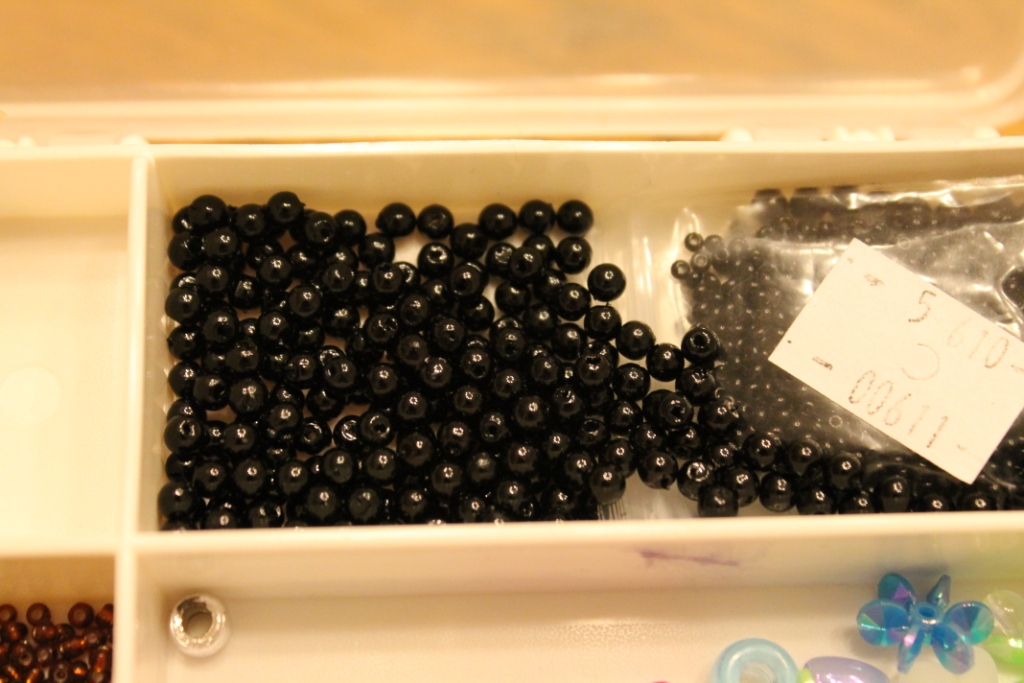
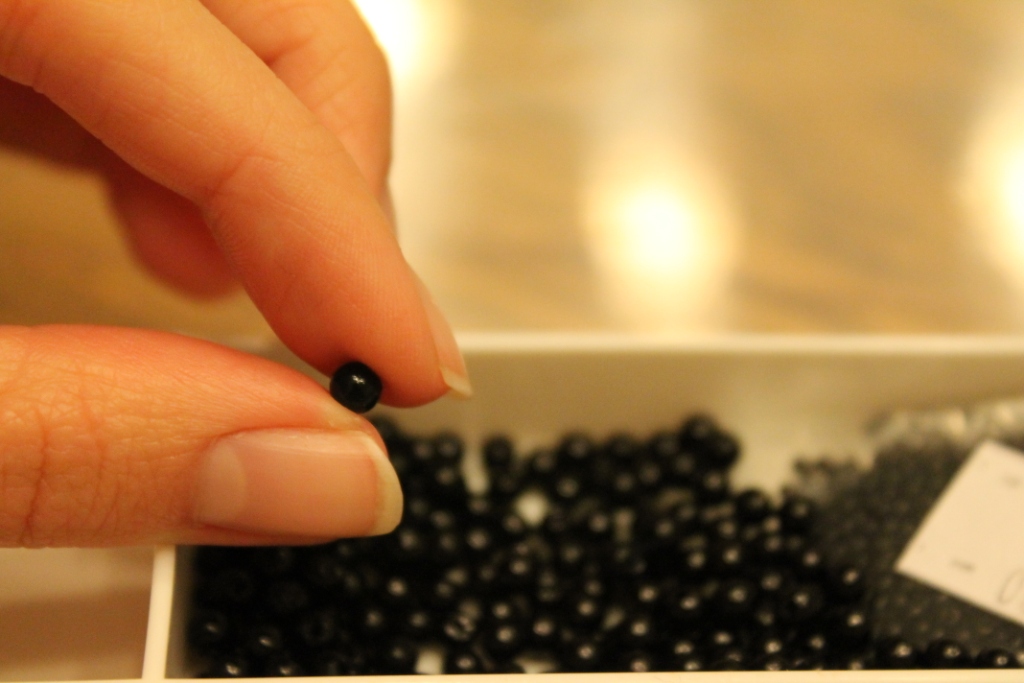
Ik gebruik deze kraaltjes voor de ogen. Ze zijn ongeveer 3mm breed.
I use these beads for the eyes. They are around 3mm in diameter.


Ik maak het neusje met een franse knoop.
A french knot makes for a nice nose.
Lijfje (in gesloten rondes)
1. 12l, maak vast met hv
2-7. *1v*
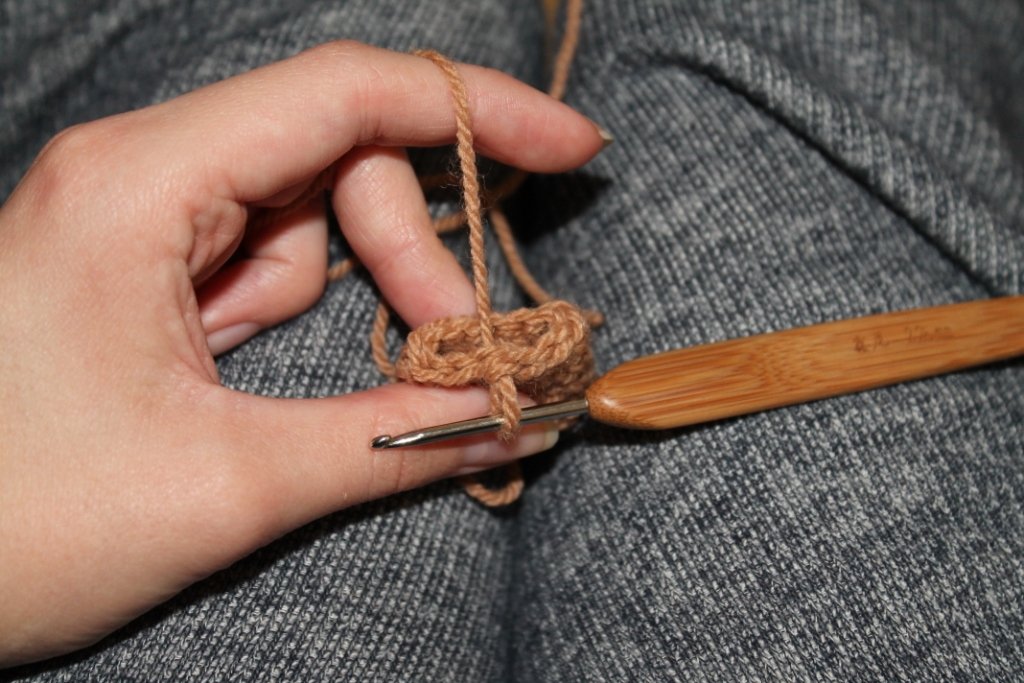
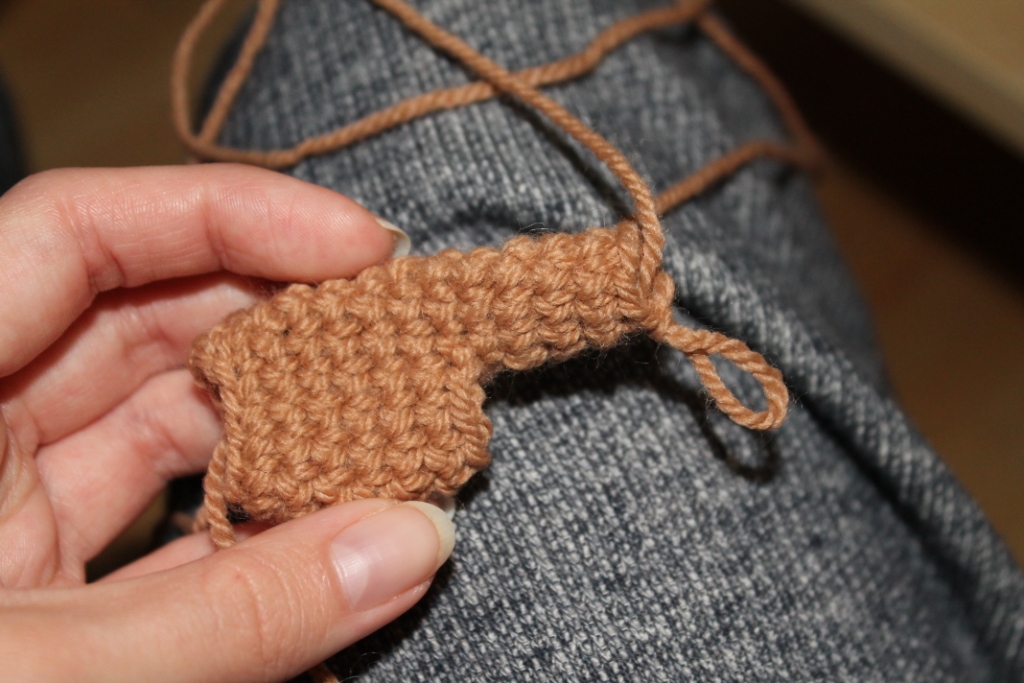
8. Vouw dubbel, hv naar andere kant, zoals op de onderstaande foto. Haak 1l en begin aan zijn ene been, waarbij je verder gaat in spiraal rondes.
9. *v*. Als je bij de hv in het midden komt, haak je alleen in de achterste lus.
10-13. v
14. Sluit met hv. Knip de draad en haal door alle lussen. Trek samen.
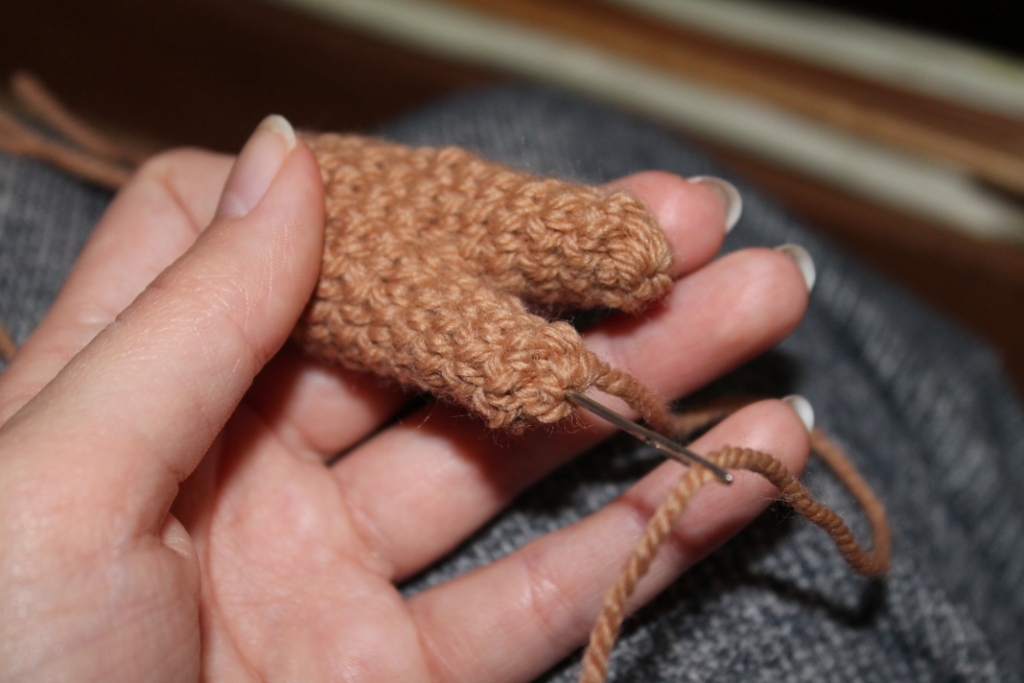
Begin aan het andere been. Werk 5 toeren in v. Vergeet in de eerste ronde niet de hv in het midden, hier is nog 1 lusje van over. Na de 5e toer sluit je met hv. Knip de draad af en haal door alle lussen. Haal de draad naar binnen zoals op de onderstaande foto. Vul de pootjes op met de draadeinden.
Body and legs, in joined rounds:
1. ch12, join in circle with sl st.
2-7. sc around
8. Fold the body as in the pictures below, and sl st to the other side. Ch1 and begin crocheting the first leg. You’ll continue in spiral rounds from here.
9 sc around. When you reach the sl st you’ve made the round before, sc in the back loop only, so you’ll have a loop left for the other leg.
10-13. sc around
14. End with sl st. Break the yarn and thread through all of the loops. Pull tight.
Begin crocheting the other leg. Don’t forget to sc the front loop left from the sl st in the first round. Work 5 rounds in sc. End with sl st. Break yarn, thread through loops. Weave the ends in as I did in on of the pictures below.

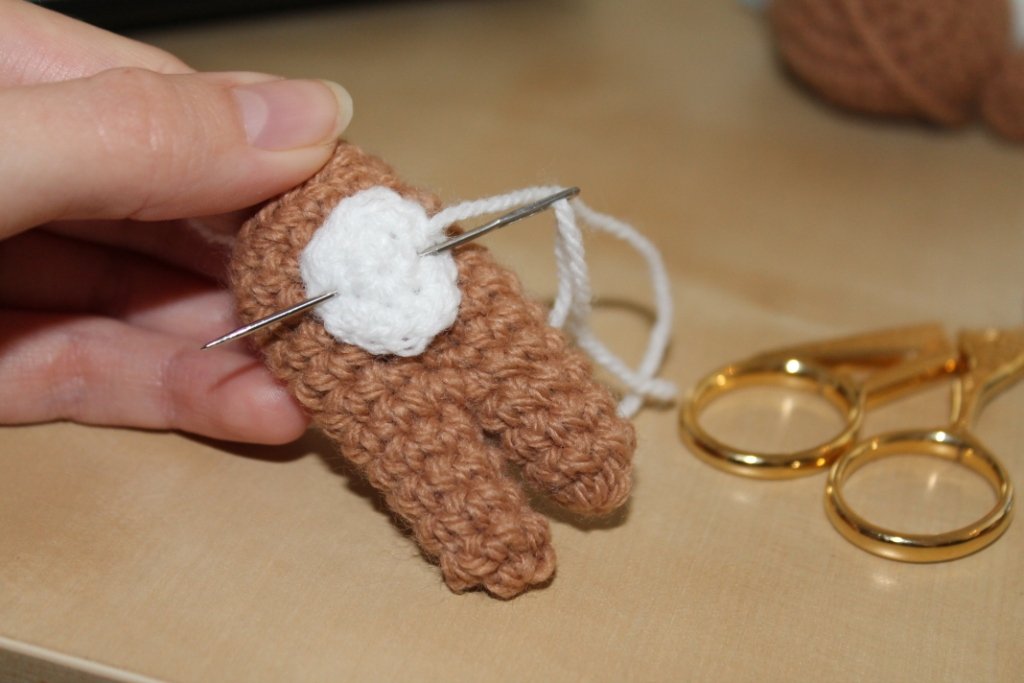
Buikje:
6v in cirkel, sluit met hv
1l, 2v in elke v, sluit met hv
Naai het buikje vast op het lijfje.
White belly
6sc in magic ring, join with sl st
ch1, 2sc in every sc, close with sl st
Attach it to the body.
Arm (x2, in spiraalrondes)
1. 5v in cirkel, sluit met hv, 1l
2,3 *v*
4. 2vsh, v tot eind toer
5. *v*
Arms (make 2, in spiral rounds)
1. 5sc in magic ring, join with sl st, ch1
2,3. sc around
4. sc2tog, sc until the end of the round
5. sc around
Vul de armpjes en naai ze vast aan het lijfje. Als je nog ergens een draadeinde over hebt, maak daar dan een staartje mee. Ik borduur verschillende lusjes over elkaar heen.
Stuff the arms with leftover yarn and attach them to the body. Embroider a tail with some leftover yarn too. I just thread loop over loop until the tail is big enough.
Vul het lijfje verder op en naai het hoofdje vast.
Stuff the rest of the body and attacht the head.
 Voordat je het hoofdje dichtnaait, kun je ook nog een lusje eraan maken, zodat je het aan je tas kan hangen bijvoorbeeld.
Before you stuff the head, you can attach a loop to the top, so you can use it as a keychain, for example.

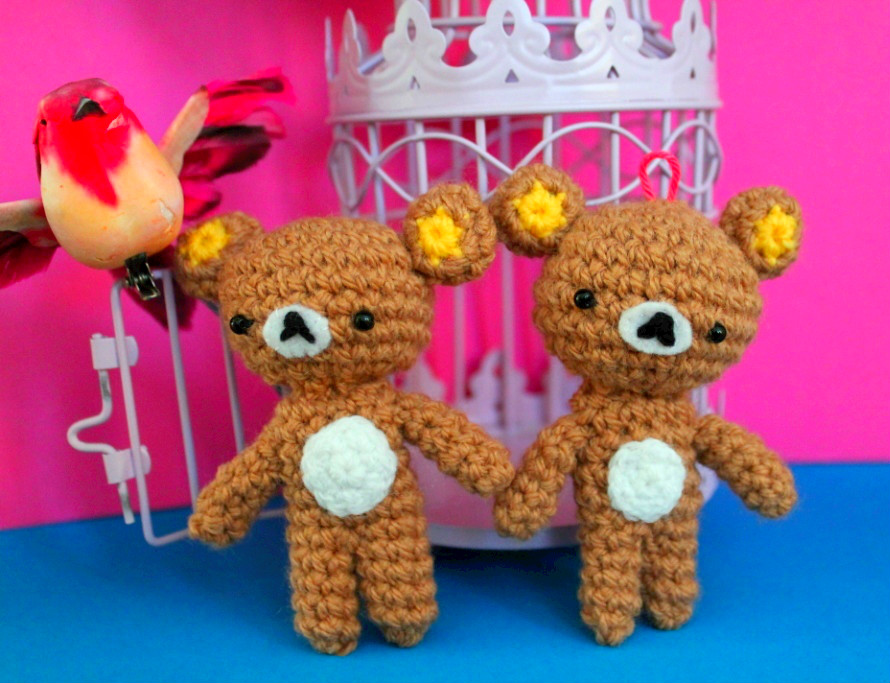
 Zijn ze niet schattig? Vergeet niet je eigen foto’s op Ravelry te plaatsen als je klaar bent! Kopieer of verkoop dit patroon a.u.b. niet, en verkoop de eindproducten ervan niet zonder mij eerst om toestemming te vragen. Dankjewel!
Aren’t they adorable? Don’t forget to post your own pictures on my Ravelry page! Please don’t copy or sell this pattern, or sell the finished products without my consent.


4 Comments
[…] Rilakkuma Bear Pattern | Crafty Queens […]
Hello 🙂
Thanks for this pattern! It’s super cute And I adore Rilakkuma *_*
You wrote you never found A pattern for this little bear, I was reading A japanese magazine on amigurumi And he was there!!! *___*
If you’d Like I can send it To you, Just tell Me 🙂
Kisses!
Hello Alice, thank you so much for your sweet comment! I actually was lucky enough to visit Japan after this blogpost, and I found a Rilakkuma crochet book, so cute!! 🙂 I’ve already made my first Kiroitori from it, he is so adorable !!
He is just to cute!!!!! Thanks for sharing!!