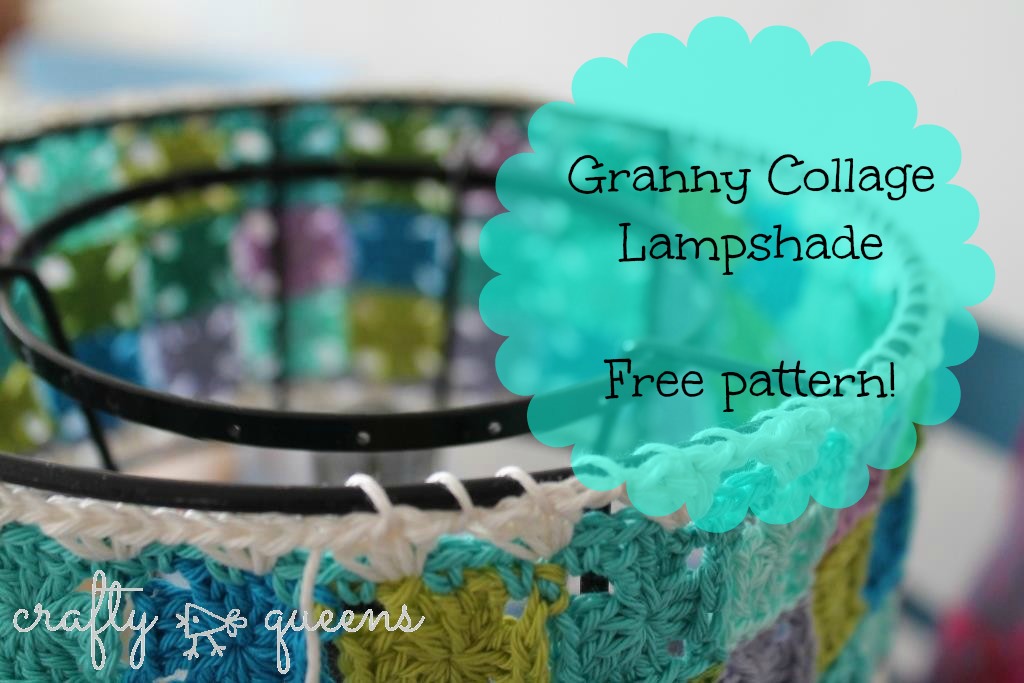
Ben je klaar om jouw lamp een nieuwe look te geven, of wil je een hoes haken voor een kaal lampframe? Dan ben je hier aan het goede adres! In deze tutorial laat ik je zien hoe je een collage van mini-grannies haakt voor je lampenkap, in leuke kleurtjes! Het patroon is makkelijk aan te passen voor jouw formaat lampenkap, zolang het dezelfde vorm is – namelijk rond en onder en boven even breed in diameter – zou het moeten lukken. Ik hoop dat jullie hem leuk vinden!
Klik hier voor een tutorial die je laat zien hoe je een bestaande hoes van een lampenkap af haalt.
Is your lampshade in need of a make-over, or do you plan to customize a bare lampframe? Then you might like this tutorial! I’ve made a collage of tiny multicoloured granny squares and transformed it into a lampshade cover. Today I’ll show you how to do it yourself! This lampshade cover is very easily customizeable to fit your lampframe. As long as it’s the same shape – round and the same diameter above and below – you should be able to make it fit. I hope you like it!
Click here for a tutorial on how to prepare your lampshade for this crochet pattern.
Je hebt nodig:
Een rond lampframe
Een paar kleuren van Scheepjes Catona (Ik gebruikte 8 kleuren – 253, 205, 241, 146, 385, 399, 226, 245)
3,5mm haaknaald
stopnaald
schaar
You’ll need:
A round shaped lampshade
A few colours of Scheepjes Catona (I used 8 colours – 253, 205, 241, 146, 385, 399, 226, 245)
3,5mm crochet hook
darning needle
scissors

Het patroon van de mini granny is als volgt:
In een magische ring, haak:
3l (eerste stokje), 2st, 3l, *3st, 3l*, herhaal ** nog twee keer, nu heb je vier groepjes van 3 stokjes. Sluit dan de toer met een halve vaste in de 3e losse, en trek de ring dicht.
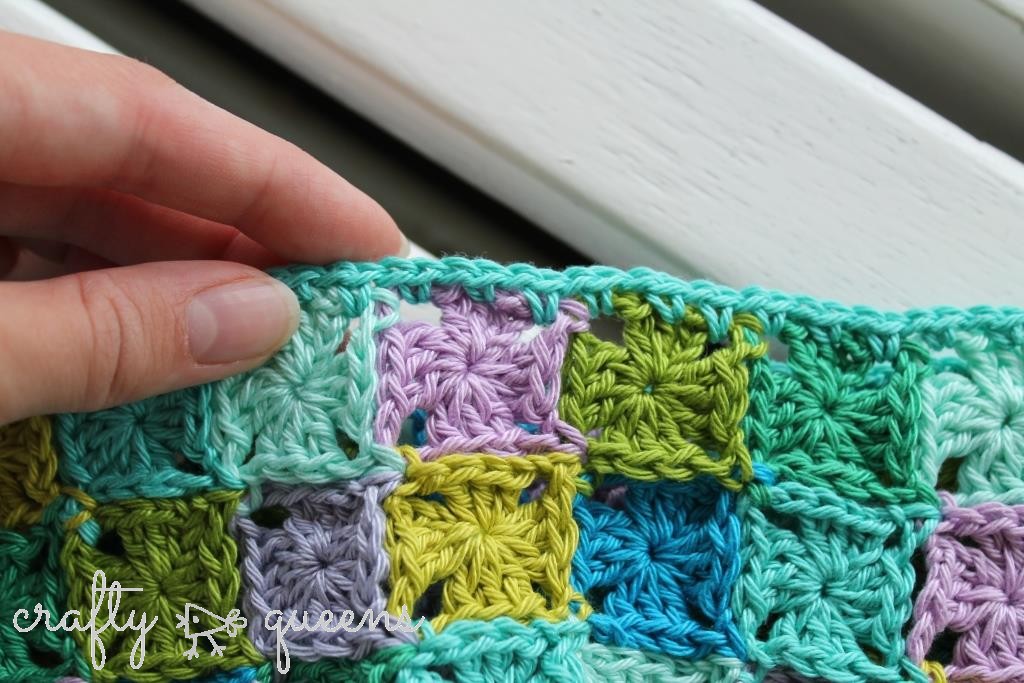
De volgende granny haak je meteen aan de eerste vast. Aan de zijde waar je hem samenhaakt, haak je in plaats van 3l in de hoeken: 1l, 1hv in 3 lossen opening in andere granny, 1l. Zie ook de foto’s hieronder voor uitleg. Bij sommige grannies hoef je ze alleen aan één kant aaneen te haken, anderen moet je aan meerdere andere grannies vasthaken.
Here’s how you crochet a mini granny: (US terms)
Start with a magic ring, then:
ch3 (counts as first dc), 2dc, ch3, *3dc, ch3*. Repeat ** two more times, so you have four groups of 3 dc. Close the round with a slip stitch in the 3rd chain of the round. Close the magic ring by pulling the yarn ends.
From the second granny on, you’ll crochet them directly onto the first granny, with a join as you go method. (see pictures below) Instead of crocheting 3 chains in the corners, you crochet 1chain, 1 slip stitch in 3ch space in other granny, 1chain, and continue in pattern.

Hier zie je hoe je 1 losse haakt en vervolgens 1 halve vaste in een van de andere grannies. Als je er meerdere aan elkaar hecht (zoals hierboven), probeer dan zo dicht mogelijk op de plek te haken waar de andere grannies al aan elkaar gehecht zijn.
Above you can see how to attach a granny to three other grannies. Try to place your slip stitch as close as possible to the junction of the other grannies.
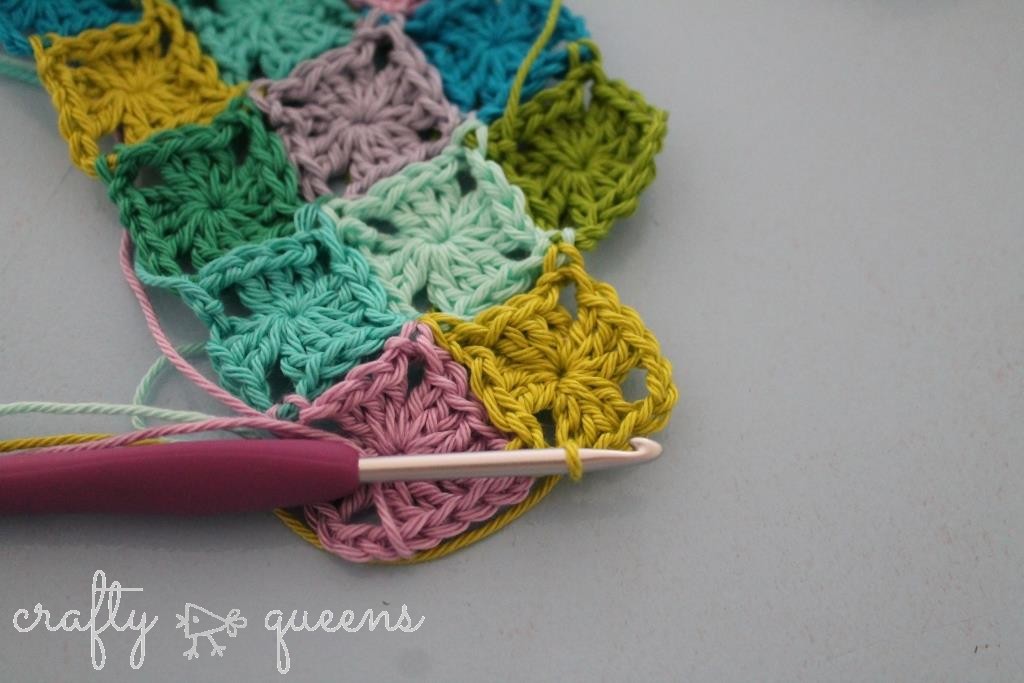
Hier haak je de granny dus in 3 hoeken samen in plaats van in 2 hoeken.
Here you attach the granny at three places instead of only two.
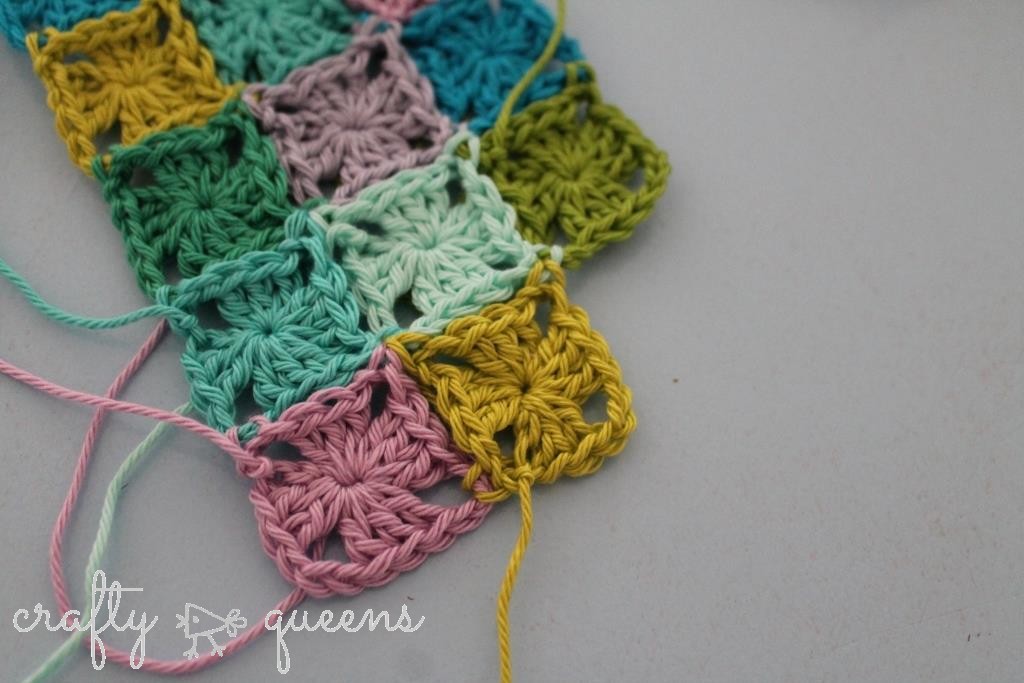
En zo gaat het! Om je lampenkaphoes passend te maken, meet je eerst hoe breed één mini granny is, en dan kijk je hoeveel er om je lampenkap passen (eerst van boven naar beneden meten). Bij mij was het net tussen de 3 en 4 grannies, dus koos ik ervoor om 3 grannies plus een rand te haken.
Je haakt voor de hoes eigenlijk eerst een lange reep grannies. Als je de hoes in het rond wilt sluiten haak je de laatste rij grannies op alle vier de hoeken aan elkaar. Als je dit lastig vindt kun je er ook voor kiezen om de uiteinden van de ‘reep’ aan elkaar te naaien.
That’s how you do it! Before you start joining, measure your first granny and calculate how much you will need to cover your lampframe from top to bottom. For me, 3 was too short and 4 wouldn’t fit anymore, so I decided to crochet a border too.
Basically, you crochet one long rectangular piece for the lampshade cover. To join it in the round, you’ll have to join the last few grannies at all four corners. If this is too challenging you can also sew the short ends of the rectangle together.
Mocht je ook een rand willen haken, kun je eerst rondom: *1v, 1l* haken. Wanneer je een losse haakt sla je ook een steek over. Begin in een 3-lossen opening in een hoek, haak daar een vaste in. Vervolgens haak je een vaste in het middelste stokje, dan in de andere hoek, dan in de eerste hoek van het vierkantje ernaast, en zo ga je door.
If you like to crochet a border too, then you can crochet: *1sc, ch1*. Start in a 3 chain cornerspace, sc in this space. Then, the next sc are in the middle dc, the next corner, the first corner of the adjacent granny, and so on.

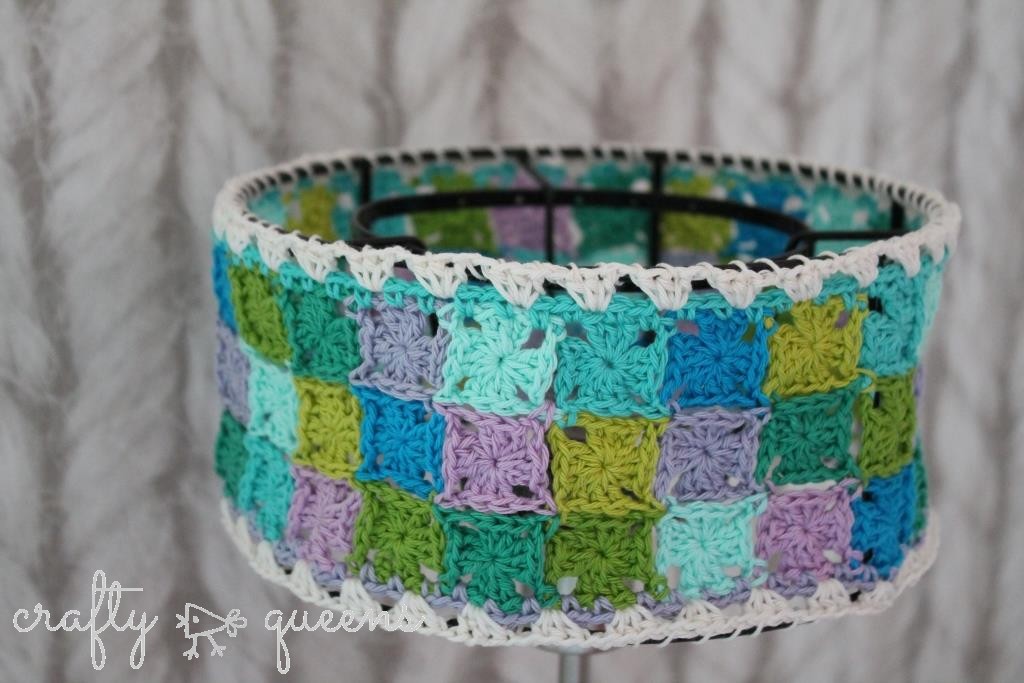
Voor de volgende rand heb ik wit (kleurnummer 310) gekozen:
3hst in een 1-l opening, *1l, van de vorige toer 1-lossenboogje overslaan, 3hst in het volgende 1-lossenboogje*.
For the next round I used white (colourway 310):
3hdc in a 1ch space, *ch1, skip one ch1 space, 3hdc in next ch1 space*

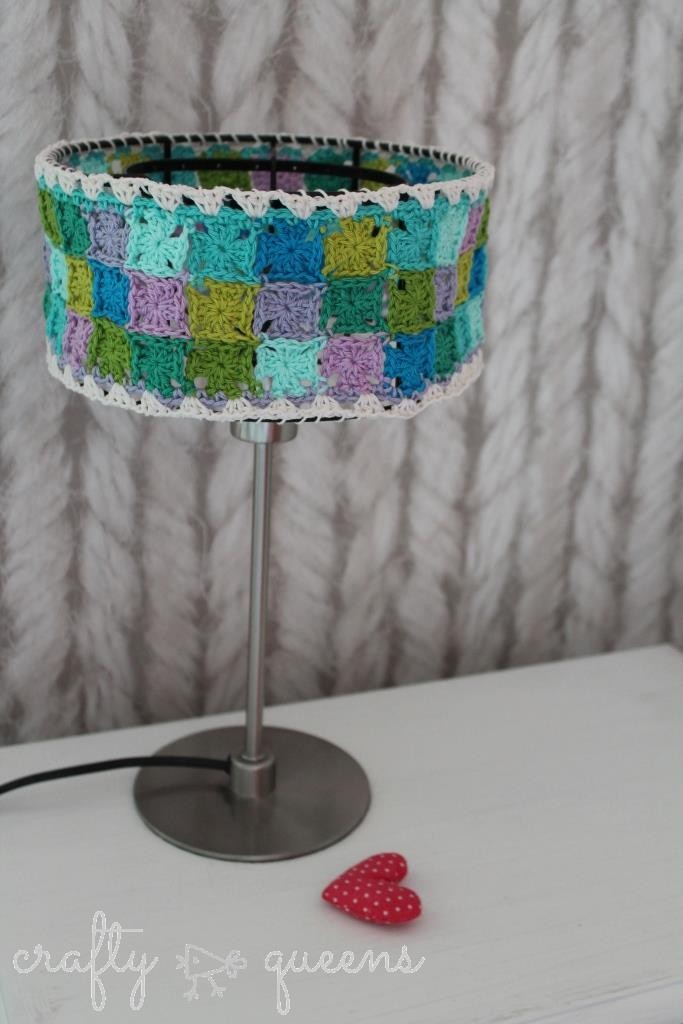
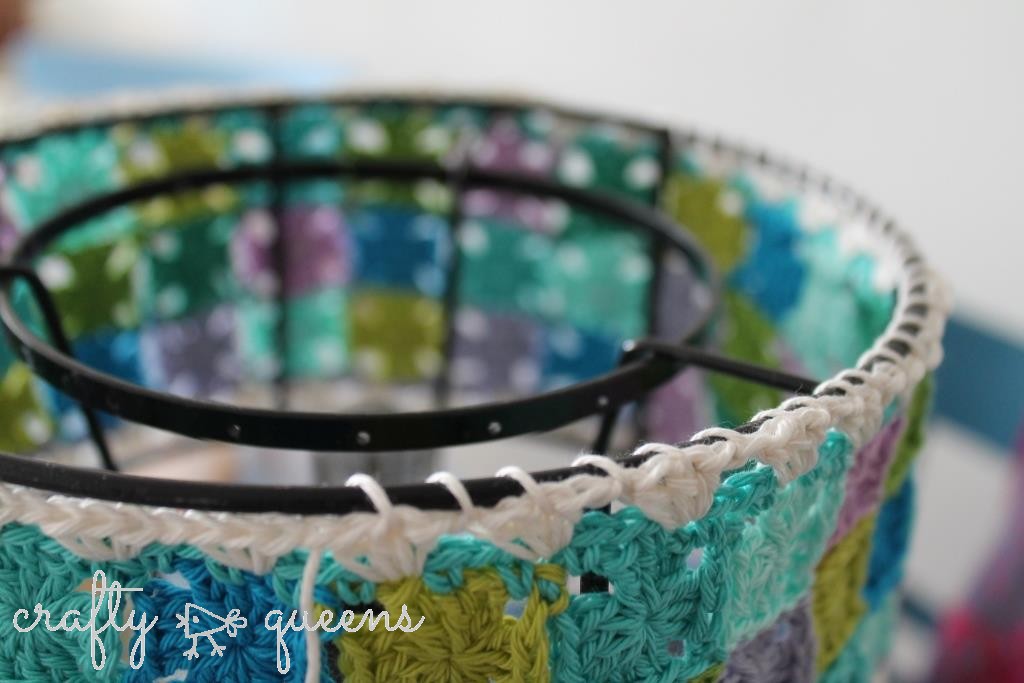
Als je hoes past, naai je hem aan het frame vast.
Lastly sew your lampshadecover to your lampframe.
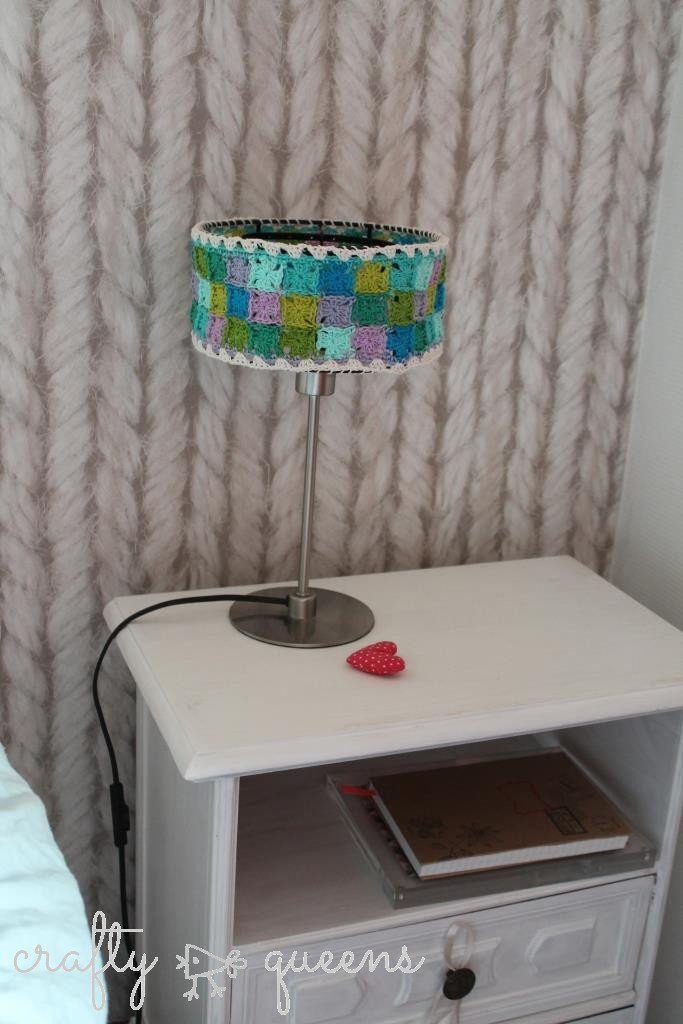
Werk de eindjes weg, en geniet van je nieuwe lamp! Het is een heel snel werkje door alle kleine onderdelen, maar je hebt wel een hoop eindjes! Probeer ze zoveel mogelijk tijdens het haken weg te werken, anders heb je op het eind een heel karwei. Mocht je nou zelf een hoes haken met dit patroon – of misschien haak je er wel iets anders mee! – dan zou ik het heel leuk vinden om foto’s te zien! Deel ze gerust op mijn Facebookpagina. Haak ze!
Weave in the ends, and enjoy! This project is a very fast one because of all the small parts. Do try to weave in as much of the ends as you go though, otherwise it will be a lot in the end! If you’ve crocheted a lampshade cover with this pattern – or maybe you’ve made something entirely different with it! – please share pictures! I’d love to see them. You can place them on my Facebook page. Happy crafting!
Don’t miss another blogpost, subscribe to my Bloglovin’ page!

**This project is made in collaboration with Scheepjes yarns through the Scheepjes Bloggers Program. Although this post is sponsored, all opinions are still my own. Many thanks to Scheepjes for their generosity in sending me yarn for the projects, so I can write free patterns for my readers! **


12 Comments
Het is echt een leuk gepimpt lamje. Dank je voor de duidelijke uitleg en het patroon.
Fijn weekend, Margaret
Bedankt voor je lieve woorden Margaret! 🙂
Erg leuk gedaan. Bedankt voor het delen.
Ik ben blij dat je het leuk vindt! 🙂
Heel leuk! Fijn dat wij mee mochten kijken. Ik heb een oerlelijke lampenkap, maar helaas niet zo’n recht model. Ik ga eens proberen of ik die ook zo leuk kan pimpen. Groetjes, Esther
Wahhhhh hij is prachtig geworden zeg!!
Heel mooi gedaan c: Xx Ice Pandora
Love this! I am featuring your project as part of a crocheted lamp shade round-up on my blog http://www.creativejewishmom.com, should be up by tomorrow, hope that is okay! And please join my linky party, on break now but back the first Sunday in January, would love to see you there!
That’s great, thank you so much!
[…] Crochet Lampshade […]
[…] Crochet Lampshade […]
[…] newleafdesigns.nl […]
[…] Granny Collage Lampshade […]