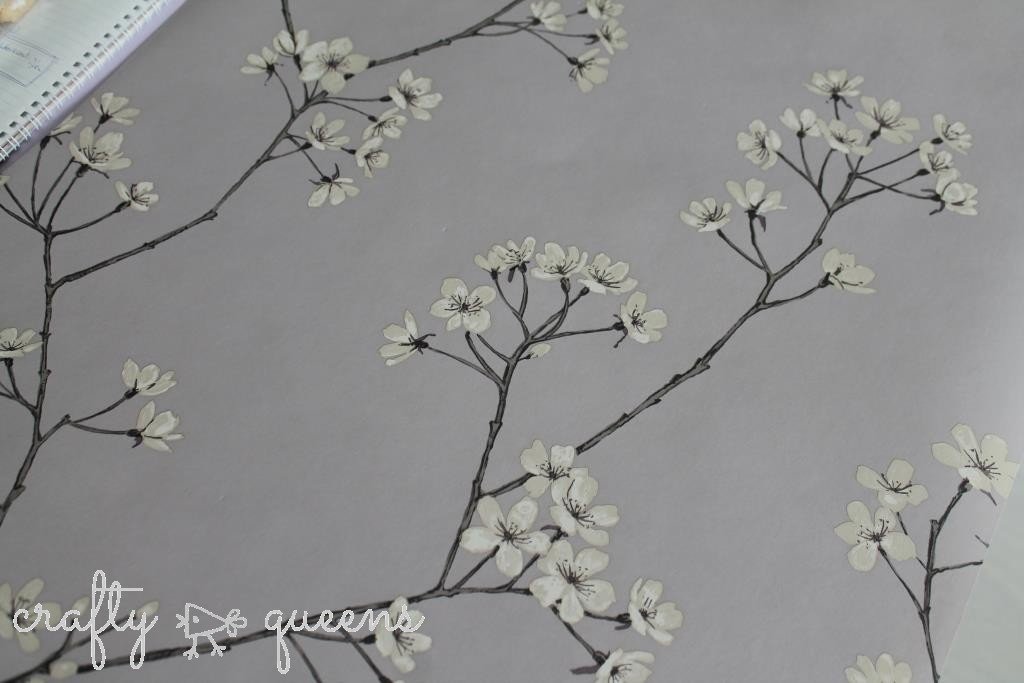
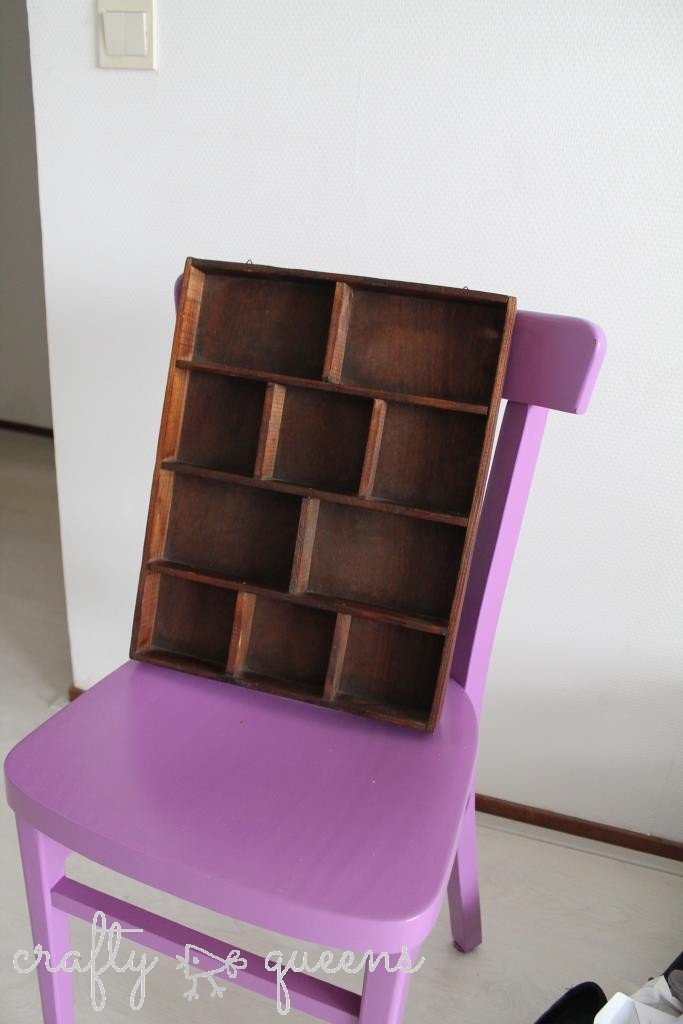
Bedankt voor al jullie leuke reacties op mijn vorige blogpost! Zelf kan ik op het moment aan weinig anders denken dan leuke interieur-dingetjes voor in mijn nieuwe appartement, en ik vind het fijn dat jullie het ook zo leuk vinden om te lezen! Daarom vandaag een leuke DIY voor jullie: namelijk een make-over van een letterbak! Mijn moeder gaf me een paar jaar geleden een letterbak, en ik heb hem tot nu toe nog nooit gebruikt. Ik vond gewoon geen goede plek om hem op te hangen. Laatst was ik voor de muren van mijn nieuwe slaapkamer in de weer met behang, en toen was ik meteen geïnspireerd om ook andere dingen te gaan behangen! Vandaag laat ik je dus zien hoe je een letterbak een leuke nieuwe look geeft met behangpapier.
Thank you all so much for your kind words on my previous blogpost! Currently, DIY-ing for my new apartment is all I can think about, and I’m so pleased that you like to read about it as well! Today, I have a fun little tutorial for you: how to give a shadow box a make-over with wallpaper! I got this idea when I used wallpaper on the walls of my new bedroom. I was so excited to use wallpaper for other things as well.
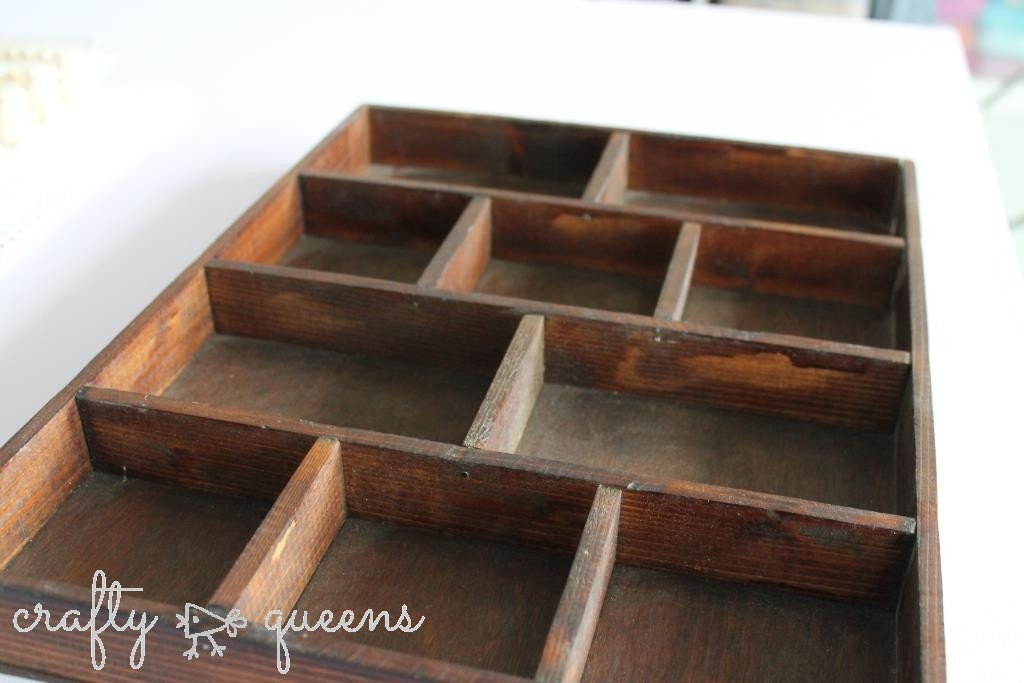
Wat heb je nodig? Een letterbak natuurlijk, wat behangpapier, een schaar, een potlood, een liniaal, een kwastje en wat behangplaksel.
So, first things first. You will need: a shadowbox, some wallpaper you like, scissors, a pencil, a ruler, a brush and some wallpaper paste.

Stap 1: Leg je letterbak op het behangpapier en teken langs de randen de omtrek van de letterbak.
Step 1: Place your shadow box on the wallpaper and trace the outlines.
Stap 2: Knip langs de lijnen een rechthoek uit het behangpapier.
Step 2: Cut out the shape of the shadow box.

Stap 3: Leg je letterbak op het papier, maar verschuif het een beetje zodat je de rand van het papier ziet. Teken hier waar de schotjes van de letterbak beginnen. Doe dit ook aan de andere zijkant.
Step 3: Place the shadow box on the paper again, but leave a centimeter of wallpaper at the side and mark the beginning and ending of each space of the shadow box.

Stap 4: Teken met behulp van een liniaal en potlood lijnen over de breedte van het behangpapier.
Step 4: Use a ruler to draw the line all across the wallpaper.
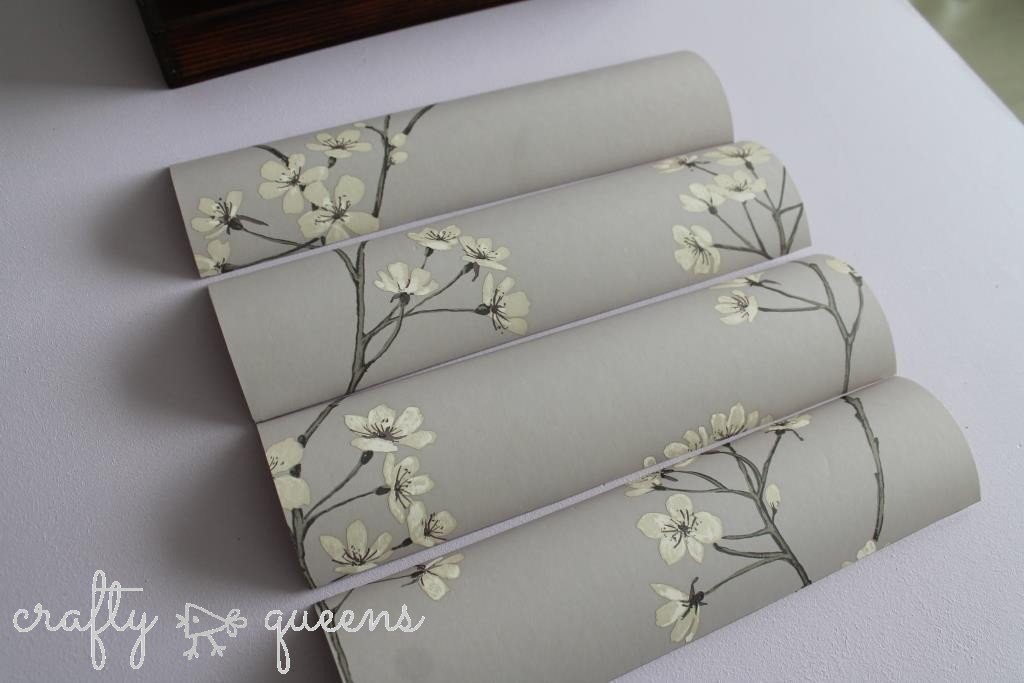
Stap 5: Knip langs deze lijnen, zodat je horizontale strookjes overhoudt.
Step 5: Cut along the lines.
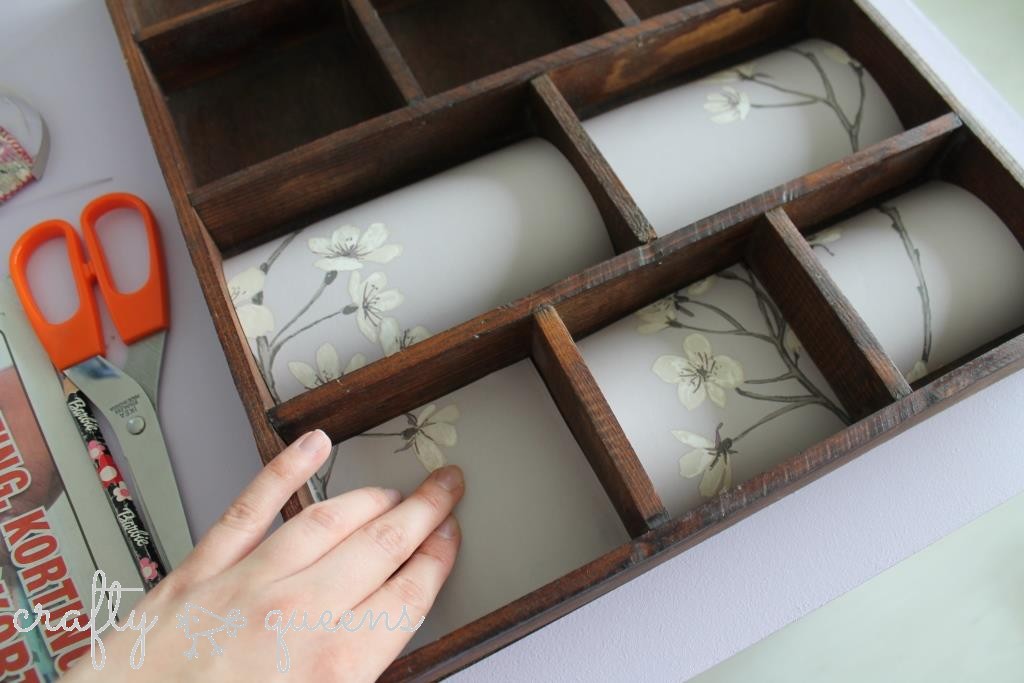
Stap 6: Leg deze strookjes op de letterbak, en knip nu voor elk vakje de goede afmeting behangpapier. Blijf ze in de hokjes passen, en knip ze zo bij dat ze perfect passen zonder op te bollen.
Step 6: Now, cut the exact shape for each little space. Check if they fit, if not trim a little more with scissors.
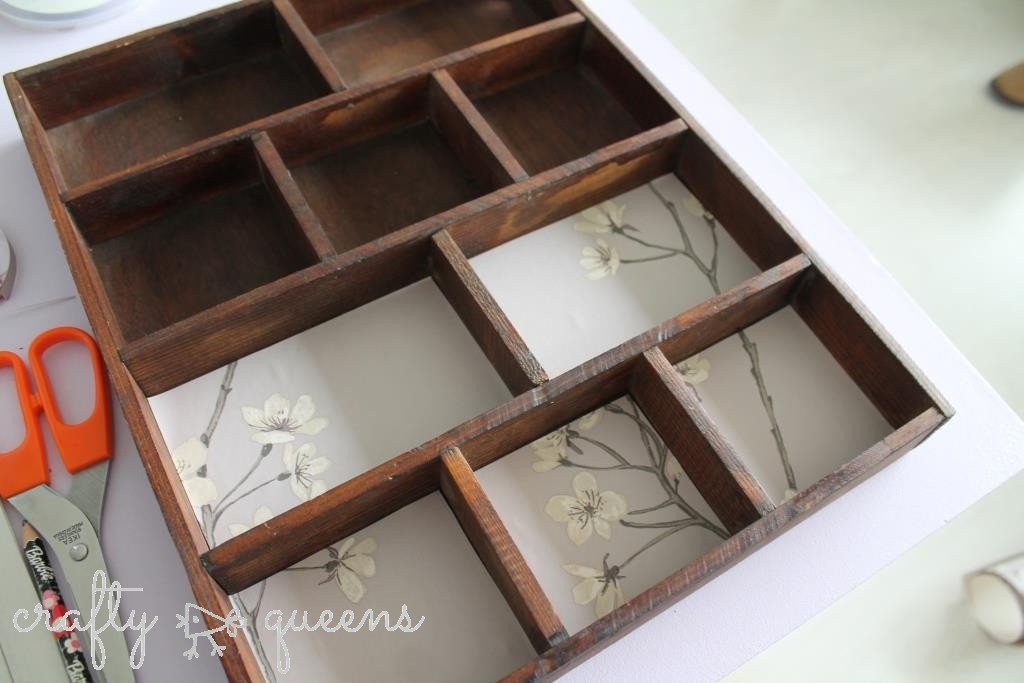
Stap 7: Strijk wat behangplaksel op de stukjes behangpapier, en plak ze in de hokjes.
Step 7: Paste the wallpaper into place using wallpaper paste.
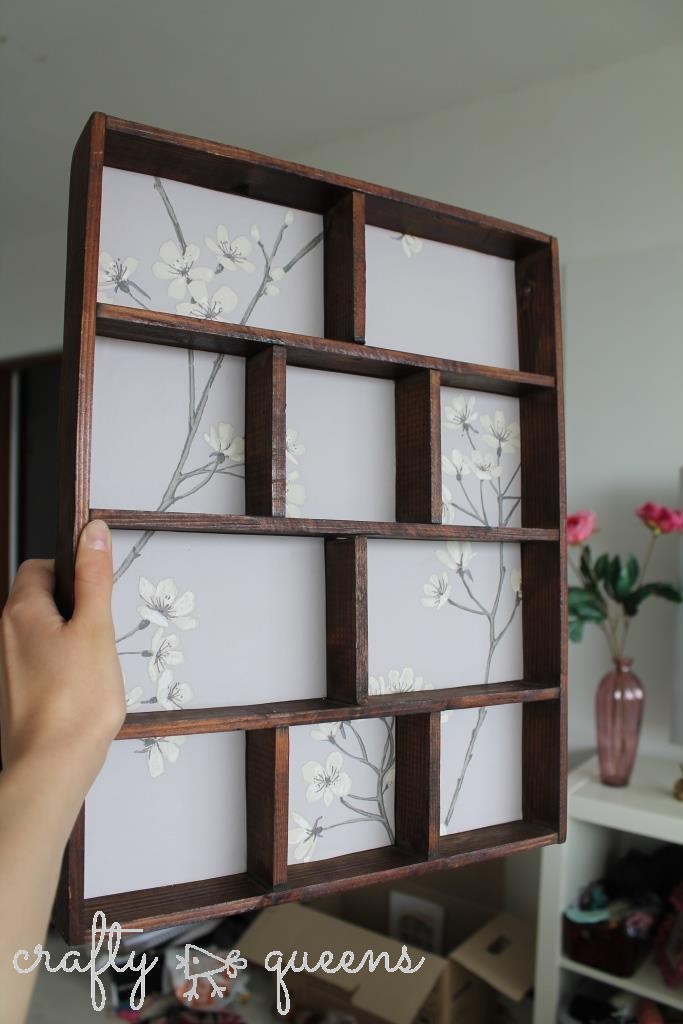
Klaar! Zelf heb ik een behangpapier gebruikt met een grote print, maar je kunt natuurlijk voor elk soort print gaan die je zelf leuk vindt. En nu ben ik benieuwd.. hebben jullie thuis ook een letterbak? Wat hebben jullie erin gezet? Ik heb wat ideetjes maar ik doe graag inspiratie op! Deel het gerust in de reacties 🙂 Ik hoop dat jullie deze DIY leuk vonden!
All done! I chose a wallpaper with a big print, but of course you can choose any print you like. And now I’m very curious.. do you have any shadow boxes at home? What kind of objects did you put in them? I have some ideas, but I’d love to be inspired! Feel free to share in the comments! I hope you liked this DIY 🙂


No Comment
Wow, this turned out so wonderful! If I ever stumble upon such a pretty wallpaper I might be doing it! I would definitely display my tiny perfume bottles, I have a bunch of them but most of them are stored in their boxes because they are so tiny they isn’t a single place in my apartment where they could stand out! I would also display pretty tea miniature boxes, vintage jewelry, some pictures… a little bit like a curiosity cabinet I guess. 🙂
Thanks for sharing this very inspiring tutorial! xx
Hi Clothilde, thank you so much for your comment! Storing perfume bottles is a great idea! They always look so pretty 🙂 I have some pretty ribbons and necklaces I think I want to place in the box, I’ll see! xx
Very nice and well done Carmen c:
Ik ben eigenlijk op zoek naar een
leuk letterbak en deze aan de muur
hangen :c Xx http://icepandora.blogspot.com
Xx
Thank youuu 🙂 Ik zag laatst nog bij de Blokker leuke letterbakken in de vorm van huisjes! Maar echt leuke bij de kringloop denk ik 😉 xx