


GET YOUR YARN / GAREN KOPEN
For one pair of adult sized socks, you will need 2 balls of Scheepjes sock yarn. You can use either Scheepjes Invicta Extra, or the new Scheepjes Metropolis with 80 colours!! Get your yarn via Scheepjes retailers or via this webshop*:
Voor één paar sokken in een volwassen maat heb je 2 bollen Scheepjes sokkengaren nodig: Scheepjes Invicta Extra of het nieuwe Scheepjes Metropolis sokkengaren in wel 80 kleuren! Koop je garen via Scheepjes retailers of deze webshop*:
Wool Warehouse (UK)
Caro’s Atelier (NL)
NEEDLES / NAALDEN
Depends on gauge, I used 2.25 mm Knitpro DPNs
Hangt van draadspanning af, ik gebruik 2,25 mm Knitpro DPNs (dubbelpuntige naalden)
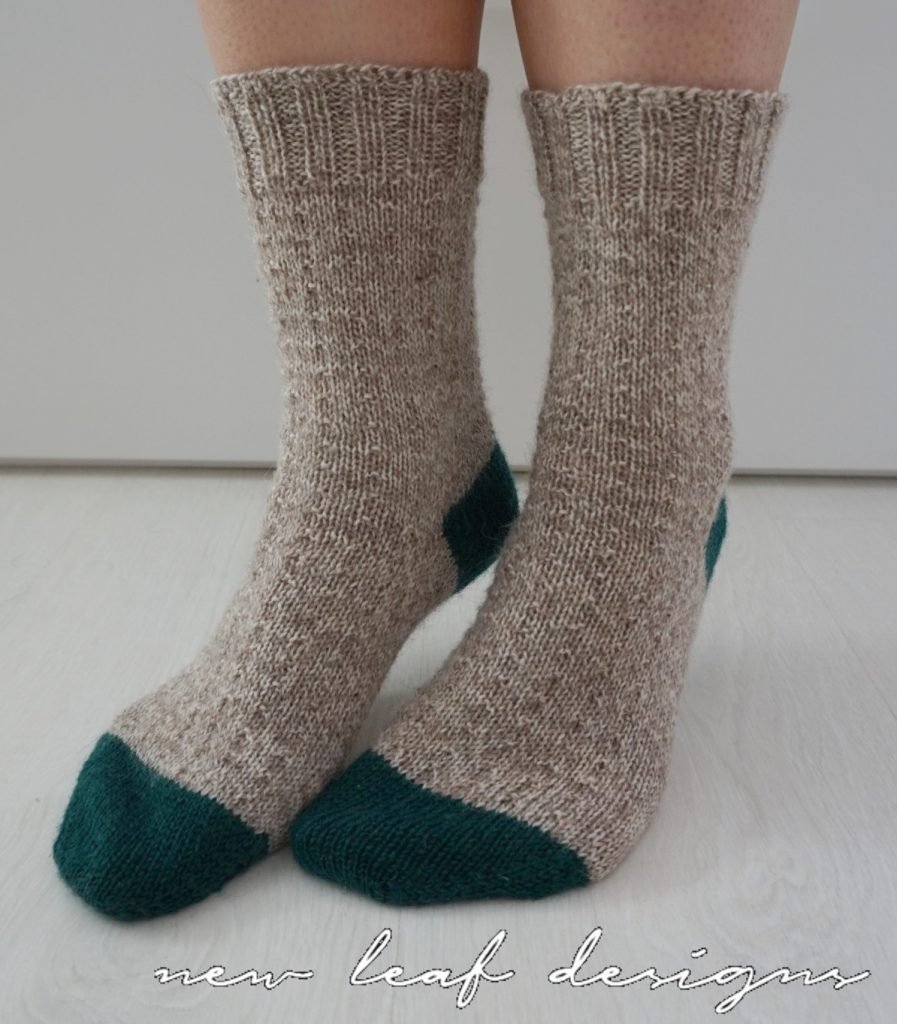
Simple toe up socks // Simpele sokken vanaf de teen omhoog
I’m pleased to announce my very first sock pattern! This is a simple toe-up sock pattern with German short row heel. Please continue reading below for the instructions and instruction videos.
Graag deel ik mijn eerste sokken breipatroon met jullie! Het is mijn favoriete patroon: je begint met de teen en werkt vanaf daar omhoog naar het boord. Voor de hiel heb ik gekozen voor Duitse verkorte toeren, heel gemakkelijk om te leren en daarna goed te onthouden zonder patroon erbij. Zie hieronder voor de links naar de geschreven patronen en de bijbehorende video’s.
Purchase a PDF version of the Simple Toe Up Socks pattern in English and Dutch. The paid PDF version is without any ads, and easy to print for each separate language.
Shop the PDF version here Purchase on Ravelry
Why Toe-Up? // Waarom bij de teen beginnen?
My favourite way of knitting socks is from the toe up and ending at the cuff, it makes it much easier for me to make the most out of the yardage I have available. For the foot, you’ll always have to make sure the length is spot on to get the correct fit. For the leg, you can basically vary from making very short socks, to making knee high socks! If you complete the foot first, you know afterwards that you can use up all of the yarn you have left over for the leg, so you can make the most out of your yarn. And maybe most importantly… no kitchener stitching the toe together!
En waarom begin ik het liefst bij de teen van een sok, zullen jullie je misschien afvragen? Nou, als je vanaf de teen begint kun je in principe doorbreien totdat je garen op is, je kunt het ‘been’ namelijk zo lang maken als je wilt! Twijfel je of je genoeg garen hebt voor een sok van normale lengte? Dan is bij de teen beginnen een goede optie. Verdeel het garen voordat je begint precies door de helft zodat je evenveel garen hebt voor elke sok. Nog een voordeel van bij de teen beginnen is dat je geen ‘kitchener’ steek hoeft te doen! Deze steek gebruik je normaal gesproken om de teen dicht te naaien.
Different sections // Verschillende delen
I’ve divided the sock pattern into different sections, each with written instructions and instruction videos to make it even more clear.
Het patroon heb ik opgedeeld in verschillende delen, elk compleet met geschreven instructies en ook instructievideo’s.
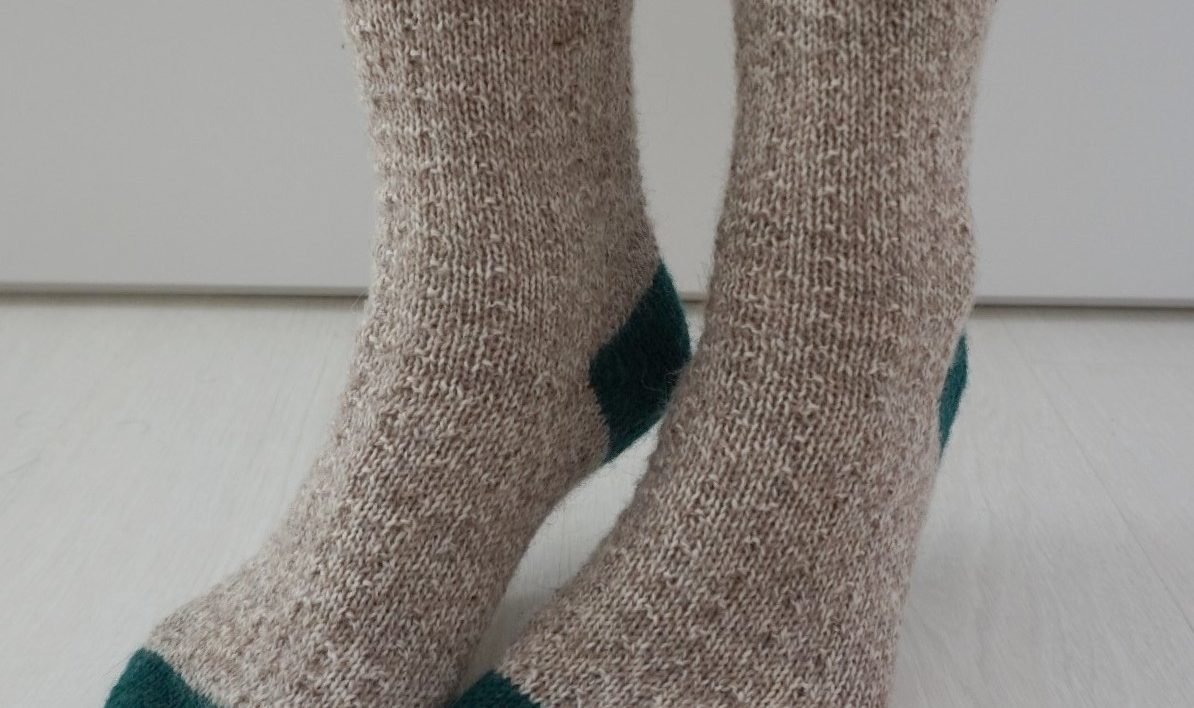
Part 1: The foot // Deel 1: de voet
For this part, please view the written instructions here. In this part you can find instructions on how to cast-on, how to increase for the toe, and how to create the texture pattern. If you are choosing to do a different colour for the toe, this will also be specified in the pattern.
Bekijk de geschreven instructies voor dit onderdeel hier. Ik leg uit hoe je steken opzet voor de teen, hoe je meerdert en hoe je het textuurpatroontje breit. Er wordt bij vermeld waar je van kleur moet wisselen als je graag de teen in een andere kleur garen breit.
Videos for this part // video’s voor dit onderdeel:


Part 2: The heel + the leg // Deel 2: de hiel en het been
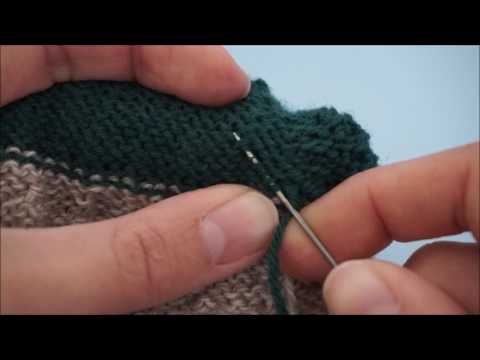
For this part, please view the written instructions here. The heel used in this pattern is called the German short row heel, which is my favourite heel of all time! It’s easy to memorize and looks great too. This heel does leave a little gap on each side of the foot, the second video down below shows you how to close them.
De geschreven instructies voor dit deel vind je hier. De hiel in dit patroon heet de ‘Duitse verkorte toeren hiel’, en is mijn favoriete hiel om te breien. Gemakkelijk te onthouden en het ziet er mooi uit in contrasterend garen. Bij deze hiel vormen zich wel twee gaatjes, één aan elke zijkant van de hiel. Bekijk de bonusvideo hieronder voor instructies hoe je deze gaatjes dichtmaakt.
Videos for this part // video’s voor dit onderdeel:


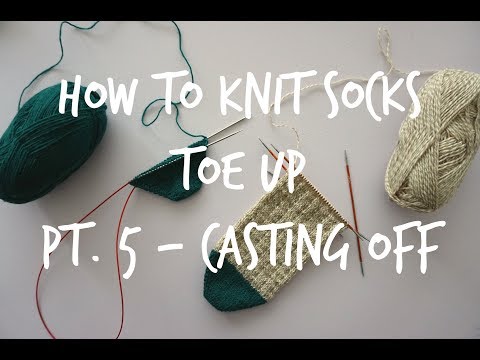
Part 3: Knitting the cuff and binding off // Deel 3: het boord en afkanten
For this part, please view the written instructions here. It includes the pattern for the cuff and instructions on how to bind off.
De geschreven instructies voor dit onderdeel vind je hier. In dit deel leg ik uit hoe je het boord breit en hoe je elastisch afkant.
De geschreven instructies voor dit onderdeel vind je hier
Videos for this part // video’s voor dit onderdeel:

In the bonus video below, I’ll show you how to weave in the ends on your socks.
In de bonusvideo hieronder laat ik je zien hoe je draadeindjes onzichtbaar wegwerkt bij sokken.
Purchase a PDF version of the Simple Toe Up Socks pattern in English and Dutch. The paid PDF version is without any ads, and easy to print for each separate language.