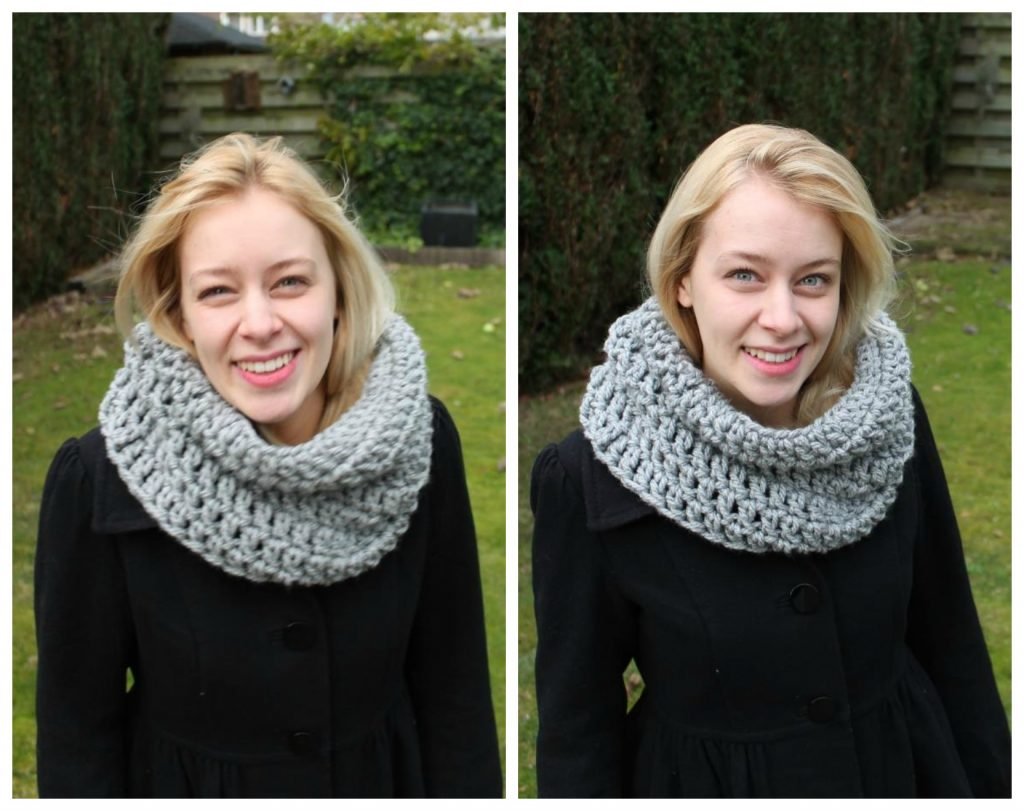
I’ve got a new free crochet pattern for you! This one is easy as pie, you could finish it within a day. A few weeks ago I got a Tunisian crochet kit for reviewing. I was super excited since I’d never tried Tunisian crochet before! Sadly the crochet hook was way too small for the yarn, so the scarf was a bit stiff. Frogged it! I tried again with a regular hook, a size bigger. Still not good enough, so I ripped it out again. Next time I tried knitting it. The fabric was really nice and supple, but I didn’t like the pattern very much. Frogged it again! For the fourth try, I took my largest crochet hook (12mm) and just crocheted double crochets in the round. And it worked! Today I’m sharing that version and the free pattern with all of you.
Benodigdheden:
Dikke wol (bijvoorbeeld die enorme wol van de HEMA)
Haaknaald 12mm
Stopnaald met groot oog
Schaar
Het patroon:
Haak 42 lossen. Maak er een cirkel van door in de eerste losse een halve vaste te haken. Zorg ervoor dat er geen draai in je cirkel zit. Dan:
Haak 3 lossen en haak nu 1 stokje in elke steek. Voor de duidelijkheid: de eerste steek is de 4e losse vanaf de naald. Aan het eind van de toer sluit je met een halve vaste in de 3e losse van het begin van de toer.
Herhaal dit totdat je sjaal lang genoeg is.
Crafty top tip: Let op dat je elke ronde hetzelfde aantal stokjes hebt. Het is rond het begin van de toer nog wel eens lastig. Veel mensen haken nog een extra stokje in de basis van de 3 lossen, wat er dus voor zorgt dat je elke ronde een steek meer krijgt. Let erop dat je dit niet doet! Als er hierdoor een gat ontstaat kun je ervoor kiezen om bij het begin van de ronde 2 stokjes samen te haken. Zo vul je het gat op terwijl je stekenaantal gelijkt blijft!
You’ll need:
Very bulky yarn
Crochet hook size 12mm
Big darning needle
Scissors
The pattern:
Chain 42 stitches. Make a circle by crocheting a slip stitch in the first chain. Make sure your circle isn’t twisted! Then:
Chain 3 stitches and crochet 1 double crochet in every stitch. To be clear: the first stitch is the 4th chain from the hook. At the end, close with a slip stitch in the 3rd chain from the beginning of the round.
Repeat this until your cowl is long enough.
Crafty top tip: Pay attention to your stitch count every row. At the beginning and end of every round, it may be tricky to see where to make your double crochets. Some people make a double crochet in the base of the turning chain because there is a gap, but if you do this you will get an extra stitch! If you want to close the gap (mine wasn’t very visible), you can double crochet 2 together at the beginning. This way you can close the gap while still having the same amount of stitches. Yay!
Weave in the ends and wear it! Or it could be a nice handmade gift. Since this pattern is so easy, I’m giving you permission to sell the items you make with it. If you do, placing a link to this pattern would be very nice of you 🙂 As always, I’d love to see pictures of the cowls you make! Post a picture on my Facebook page or the Ravelry page of this project.
It matches the pink-grey scalloped hat I made last year! Find the pattern here.

