Een tijdje geleden zag ik dit geweldige tapijtje op Pinterest!

A while ago, I came across this amazing rug on Pinterest:
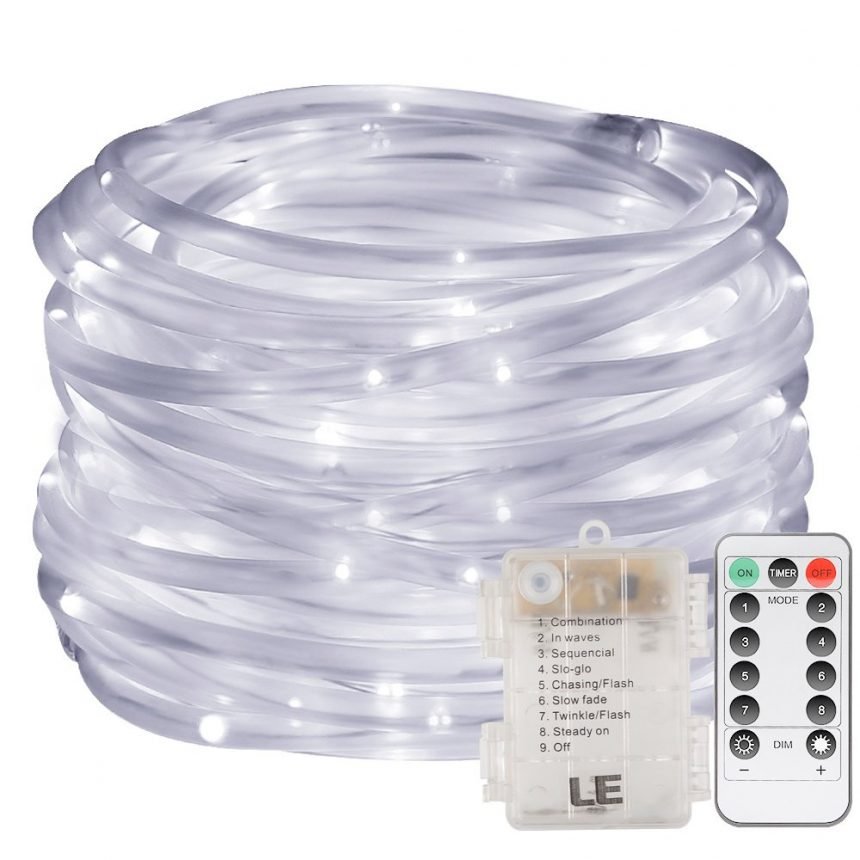
Is het niet prachtig? Ik vond het zo’n leuk idee dat ik er meteen mee wilde beginnen. Het lichtsnoer vond ik bij de Gamma of de Praxis, en wat goedkoop textielgaren bij de Action of Kruidvat gehaald. Ik kocht wel 4 klossen wit textielgaren, maar uiteindelijk heb ik nog niet eens 1 klos opgebruikt. En toen ging ik aan de slag! Of tenminste, dat wilde ik. Het was namelijk nog niet zo makkelijk! De meeste plaatjes op Pinterest linken meestal naar het originele patroon, of naar een winkel waar het verkocht wordt. Maar deze pagina was niet meer beschikbaar! Error 404 of zoiets, je kent het wel. Dus.. Ik ben dan wel geen beginneling met haken, maar het was toch even lastig! Uiteindelijk heb ik het toch uitgevogeld, en nu deel ik deze tutorial met jullie, zodat jullie niet zo hoeven te klungelen zoals ik vanmiddag zat te doen. Belangrijk: Als je een lichtsnoer gaat kopen, let dan op dat je gaat voor eentje met LED-lampjes. Deze worden voor zover ik weet niet warm, en dan is de kans op brandgevaar veel kleiner. Veiliger en energiezuiniger! UPDATE: Onderhand ben ik erachter wie de originele ontwerper is, namelijk Johanna Hyrkäs.
Isn’t it totally gorgeous? I couldn’t wait to make one myself. So I got the ropelights* and 4 skeins of t-shirt yarn* (turns out I didn’t even use up ONE skein, haha), and I started crocheting! Well.. it wasn’t that easy. I tried to look up the pattern. Most pictures on Pinterest link to the original source, which is a pattern or a store, most of the time. But the original page was gone! Error 404 or something like that. So.. Where do I start? I’m not a total crochet noob, but I had some difficulty figuring this out. Soon enough though, I got it right! I’m sharing this tutorial with all of you, to spare you some trial-and-error of your own. Important: When looking for the lights, make sure that they are LED-lights. As far as I know, these don’t heat up, so there’s less chance of fire hazard. They are safer and energy-saving! UPDATE: I’ve come across the original designer: Johanna Hyrkäs.
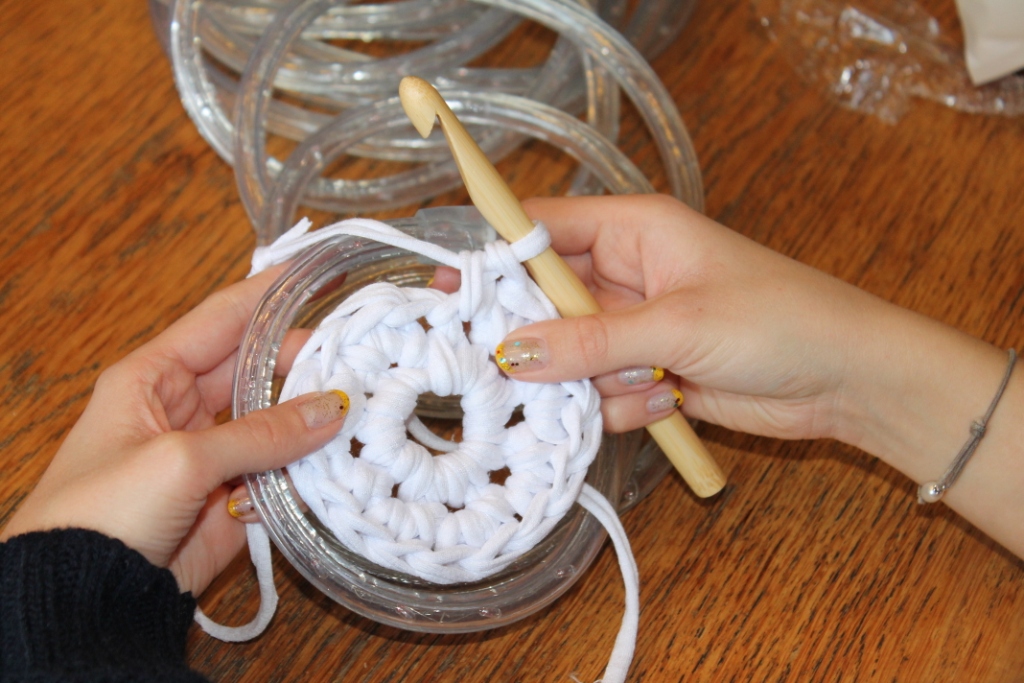
Ik begreep dat ik eerst een klein rondje moest haken zonder de lichtslang, voordat ik die erin kon verwerken. Je kunt daar namelijk niet zo’n klein rondje van maken dat je dat meteen kunt doen. Ik haakte eerst dit: 8 vasten in een ring, daarna 2 vasten in elke van die 8 vasten. Je werkt hier niet in gesloten rondes, dus je werkt gewoon aan een stuk door.
I understood that I would have to crochet in the round a few times, until it would fit the inside of the lights.. um.. cord? Anyway, because the cord is very stiff, it would not curl up small enough to work it into the crocheting from the beginning. I crocheted 8 SC in a magic circle, and then 2 SC in every SC, before I could start working with the cord. 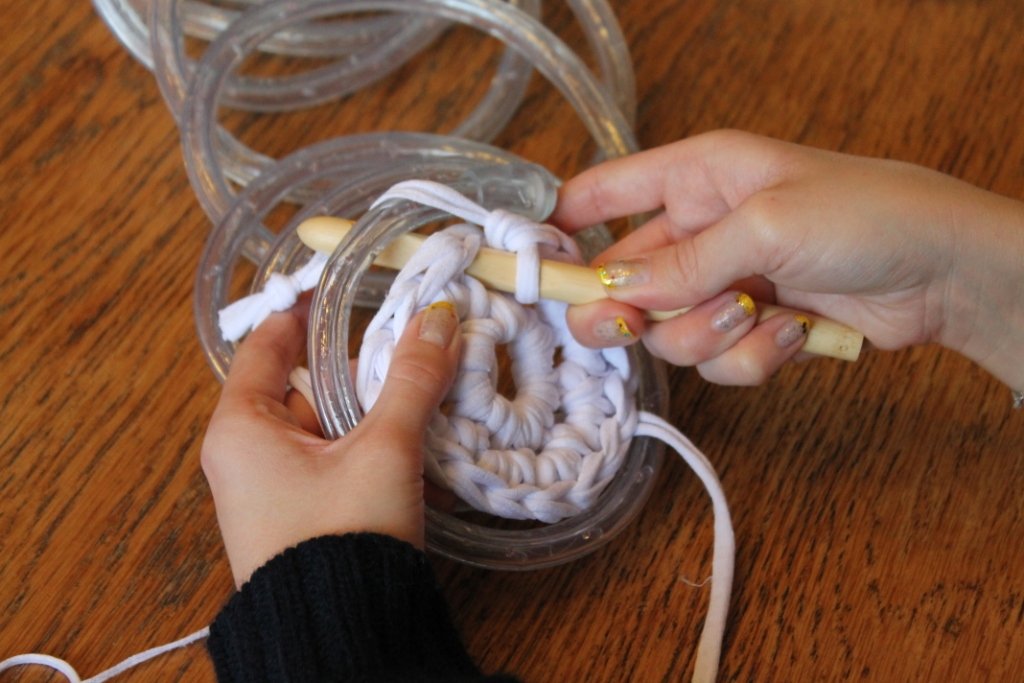

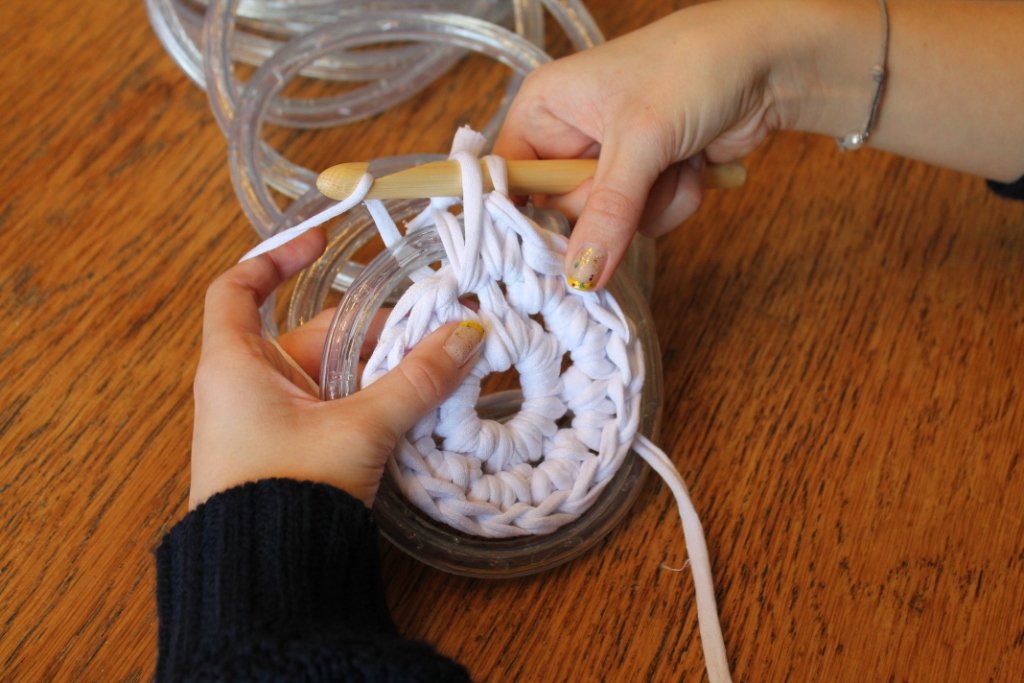
Het is wat lastig om eromheen te haken, maar als je het onder de knie hebt, gaat het bijna vanzelf. Ga verder met *1v, 2v* voor de komende twee rondes. Haak zo los mogelijk! Na een paar rondes ben ik overgestapt naar de hele tijd maar 1 vaste te haken in elke steek. Als je los genoeg haakt, hoef je bijna niet te meerderen. Als je dan toch wil meerderen (dit deed ik om de 6 steken), haak dan 1 losse tussen de steken in. Als je namelijk 2 vaste in 1 steek haakt, bedek je de lichtslang met meer garen. Je ziet het licht er alsnog wel doorheen, maar het leek mij leuker als er wat meer gaten in vallen. De allerlaatste ronde haakte ik wel weer soms 2 vaste in een steek, omdat dat voor een mooiere rand zorgt.
It’s kind of tricky, but you’ll get the hang of it. For the first few rounds, keep crocheting with *1sc, 2sc*. Crochet very loosely! After the 3rd round, I noticed that if you just crochet loose enough, you don’t have to increase that much. When you do need to, just chain 1 in between stitches. ( I did this every 6 stitches) I found that doing 2SC covers the lights too much. It would still shine through, but I thought it was nicer to leave larger gaps. If you need to increase in the last round, however, use 2SC instead of chains, as it makes for a nicer edge.


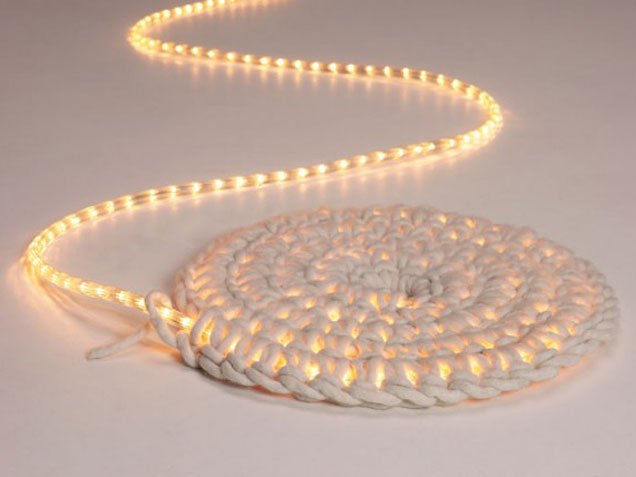
Mijn mat werd wat kleiner dan ik had gedacht, dus misschien leg ik het wel gewoon op de tafel, met een decoratieschaal erop. De lichtslang die ik gebruikte was trouwens 6 meters lang.
Mine turned out to be smaller than I wanted it to be, so maybe I’ll put it on the table instead. The lights cord I used was 6 meters long.

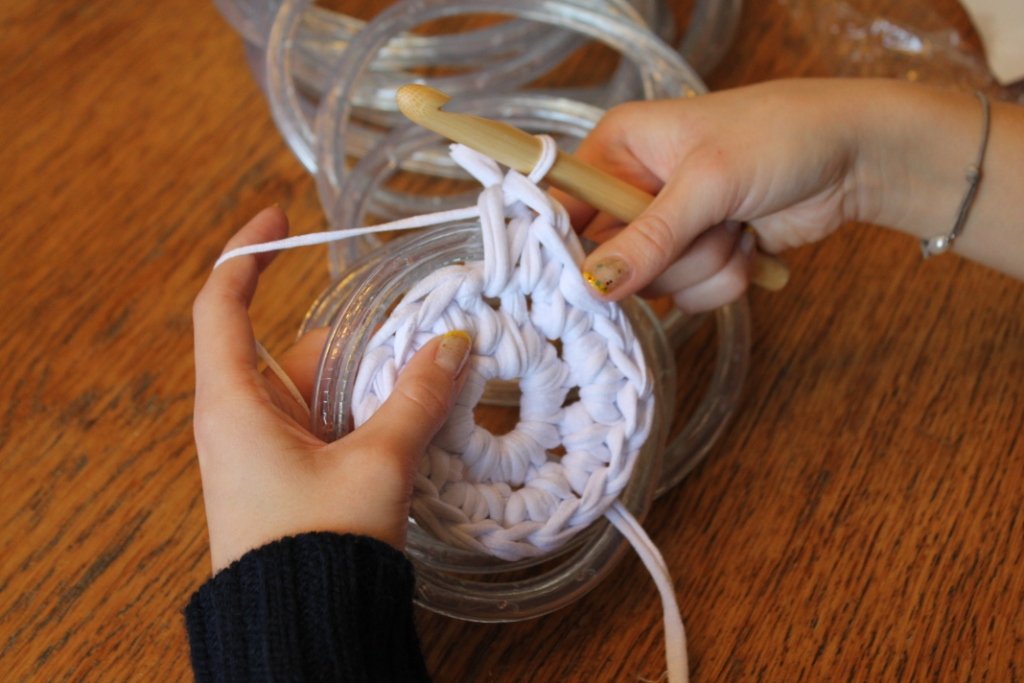
Als je bij het eind bent gekomen, haak je nog een paar vasten zonder het lichtkoord erin, zoals op de onderstaande foto.
When you’ve come to the end of the cord, crochet some SC without the cord in it, like in this picture:

Haak dan 2 halve vasten (over 2 steken) om het af te ronden.
Then, crochet 2 slip stitches (1 per stitch), to make a nice circle.
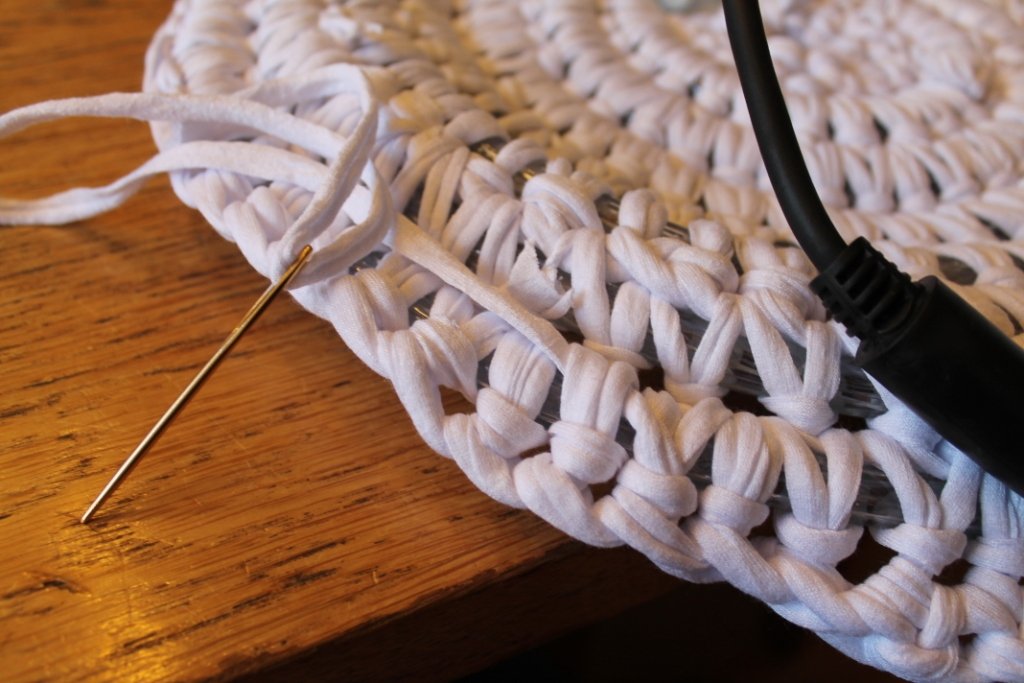
Weave in the ends. You’ll need an extra large needle for this. If you don’t have one, maybe a crochet hook will do the trick too.

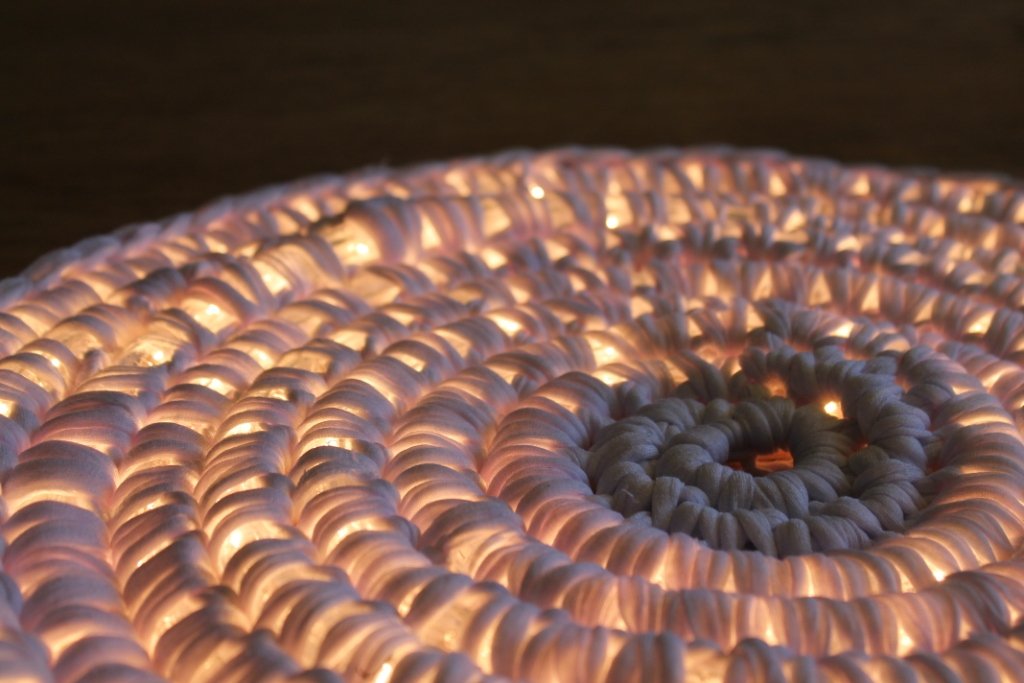
En hij is klaar! De volgende keer ga ik echt wel voor een langer lichtsnoer. Ik had wel nog genoeg garen over voor nog wat andere projecten! Heb jij ook een lichtgevend tapijt gemaakt? Zet je foto erbij op de Ravelry pagina!
And it’s done! I’ll use a longer cord next time, but it’ll look nice anyway. I think it was originally intended as a Christmas tree skirt. Best part is, I still have 3 skeins of yarn left for other projects! I would love to see your finished products! Post them on the Ravelry page 🙂
Miss no more DIY’s and patterns, follow New Leaf Designs on Bloglovin!
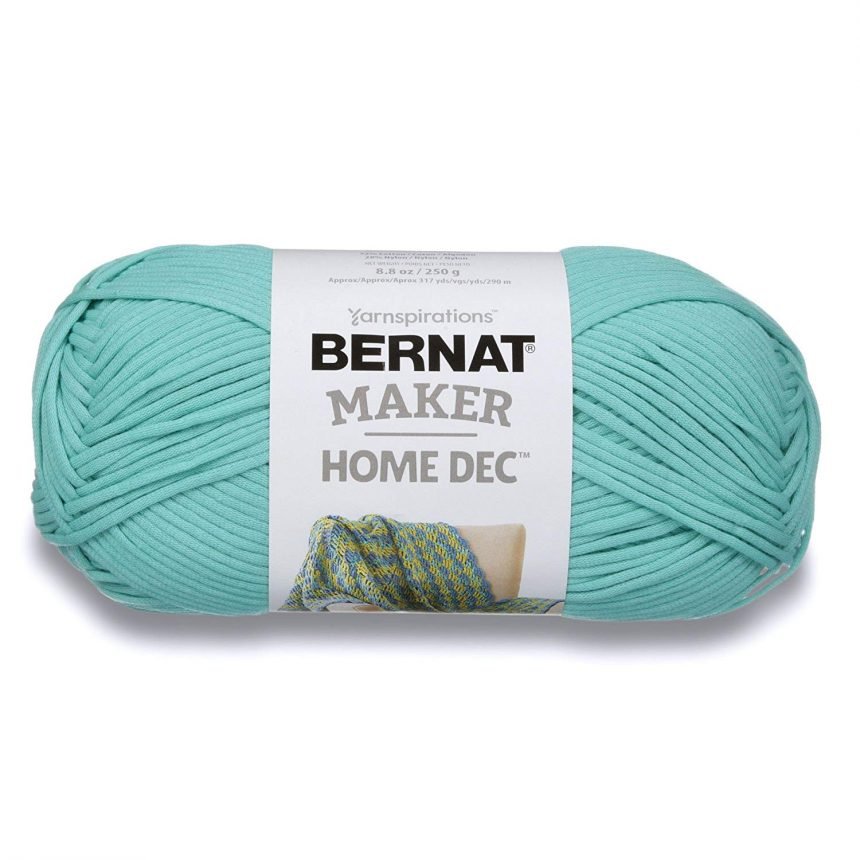
Shop ropelights via Amazon! *affiliate link

Shop T-shirt yarn via Amazon!*affiliate link