The Easy Hat – Free Knitting Pattern
Knit this chunky hat on big needles! Easy to learn, easy to do, and quick to finish. The perfect beginner hat project for when you are ready to knit beyond the basic knit-and-purl. Please note that this pattern is shown in both English and Dutch, so make sure your browser doesn’t automatically translate the Dutch parts to avoid any confusion. Happy knitting!
Brei deze chunky muts op dikke naalden! Gemakkelijk te leren, simpel te breien, en snel om af te maken. De perfecte beginner-muts als je klaar bent voor de volgende stap na alleen recht-en-averecht breien. Let op, dit patroon heb ik geschreven in zowel Engels als Nederlands. Scroll voorbij de Engelse stukjes om bij het Nederlands te komen. Veel plezier met breien!
What you will learn | Wat ga je leren
For this hat you will learn how to cast on with a stretchy edge. I have two different cast on options for you, and you can see which one is easier for you.
Aside from the cast on, this pattern includes the knit stitch, purl stitch, and knit-two-together decrease stitch.
Voor deze muts ga je leren om rekbaar op te zetten. Ik heb twee verschillende opzettechnieken voor je uitgezocht, en je kunt zelf bepalen welke daarvan makkelijker is voor jou.
Naast de opzet gebruikt dit patroon de rechte steek, averechte steek, en de ‘twee rechts samenbreien’ steek.
The Yarn | Het Garen
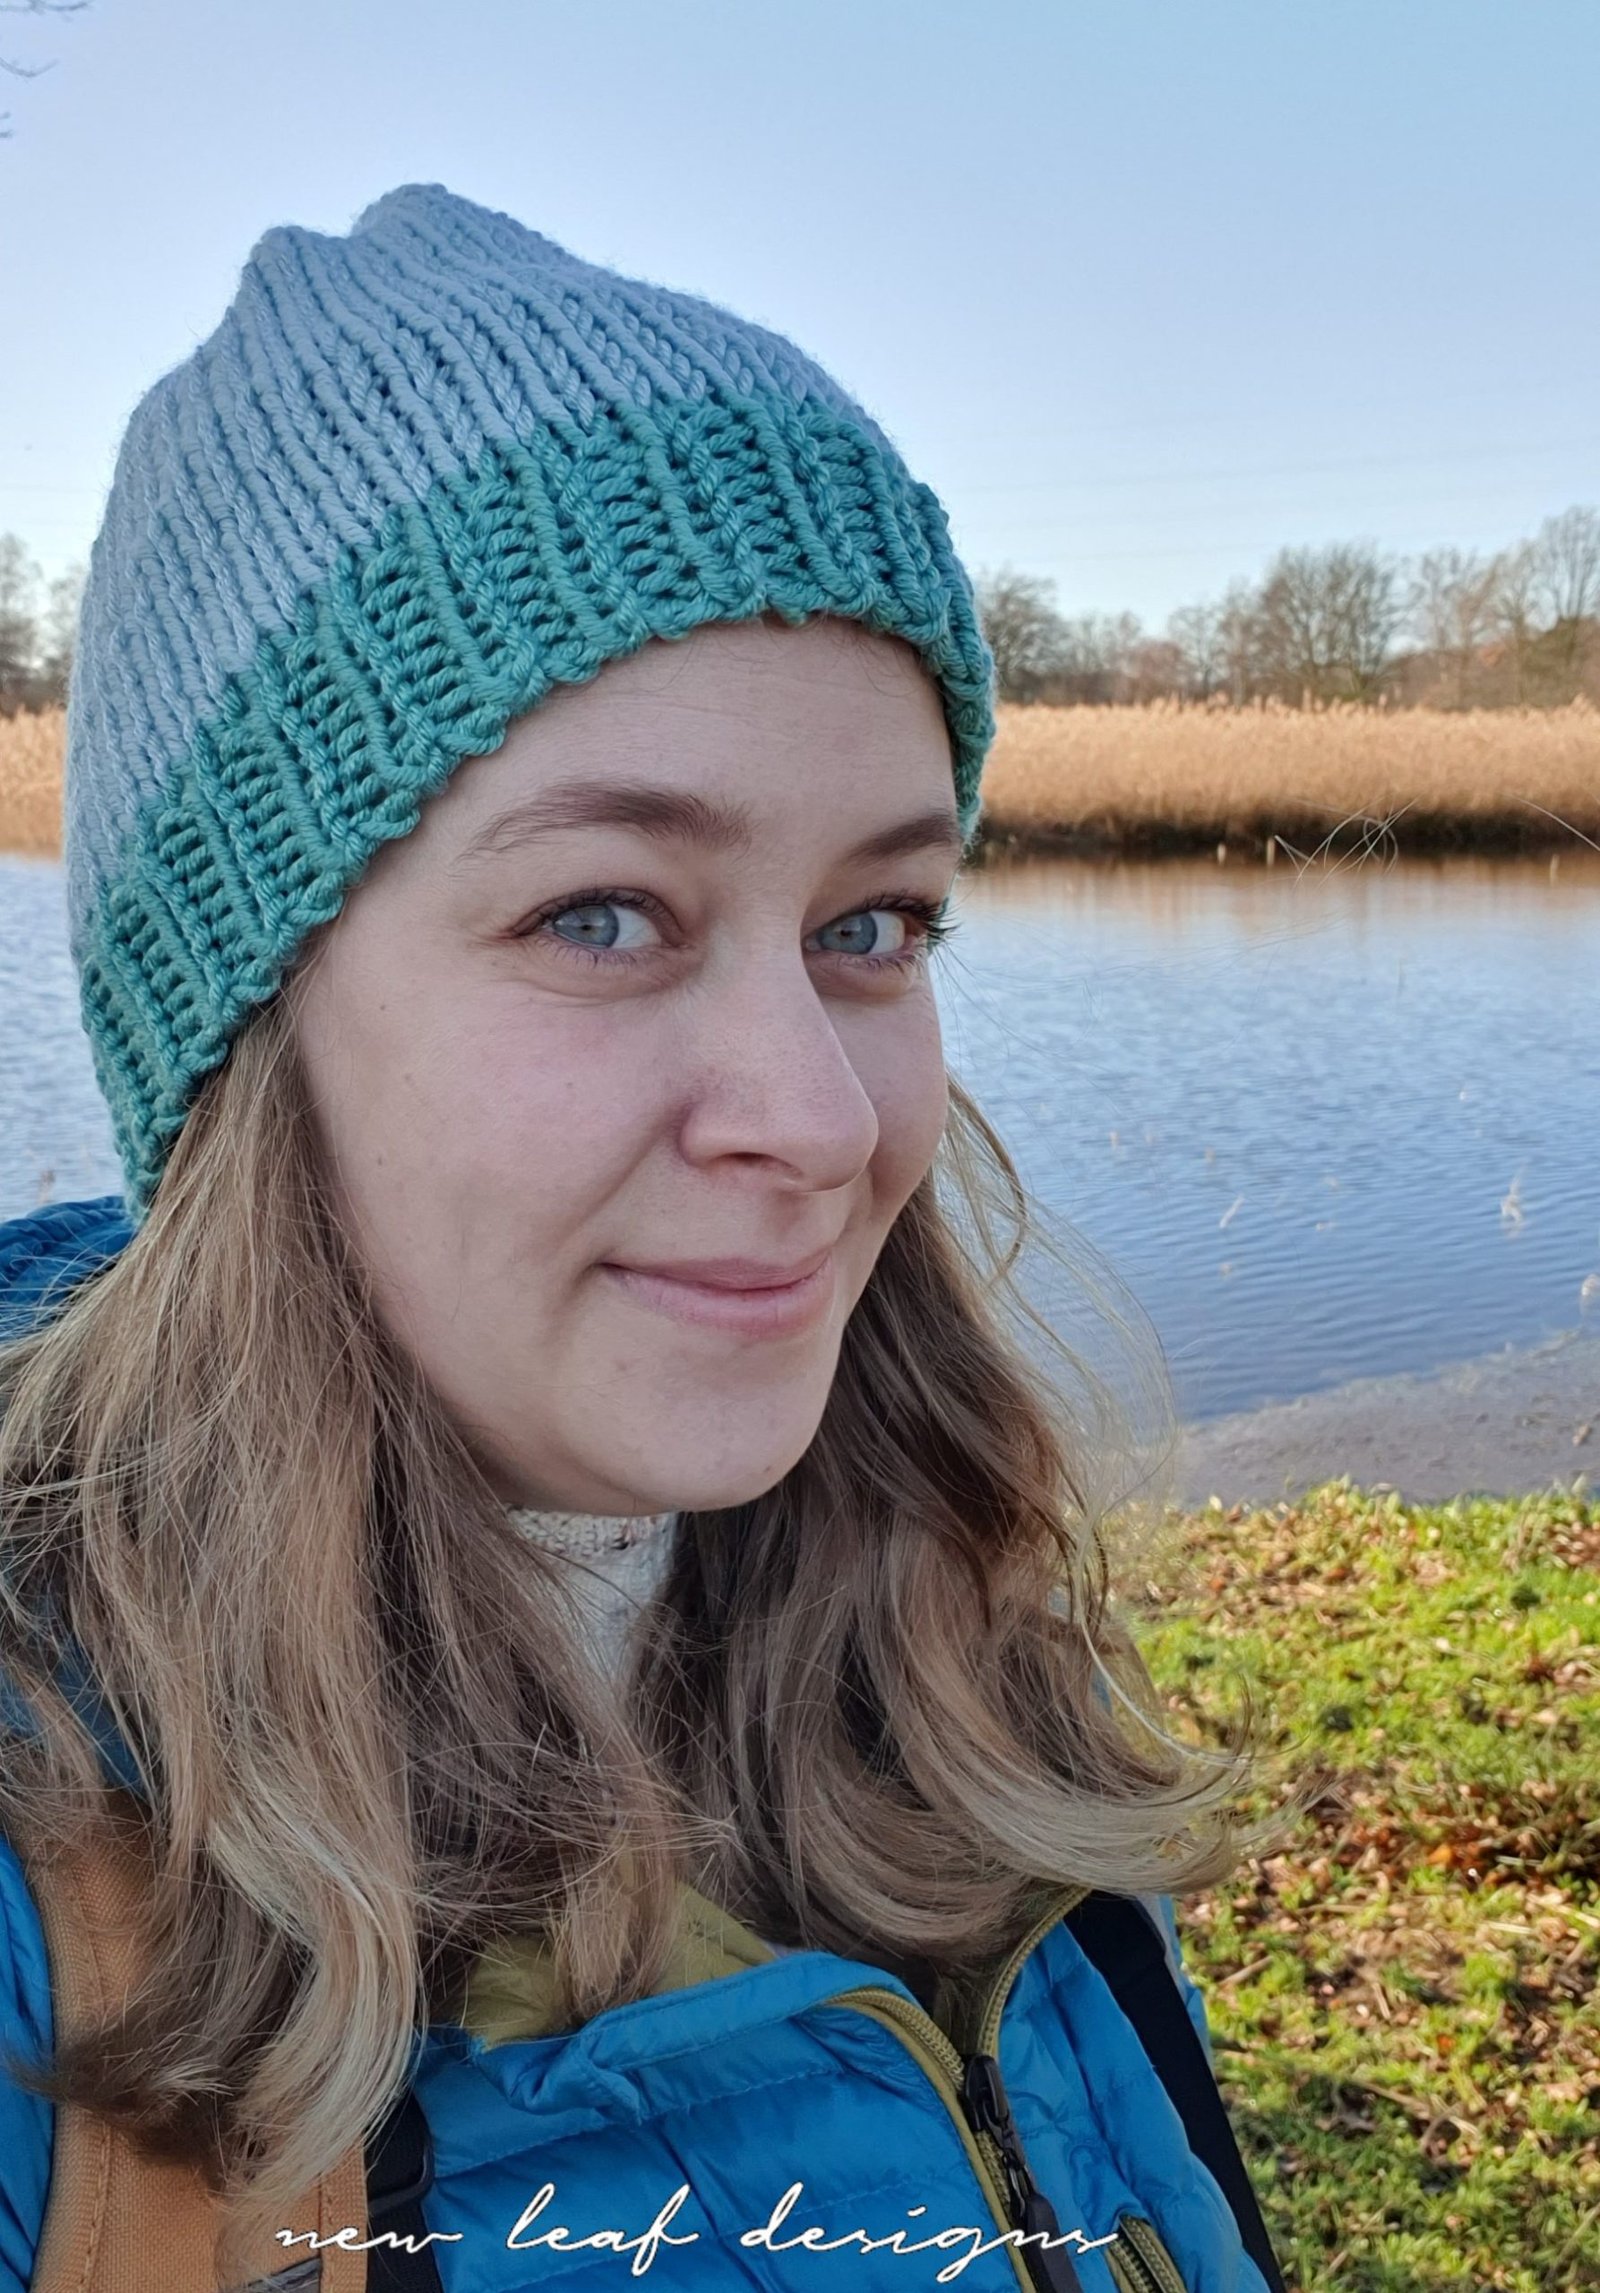
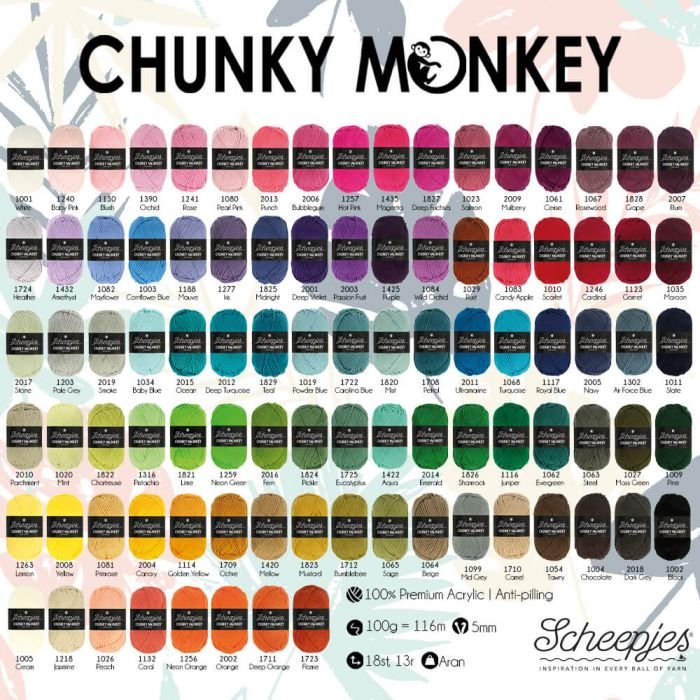
The perfect yarn for this hat is Scheepjes Chunky Monkey. It’s supersoft, doesn’t pill, and you can knit it on big needles. The label calls for 5mm needles which of course is a nice size, but for this hat I’m knitting it on 7mm and 8mm needles. You’ll be done in no time!
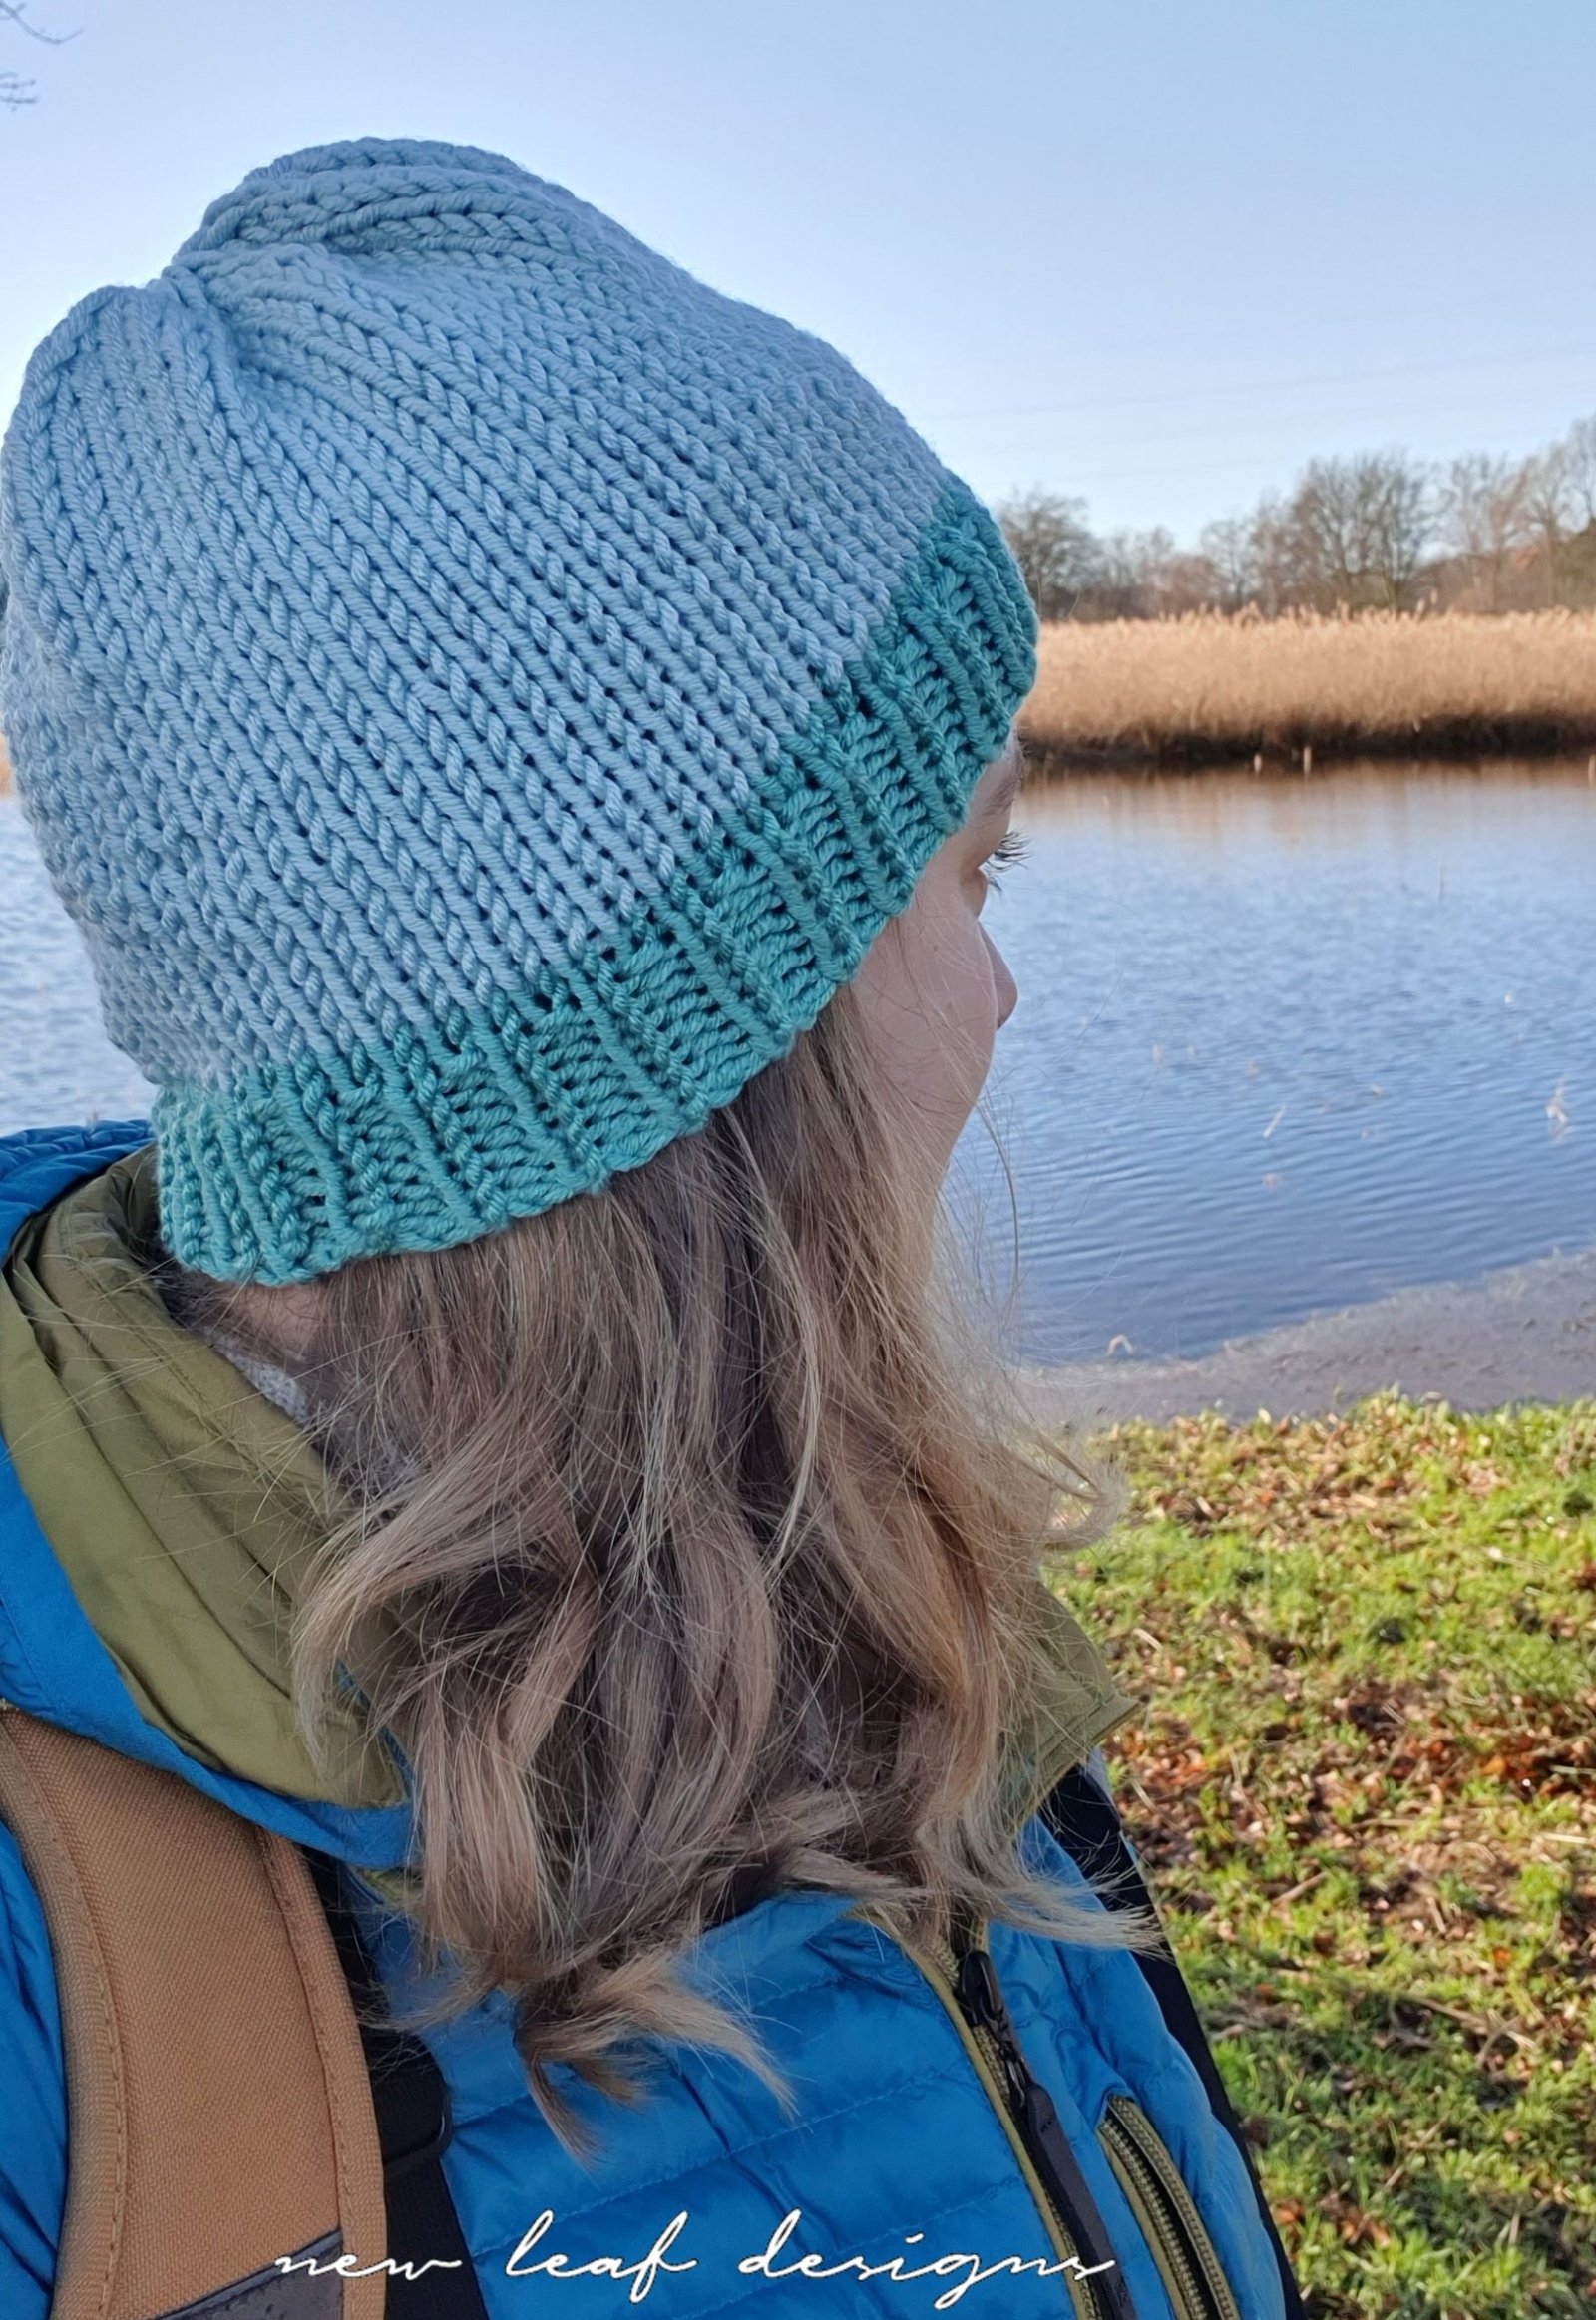
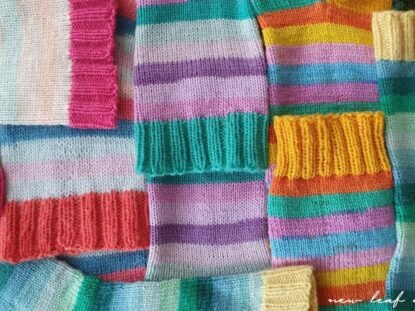
You can make this hat with just one ball. If you want the contrasting brim like in the picture, you’ll need one ball of each colour. The original uses 1820 Mist for the main part, and 1725 Eucalyptus for the brim.
Get Scheepjes Chunky Monkey at your local retailer, or at the following online stores. (affiliate links)
Shop Wool Warehouse (UK)
Shop Jimmy Beans Wool (USA)
Shop Caro’s Atelier (NL)
Het perfecte garen voor deze muts is Scheepjes Chunky Monkey. Het is superzacht, pluist niet, en je kunt het breien op lekker dikke naalden. Op het garenlabel staat 5mm naalden, maar deze muts kun je prima breien op 7mm en 8mm naalden. Je bent in een mum van tijd klaar!
Je kunt deze muts breien met slechts één bol garen. Als je een contrasterend boord wilt zoals op de foto heb je één bol nodig van elke kleur. De originele muts is gebreid met 1820 Mist voor het grootste deel, en 1725 Eucalyptus voor het boord.
Scheepjes Chunky Monkey is te verkrijgen bij jouw lokale winkel, of bij de online winkels hierboven. (affiliate links)
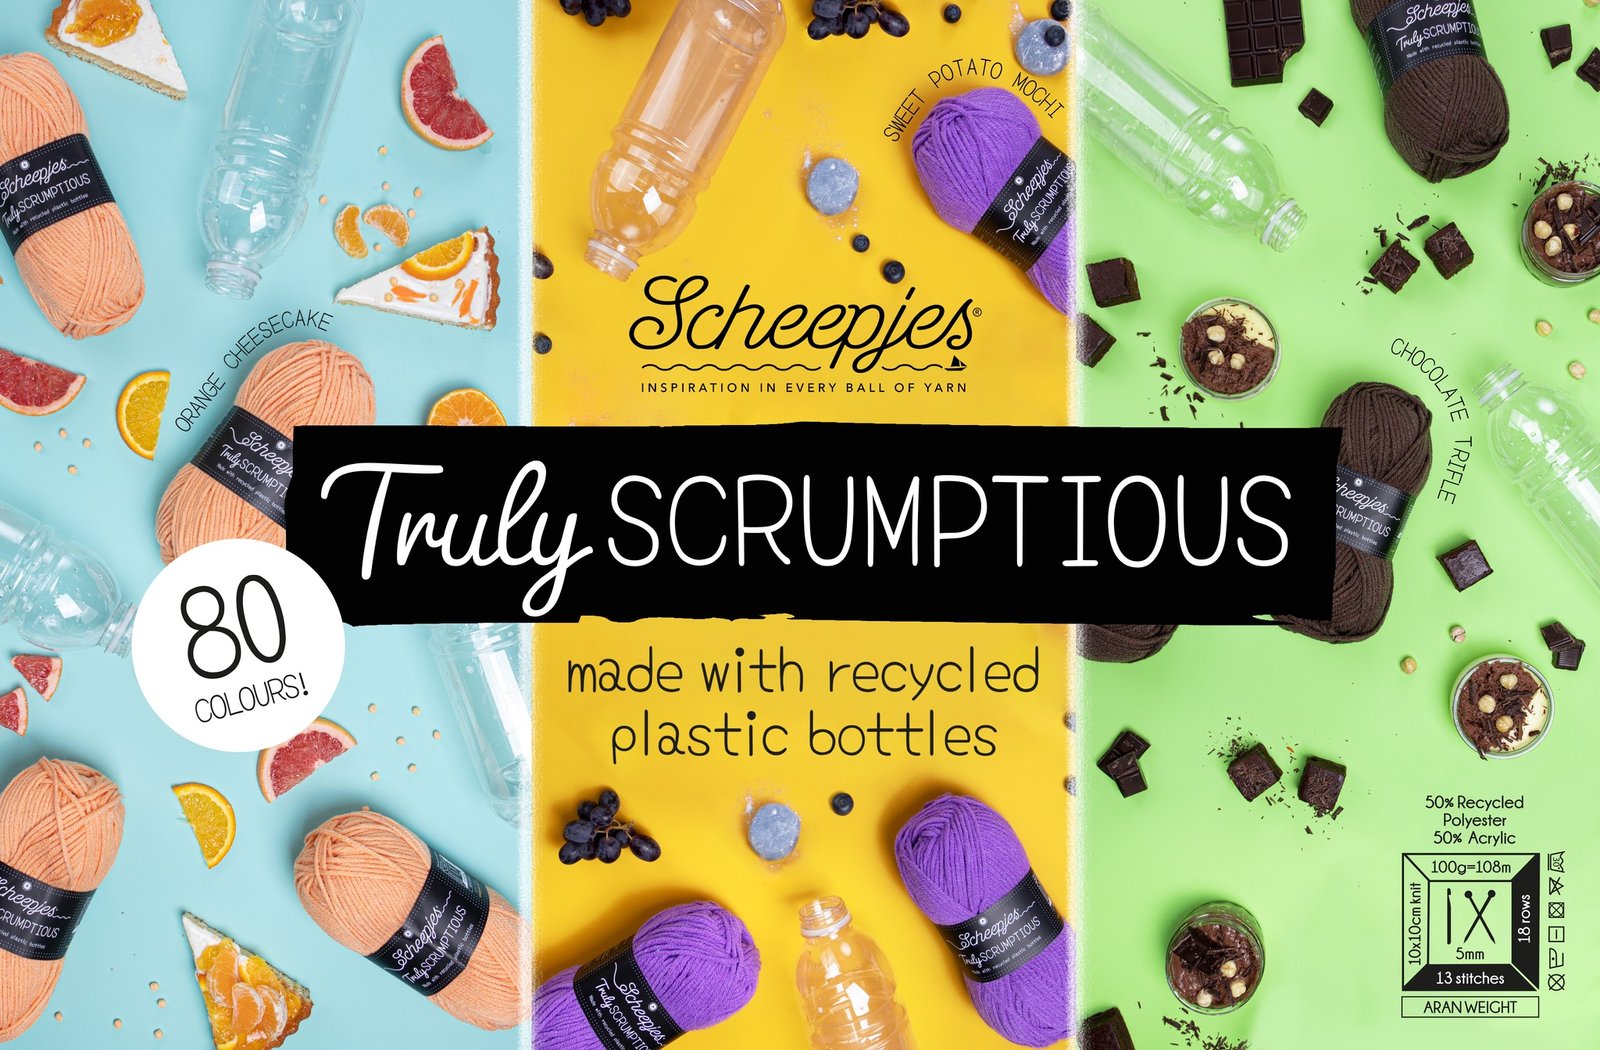
Scheepjes have recently come out with a new yarn called Truly Scrumptious, which is the same thickness as Chunky Monkey. It’s available in 80 colours, and 50% of the fiber content comes from recycled plastic bottles! Where the colours of Chunky Monkey are very vibrant, you can find some more muted shades in Truly Scrumptious, plus in my experience it feels even softer. Definitely worth checking out! I’ve linked some online stores below:
Shop Wool Warehouse (UK)
Shop Caro’s Atelier (NL)
Als alternatief kun je ook met het nieuwe garen van Scheepjes werken: Truly Scrumptious! Het heeft dezelfde dikte als Scheepjes Chunky Monkey, en is verkrijgbaar in nog eens 80 kleuren. Zoveel keus! Truly Scrumptious bestaat voor 50% uit gerecyclede plastic flessen, hoe gaaf is dat? Chunky Monkey heeft veel felle kleuren in het assortiment, en Truly Scrumptious heeft wat meer subtiele tinten ertussen. Kies je favoriet! Bij de online winkels hierboven kun je het nieuwe garen al vinden.
Other materials | Overige materialen
Aside from the yarn, you’ll need your needles of course. I recommend having a 80cm cable and both 7mm and 8mm interchangeable needle points. You can also opt for double pointed needles, which you would also need in 7mm and 8mm sizes.
You will also need a pair of scissors and a darning needle. Want to make things a bit easier on yourself? Have a stitchmarker and washing pin (yes that’s right) handy for when you start knitting.
Je hebt natuurlijk ook naalden nodig om te kunnen breien. Voor deze muts raad ik een 80cm kabel aan, en zowel 7mm als 8mm breinaaldpunten. Dubbelpuntige naalden zijn ook goed, daarvan heb je dan ook 7mm en 8mm van nodig.
Verder heb je nog een schaar en een stopnaald nodig. Wil je het nog makkelijker maken voor jezelf? Leg dan ook een stekenmarkeerder en een wasknijper (ja echt) klaar voor als je gaat breien.

Cast on methods | Opzetmethodes
For a stretchy edge, I can recommend two cast on methods: the German Twisted Cast On, and the Alternate Cable Cast On. Both require a bit of concentration, so take your time for this step. You’ll find the number of stitches to cast on in the pattern below. The German Twisted Cast On is a bit easier than the latter, as it is the same step for each stitch. The ‘Alternate’ Cable Cast On, as the name suggests, alternates between two steps. During my workshops I found that this cast on requires a bit more attention, so make sure you don’t have any distractions.
I have video tutorials for both, find them below:
German Twisted Cast On – New Leaf Tutorial – Duitse Verdraaide Opzet
Alternate Cable Cast On – New Leaf Tutorial – Gebreide Opzet
Voor een rekbare rand kan ik twee opzetmethodes aanraden: de Duitse Verdraaide opzet, en de Gebreide Opzet. Beide methodes vragen om wat concentratie, dus neem je tijd voor deze stap. Hoeveel steken je opzet vind je hieronder in het patroon. De Duitse Verdraaide opzet is wellicht net iets gemakkelijker, omdat je daar maar één stap hoeft te onthouden. Met de Gebreide opzet kun je afwisselend een rechte en een averechte steek opzetten, dus is het net wat meer opletten bij welke stap je gebleven bent. Vind de tutorialfilmpjes via de links hierboven.

The pattern | Het patroon
-Scroll naar beneden voor het Nederlandse patroon-
Now for the pattern! I’ve designed this hat in two adult sizes: 55-57cm circumference head, and 58-60cm circumference head. For the smaller size, cast on 60 sts. For the larger size, cast on 66 sts. If you want to customize the size to make it smaller or larger, any multiple of 6 will work for the pattern.
If you’re using multiple colours, start with the colour you want to use for the brim.
After casting on 60 or 66 sts on 7mm needles, we will start with the ribbing. If you are using double pointed needles (DPNs), you are fine continuing in the round. If you are using circular needles, it’s much easier knitting 2 rows flat first (back and forth), and then join in the round. Your work will be a bit stretchier which makes it easier to join in the round, and you can sew the little gap up using the yarn end later on. I have a (Dutch) video for sewing up the little gap here.
Rows 1-2: Knit 1×1 ribbing – k1, p1 – flat
Join in the round. For cables of 60cm and longer, pull out a loop somewhere halfway between your stitches, so you can slide the sts on both ends of the row to the needletips and continue knitting. Tip: use a washing pin or something similar to pinch both edges of the row together, so you’ll have less chance of a ladder forming. Optional: use a stitch marker to indicate the beginning of the round.
Rounds 3-7: Knit 1×1 ribbing
Switch to 8mm needles.
Round 8: k all sts
If using two colours for the hat: switch to Main Colour now.
Rounds 9-33: k all sts (25 rounds)
Round 34: *k4, k2tog, repeat from * to end of round.
Round 35: k all sts
Round 36: *k3, k2tog, repeat from * to end of round.
Round 37: *k2, k2tog, repeat from * to end of round.
Round 38: *k1, k2tog, repeat from * to end of round. [ending with 20 sts for the smaller size and 22 sts for the larger size]
Cut the yarn, leave a long for sewing. Thread the yarn through all sts on the needle and pull tight. I have a video for finishing the top of the hat, it’s in Dutch but it will still give you a visual guide.
Weave in all remaining ends. Since the recommended yarn for this hat is acrylic, you won’t need to block it. If you used wool or cotton, the hat will look better after blocking. Block your hat on a balloon for the best result!
Nederlands patroon
De Easy Hat heb ik ontworpen voor twee volwassen maten: 55-57cm hoofdomtrek, en 58cm-60cm hoofdomtrek. Voor de kleinere maat zet je 60 stn op, en voor de grotere maat 66 stn. Stel nu dat je nog een kleinere of een grotere maat wilt breien, zorg dan dat je een veelvoud van 6 steken opzet.
Als je meerdere kleuren gebruikt, begin dan met de kleur voor het boord.
Nadat je 60 of 66 stn op hebt gezet op 7mm naalden, gaan we verder met de boordsteek. Als je dubbelpuntige naalden (DPN) gebruikt, kun je direct in het rond breien. Als je rondbreinaalden met een lange kabel gebruikt is het handiger om eerst 2 rijen plat te breien, en daarna in het rond verder te gaan. Je werk is dan wat rekbaarder wat het gemakkelijker maakt. Het kleine gat wat dan ontstaat in het boord is gemakkelijk dicht te naaien, volg daarvoor deze video.
Rijen 1-2: Brei 1×1 boordsteek – 1r, 1av – plat
Ga in het rond verder. Voor rondbreikabels van 60cm en langer, trek je ergens halverwege tussen je steken een lus eruit. Nu kan je aan beide kanten je stn weer op de naaldpunten schuiven en verderbreien. Tip: gebruik een wasknijper om beide einden van de rij vast te houden, zo heb je minder kans op een ladder. En eventueel kun je een stekenmarkeerder gebruiken om het begin van de toer te markeren.
Toeren 3-7: Brei 1×1 boordsteek.
Wissel naar 8mm naalden.
Toer 8: brei alle stn r.
Als je twee kleuren gebruikt, wissel dan nu naar de hoofdkleur.
Toeren 9-33: brei alle stn r (25 toeren)
Toer 34: *4r, 2r.sbr, herh vanaf * tot einde toer.
Toer 35: Brei alle stn r.
Toer 36: *3r, 2r.sbr, herh vanaf * tot einde toer.
Toer 37: *2r, 2r.sbr, herh vanaf * tot einde toer.
Toer 38: *1r, 2r.sbr, herh vanaf * tot einde toer. [20 stn voor de kleinere maat, 22 stn voor de grotere maat]
Knip het garen af. Neem het draadeinde en haal het met een stopnaald door alle stn en trek strak. Bekijk deze video voor hoe ik de muts afwerk.
Werk alle eindjes weg. Als je acrylgaren hebt gebruikt hoef je je muts niet op te spannen. Als je wol of katoen hebt gebruikt heeft dit wel een mooi effect. Leg je muts dan niet plat te drogen, maar over een ballon!
Show off your hat
Congratulations on finishing the hat! Show it off by posting pictures on Instagram with #TheEasyHat and #NewLeafDesigns. You can also join my Facebook group and share your pictures there.
Gefeliciteerd, je muts is af! Plaats foto’s van je Easy Hat op Instagram met de tags #TheEasyHat en #NewLeafDesigns. Je kunt ook foto’s delen in mijn Facebookgroep.


No Comment