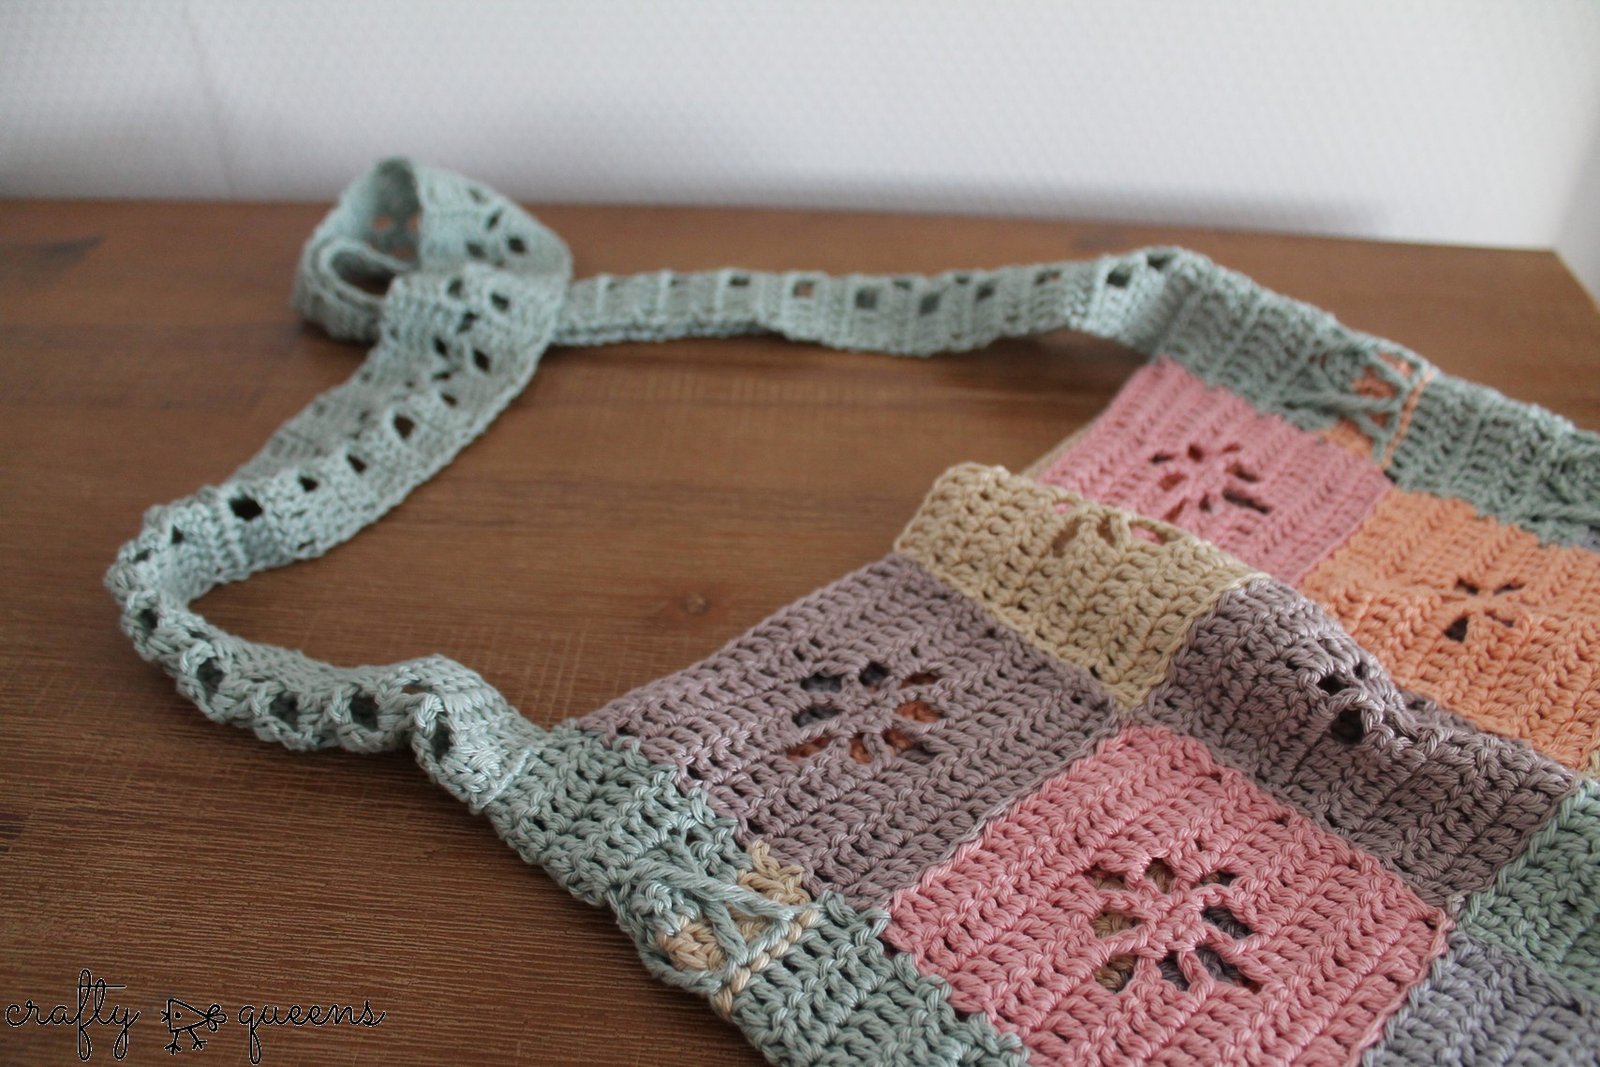
Welkom bij deel 5 van de Mystery CAL! Deze keer maken we het hengsel van de tas, die gemaakt wordt met Scheepjes Catona (25g en 50g bolletjes). Het hengsel haken we wederom met een filet haaktechniek, net zoals de vierkantjes waar het allemaal mee begon. Dit zorgt ervoor zodat het hengsel fijn soepel is, hoewel het door de breedte alsnog sterk genoeg is.
Welcome to part 5 of the Mystery CAL! Today we’re crocheting the strap of our bag, made with Scheepjes Catona (25g and 50g balls). The strap is made with a filet crochet technique, just like the squares we made for the front of the bag. This ensures the strap is nice and supple, but also strong enough because of the width.
Zie ook // See also:
Deel 1 // Part 1 + materialen lijst // + list of materials
Deel 2 // Part 2
Deel 3 // Part 3
Deel 4 // Part 4
Deel 6 // Part 6
Het hengsel beginnen we los van de rest van de tas. Als het hengsel klaar is naai je het vast aan de zijkanten, hierover later meer. Zie het haakschema hieronder.
First we’ll crochet the entire strap, before fastening it to the rest of the bag. When it’s done, you’ll have to sew it to the sides of the bag, more on this later. See the crochet chart below.
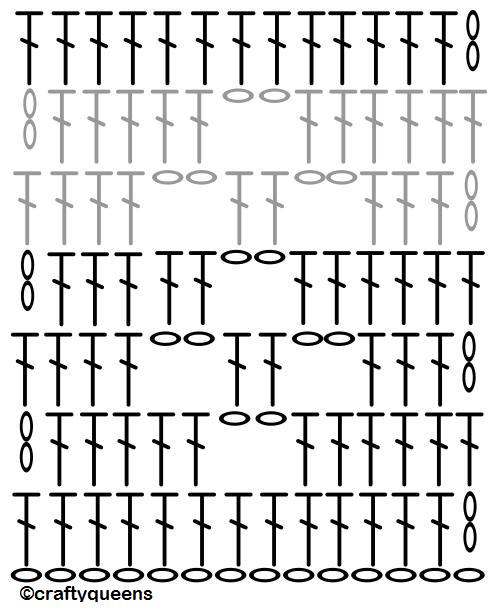
Gebruik nummer 402 en een 3mm haaknaald. Begin met 14l, haak nog 2l om te keren.
1. Haak vanaf de 3e l van de naald 1 st in elke losse
2. 2l, 1st in de volgende 5 st, 2l, 2st overslaan, 1st in de volgende 5 st, 1st in de lossenketting.
3. 2l, 1 st in de volgende 3 st, 2l, 2st overslaan, 2st om de lossenketting heen, 2l, 1st in de volgende 3 st, 1st in de lossenketting.
Herhaal rijen 2 en 3 (zie ook het lichtgrijze gedeelte in het haakschema), eindig met rij 3. Haak totdat je hengsel ongeveer 90cm is. Haak dan weer een rij stokjes, net zoals rij 1. Naai nu de uiteinden van de hengsels vast aan de zijkanten van je tas, en werk de draadeinden weg.
Use Colour number 402 and a 3mm hook. Start by chaining 14 sts, plus 2 sts to turn.
1. From the 3rd ch from the hook, 1dc in every ch
2. ch2, 1dc in the next 5 sts, ch2, skip 2 sts, 1dc in the next 5 sts, 1dc in ch st.
3. ch2, 1dc in the next 3 sts, ch2, skip 2 sts, 2dc around the ch-2 space, ch2, 1dc in the next 3 sts, 1dc in the ch st.
Repeat rows 2 and 3 until you reach a desirable length for your bag strap. Mine is 90cm / 35,5 in. Then, crochet one more row of dc, just like row 1. Now attach the ends of the strap to the sides of your bag, making sure the strap does not twist. Sew in the ends.
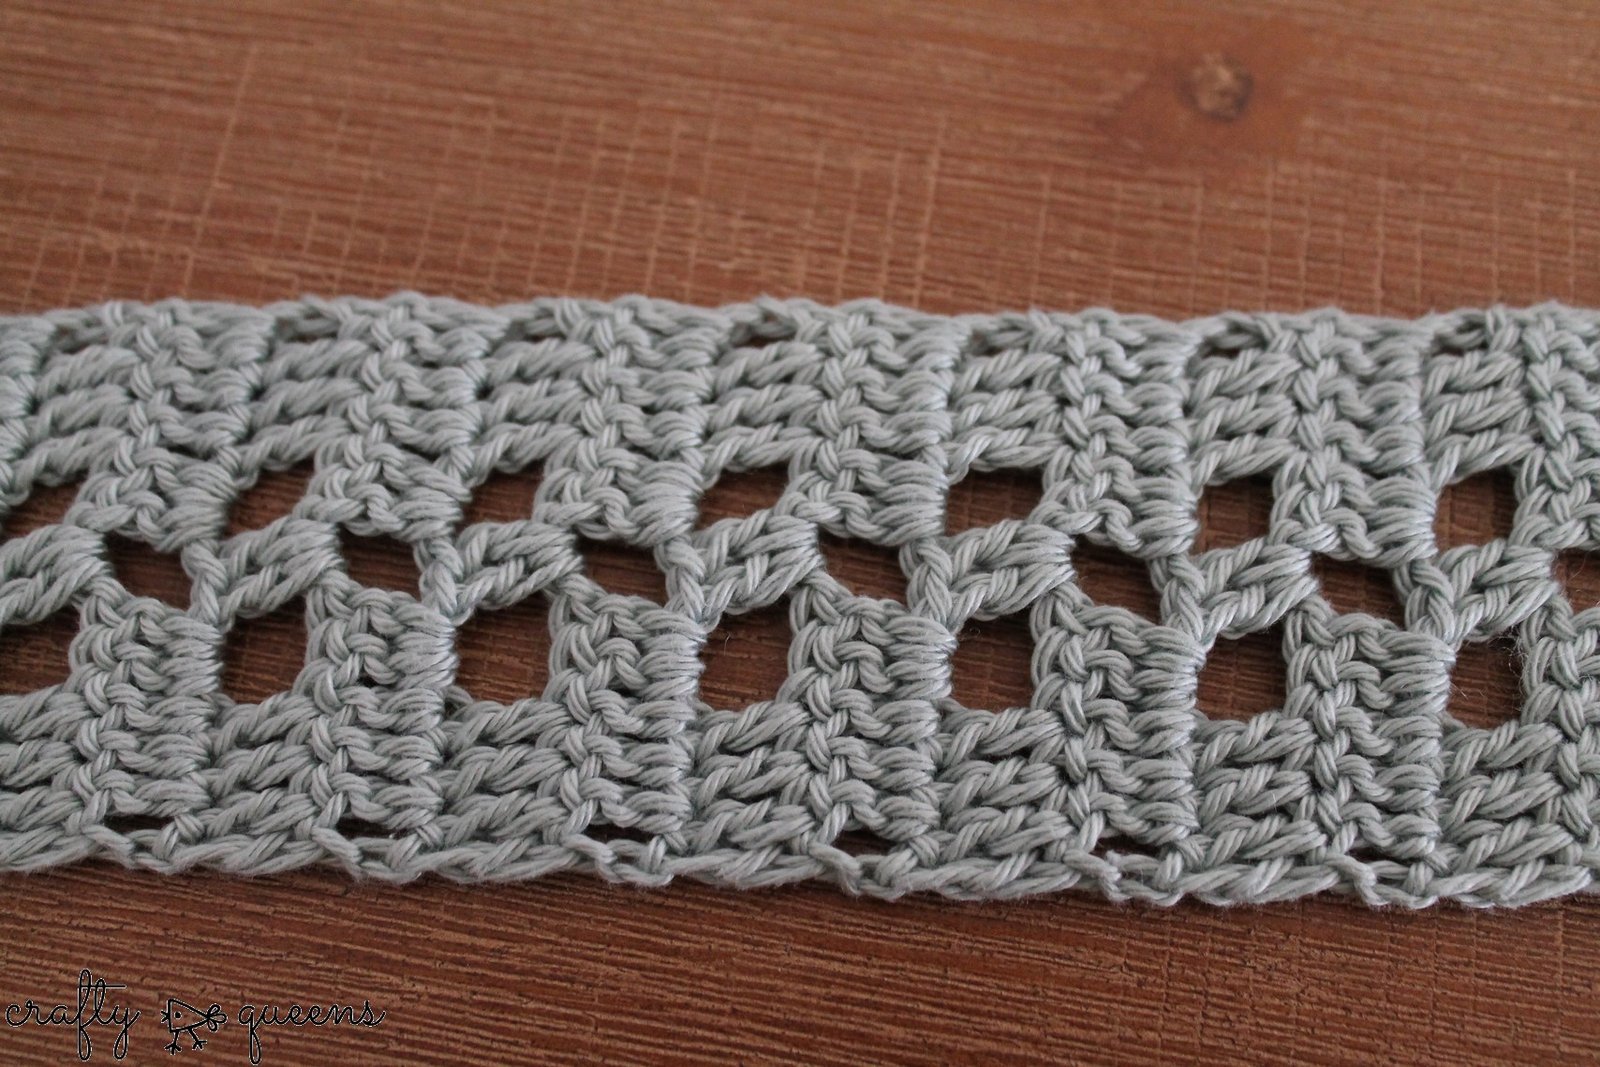
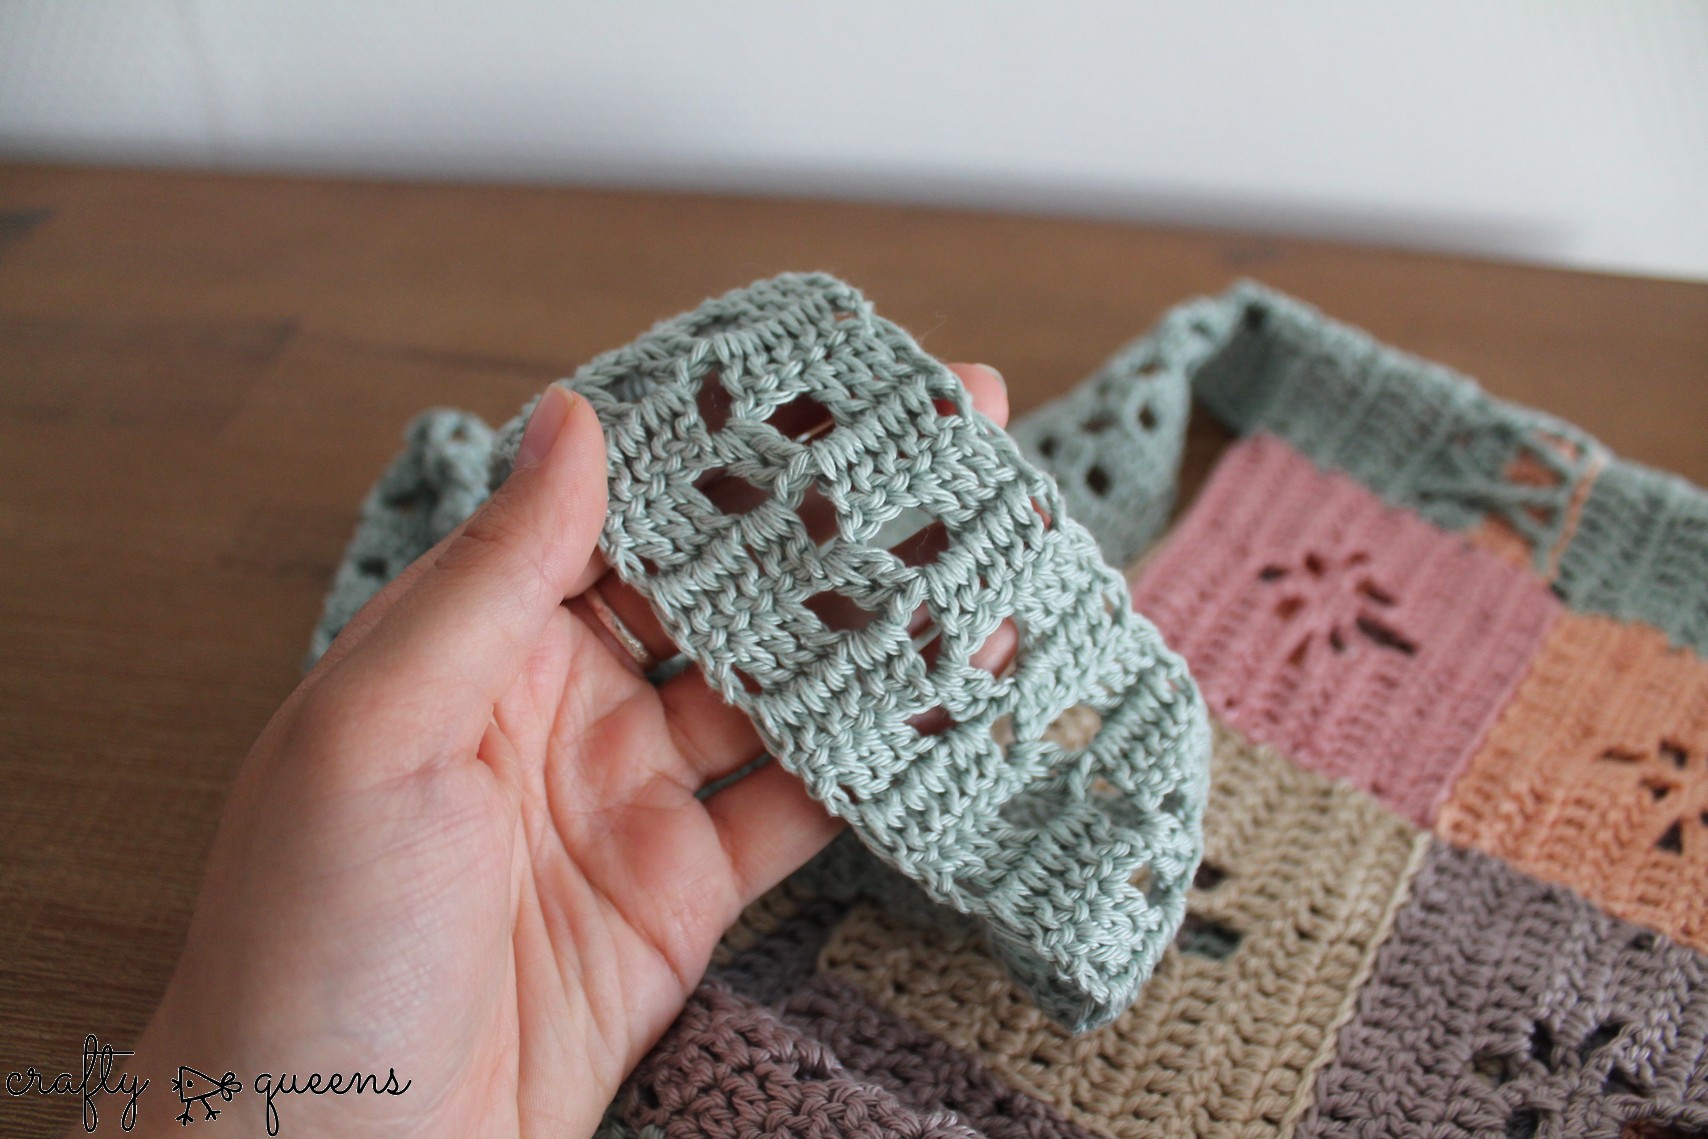
En zo ziet je hengsel er dan uit! Een van de simpelste ajour-haaksteken die er bestaat, maar wel heel effectief.
In het volgende deel gaan we een sluiting haken voor de tas, dan is hij bijna klaar! Als je een berichtje wilt krijgen als de nieuwe blog online staat, schrijf je dan in op Bloglovin’. Haak ze!
This is what it will look like! One of the simplest lace techniques in crochet, but very effective.
In the next part we’ll make the closure for the bag, then it will be almost finished! If you want to receive a notification of future posts, please subscribe via Bloglovin’. Happy hooking!


8 Comments
De tas wordt prachtig. Leuk idee om de ajoursteken ook in het hengsel te gebruiken. Dank je voor het patroon.
Fijn weekend, Margaret
Hello!
This is a great pattern and I wait “patiently” for the last piece… Carmen, can you please confirm, that you used 14 stitches on your strap? My strap seems to be quite wobbly with only 10 stitches. Love from Hamburg, Germany!
Dania
Hello Diana, you are so right! I seem to have made the wrong chart for my actual strap, it DOES have to be 14 stitches. I’ll update the chart and written pattern as soon as possible, thank you for noticing!! Love, Carmen
All done 🙂 Thanks again and happy hooking!
I missed this but I’m going to do it now. It looks great and my daughter goes on holiday at the end of September – great timing. She will need this. Thank you for the beautiful pattern.
Thank you for your lovely comment! Have fun crocheting 🙂
I love the Fleur-de-Lis’ Mystery CAL and have been working on it in snippets waiting for my daughters Japanese language class to get over every week for two hours. It is the perfect take along project…and I love Catona yarn so much! Thanks for doing this!
[…] pattern from my Fleur-de-Lis bag, pictured below. Find the pattern part with the strap instructions here. Feel free to make it a little narrower to match the Calluna pouch […]