New Leaf Designs

The ins and outs of Garter Stitch

1garterstitchVandaag even een leerzaam stukje voor beginners! Garter Stitch, of ribbelsteek in het Nederlands, is zonder twijfel de makkelijkste steek om te breien. Je breit namelijk de voor- én achterkant rechts. Zo krijg je een leuk horizontaal ribbelpatroontje. Kun je geloven dat ik nu pas bezig ben met mijn eerste werk in ribbelsteek? Mijn motto is namelijk vaak: “waarom simpel als het ook moeilijk kan?”. Ik koos van begin af aan uitdagende patronen, en begon ook al snel aan kabels. Maar de laatste tijd zie ik toch de schoonheid in van de simpele ribbelsteek. Het geeft een leuke textuur aan je werk, én je breiwerk blijft mooi plat liggen! Bij de rechts-averechts steek (tricotsteek) krult het werk aan alle kanten op, maar bij een werkje in ribbelsteek heb je daar dus geen last van. Hoef je het ook niet te blocken naderhand, en een boordje is ook niet echt noodzakelijk. Toen ik zelf aan mijn gebreide t-shirtje begon vroeg ik me af hoe ik eigenlijk de rijen moest tellen van ribbelsteek. Tel je alleen de ‘ribbels’, of ook de delen ertussenin? Dat ga ik jullie dus vertellen!

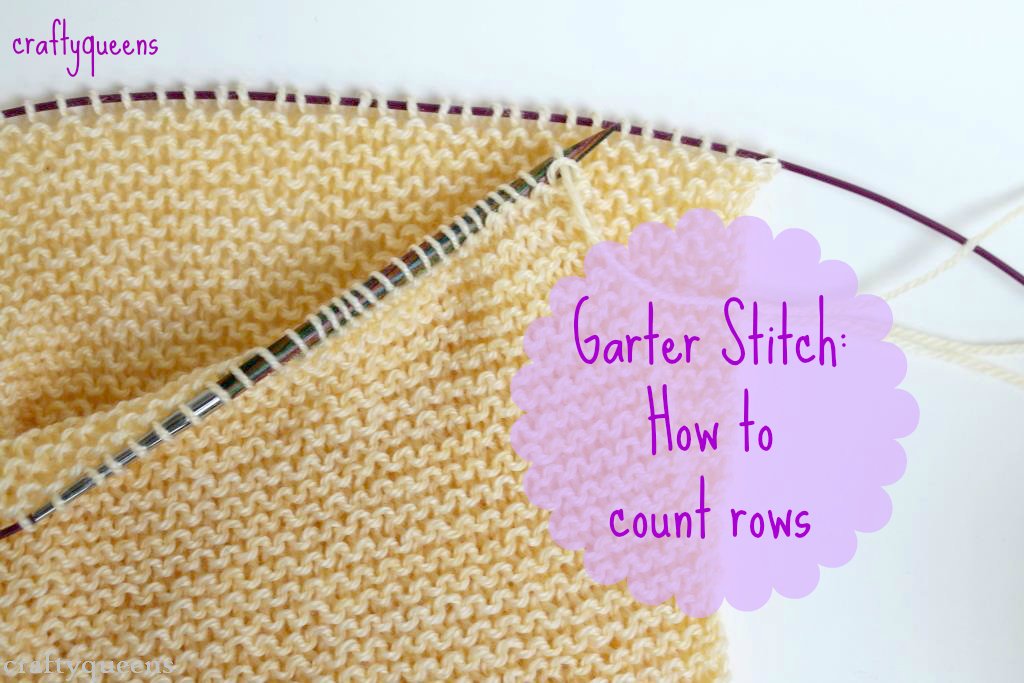
Garter stitch is without a doubt the easiest knitting stitch there is. There is no purling involved, you knit both the front and back in the knit-stitch! This makes for an interesting horizontal ribbing pattern. Can you believe that I never really used the garter stitch in a project?? I must admit that at first, I didn’t really like the stitch pattern. Maybe because I knew it was the easiest one. I’ve always been a perfectionist, and have tried my hardest at doing the most challenging things, whatever they are. I knit my first scarf using the Raspberry stitch, which is not very suitable for beginners actually! Anyhow, over past few months I’ve come to appreciate garter stitch, and I cast on my first project using it! (If you’re curious, click here!) It’s amazing how it lays flat without any edges or blocking. We all know the drama of curling stockinette stitch, right? During this project I wondered how I should actually count the rows. Do you just count the lumps or the parts in between as well? That’s what I’m going to tell you! 

Het was eigenlijk best simpel om erachter te komen. Ik zette een steekmarkeerder in de rij waar ik mee bezig was, en breide vanaf dat punt vier rijen. Toen telde ik of er twee of vier rijen ribbels te zien waren. En wat blijkt: je telt niet alleen de geribte rijen, maar ook de rijen daartussen. Hierboven op de foto is dat te zien met de blauwe pijl (geribte rij) en de roze pijl. Het makkelijkste is dus om steeds met sprongetjes van twee te tellen, bij elke geribte rij. Ik vind het eigenlijk best erg dat ik al vier jaar brei, maar dit nog niet wist! We zullen maar zeggen dat het nooit te laat is om te leren!

It was actually pretty easy to find out. I placed a stitch marker in the row I was working on, and I knitted 4 more rows. After that, I checked if there were 4 or 2 ribbed rows (lumpy rows). And voilà, just like that I knew that you have to count both the lumps (blue arrow) and the parts in between (pink arrow). The easiest way to count is to count in steps of two, so at every ribbed row. I’m actually a bit ashamed that I have knit for four years now and only found out about this last week, but hey! It is never too late to learn new things. 

Mis geen enkele blogpost, volg mij op Bloglovin’!
*Klik hier voor mijn gratis patronen*
Stay updated, follow me on Bloglovin’!
*Find my free patterns here*

Exit mobile version